

By Jamie Cook — Home cook sharing tested recipes from a real kitchen.
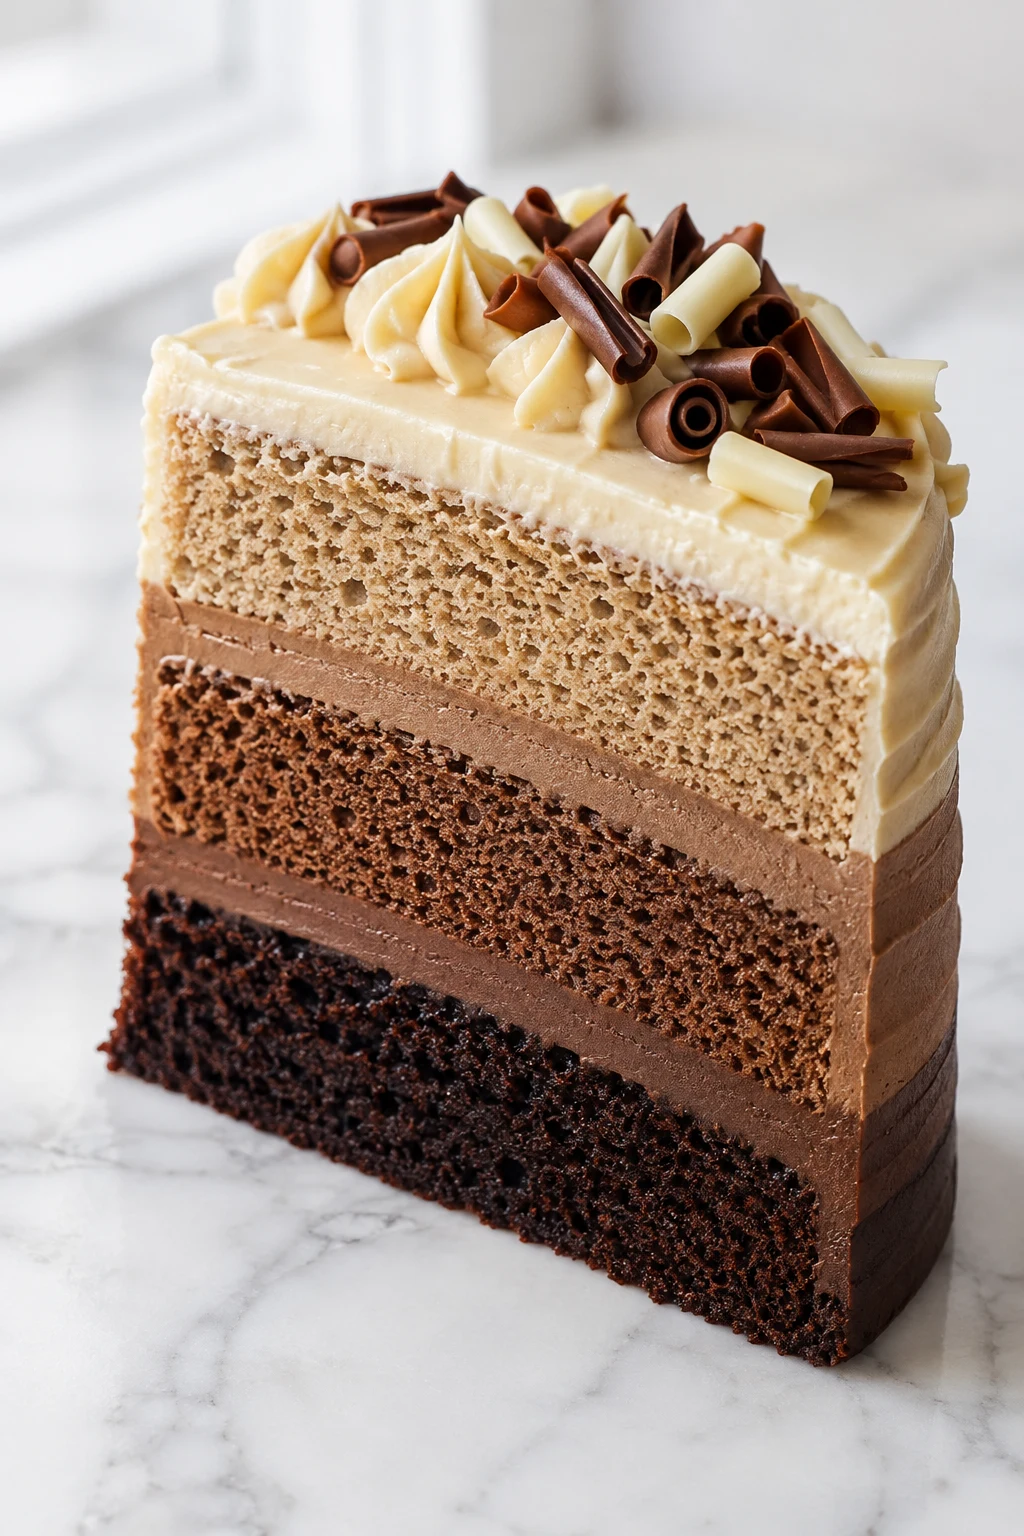
Triple chocolate ombre cake is the kind of dessert that quietly steals the spotlight before anyone even grabs a fork. Three distinct chocolate layers—white, milk, and dark—stack into a dramatic slice that looks bakery-worthy but comes together with simple techniques at home. If you’ve ever wanted a celebration cake that earns an audible “Whoa!” at the first cut, this is it. I first made this for a birthday, rushed the frosting, and accidentally blended the ombre into one muddy brown blob. Lesson learned: patience beats panic, especially when buttercream is involved.
Why This Recipe is Awesome
Triple chocolate ombre cake gives you three chocolate experiences in one bite instead of making you choose sides in the eternal dark-versus-milk debate. The smooth color fade looks ridiculously fancy, yet it’s mostly buttercream, a bench scraper, and pretending you totally meant to smear frosting everywhere. Nobody complains when chocolate appears in three shades. Funny how that works.
Ingredients You’ll Need
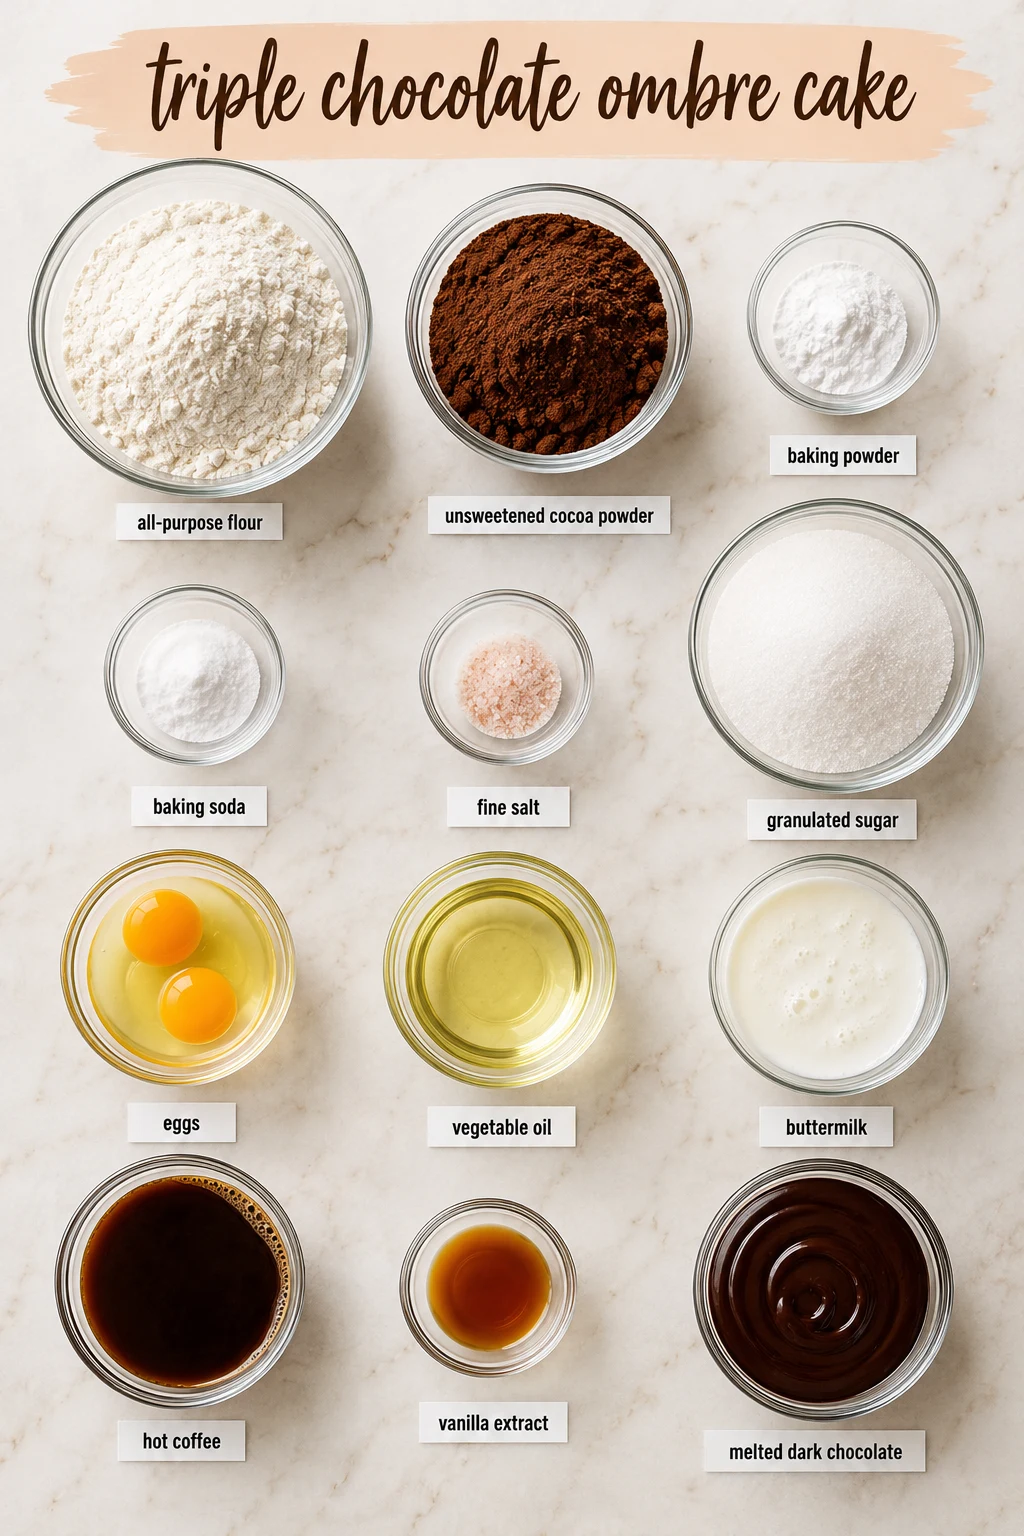
- 2 1/4 cups (280g) all-purpose flour — the foundation, so don’t freestyle it.
- 3/4 cup (65g) unsweetened cocoa powder — deep chocolate flavor without drama.
- 2 tsp baking powder — your cake’s personal trainer.
- 1 1/2 tsp baking soda — teamwork makes fluffy cakes.
- 1 tsp fine salt — chocolate loves a little balance.
- 2 cups (400g) granulated sugar — sweetness with structure.
- 2 large eggs, room temperature — cold eggs act stubborn.
- 1/2 cup (120ml) vegetable oil — keeps everything soft for days.
- 1 cup (240ml) buttermilk, room temperature — the secret to a tender crumb.
- 1 cup (240ml) hot coffee — boosts chocolate flavor without tasting like coffee.
- 2 tsp vanilla extract — because plain is boring.
- 4 oz (115g) melted dark chocolate — rich bottom layer.
- 4 oz (115g) melted milk chocolate — smooth middle layer.
- 4 oz (115g) melted white chocolate — creamy top layer.
Buttercream
- 2 cups (454g) unsalted butter, softened — silky frosting starts here.
- 6 cups (720g) powdered sugar — fluffy magic dust.
- 3 tbsp heavy cream — adjust until spreadable.
- 2 tsp vanilla extract — flavor insurance.
- Pinch of salt — keeps sweetness under control.
- 2 tbsp cocoa powder — for the darkest frosting shade.
- 2 oz (55g) melted milk chocolate — creates the middle shade naturally.
Optional Decoration
- Chocolate curls — instant bakery vibes.
- Chocolate shavings — because moderation stayed home.
- Mini chocolate truffles — if you’re feeling extra.
Step-by-Step Instructions
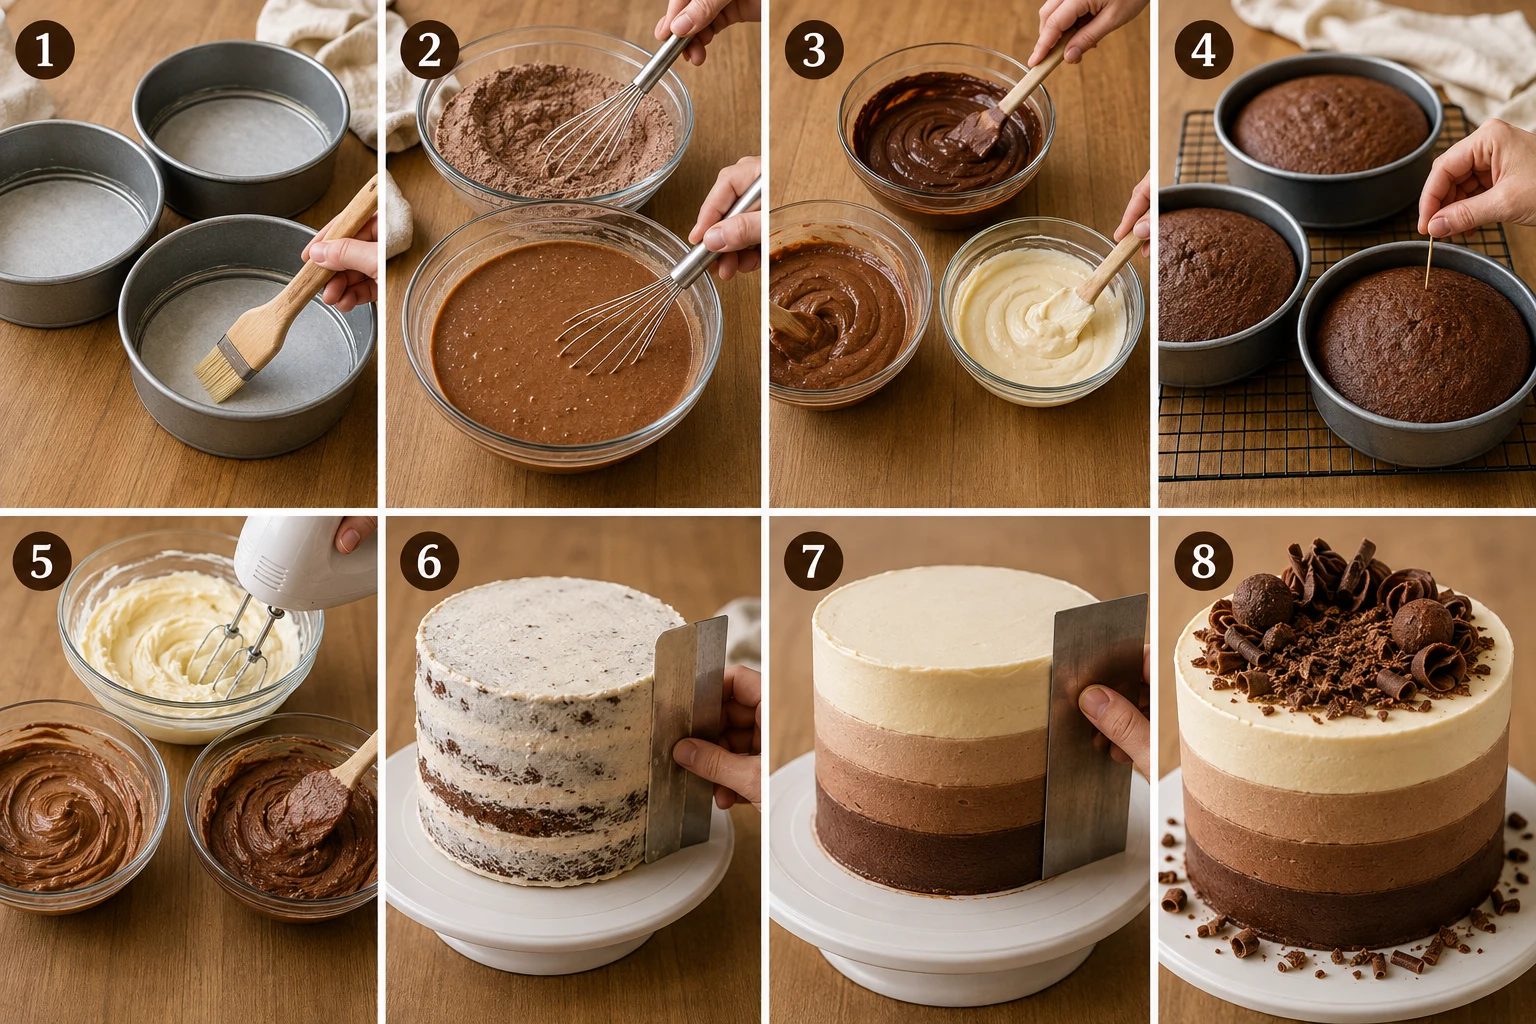
- Preheat the oven to 350°F (175°C) and grease three 8-inch cake pans. Line the bottoms with parchment so your cakes leave the pans willingly instead of staging a protest.
- Whisk the flour, cocoa powder, baking powder, baking soda, and salt until evenly mixed. Mix the sugar, eggs, oil, buttermilk, vanilla, and hot coffee separately before combining everything into a smooth batter.
- Divide the batter evenly into three bowls. Stir dark chocolate into one bowl, milk chocolate into another, and white chocolate into the last so each layer develops its own flavor and color.
- Bake for 25–30 minutes until a toothpick comes out with a few moist crumbs. I discovered the hard way that overbaking by just four minutes turned one layer slightly dry, so start checking early.
- Cool the cakes in their pans for 10 minutes, then transfer them to a wire rack. Chill the layers for 30 minutes before frosting because cold cakes behave far better.
- Beat the butter until pale, then gradually add powdered sugar, cream, vanilla, and salt. Divide the buttercream into three bowls, leaving one white, tinting one with melted milk chocolate, and mixing cocoa into the last for a dark finish.
- Stack the cakes with buttercream between each layer, then apply a thin crumb coat. Refrigerate for 20 minutes until the frosting feels firm to the touch.
- Frost the bottom third with dark buttercream, the middle with milk chocolate buttercream, and the top with white buttercream. Smooth gently with a bench scraper until the colors blend into a soft gradient without overmixing. The triple chocolate ombre cake should show three distinct shades instead of one blended color.
- Decorate with chocolate curls, shavings, or truffles. The frosting should smell buttery and lightly chocolaty, and the ombre should remain visible after smoothing—that’s your cue to stop fussing.
Common Mistakes to Avoid
- Skipping the crumb coat and wondering why crumbs joined the decorating team.
- Using warm cake layers, which turns buttercream into a slow-motion landslide.
- Over-blending the ombre, leaving one giant brown stripe instead of a gradient.
- Pouring hot melted chocolate into frosting, because melted buttercream soup isn’t trendy.
- Eyeballing cake batter divisions, then wondering why one layer resembles a pancake.
Alternatives & Substitutions
You can swap gluten-free 1:1 baking flour for regular flour with good results. Use Swiss meringue buttercream if you prefer a less sweet frosting, though it takes more time. Replace buttermilk with 1 cup milk plus 1 tablespoon lemon juice in a pinch. For an even richer triple chocolate ombre cake, spread a thin layer of chocolate ganache between the cake layers before adding buttercream. If you love layered chocolate desserts, try this dark chocolate fudge cake or pair it with our easy chocolate ganache recipe.
Frequently Asked Questions
Can I make triple chocolate ombre cake a day ahead?
Yes. Bake the cake layers a day in advance, wrap them tightly, and keep them at room temperature. Assemble and frost the next day for the freshest finish.
How should I store triple chocolate ombre cake?
Store the cake covered in the refrigerator for up to 4 days. Let slices sit at room temperature for about 30 minutes before serving so the buttercream softens.
Can I freeze the cake?
Yes. Freeze unfrosted layers for up to 2 months, wrapped well in plastic wrap and foil. Thaw overnight in the refrigerator before decorating.
Why did my ombre frosting blend into one color?
The frosting became too soft or you scraped too many times. Chill the cake for 10 to 15 minutes between smoothing passes, then make only a few gentle strokes to preserve the gradient.
🛒 KitchenAid Artisan Series 5-Quart Tilt-Head Stand Mixer & Valrhona Guanaja 70% Dark Chocolate Baking Bars
Everything you need to make this dish perfectly:
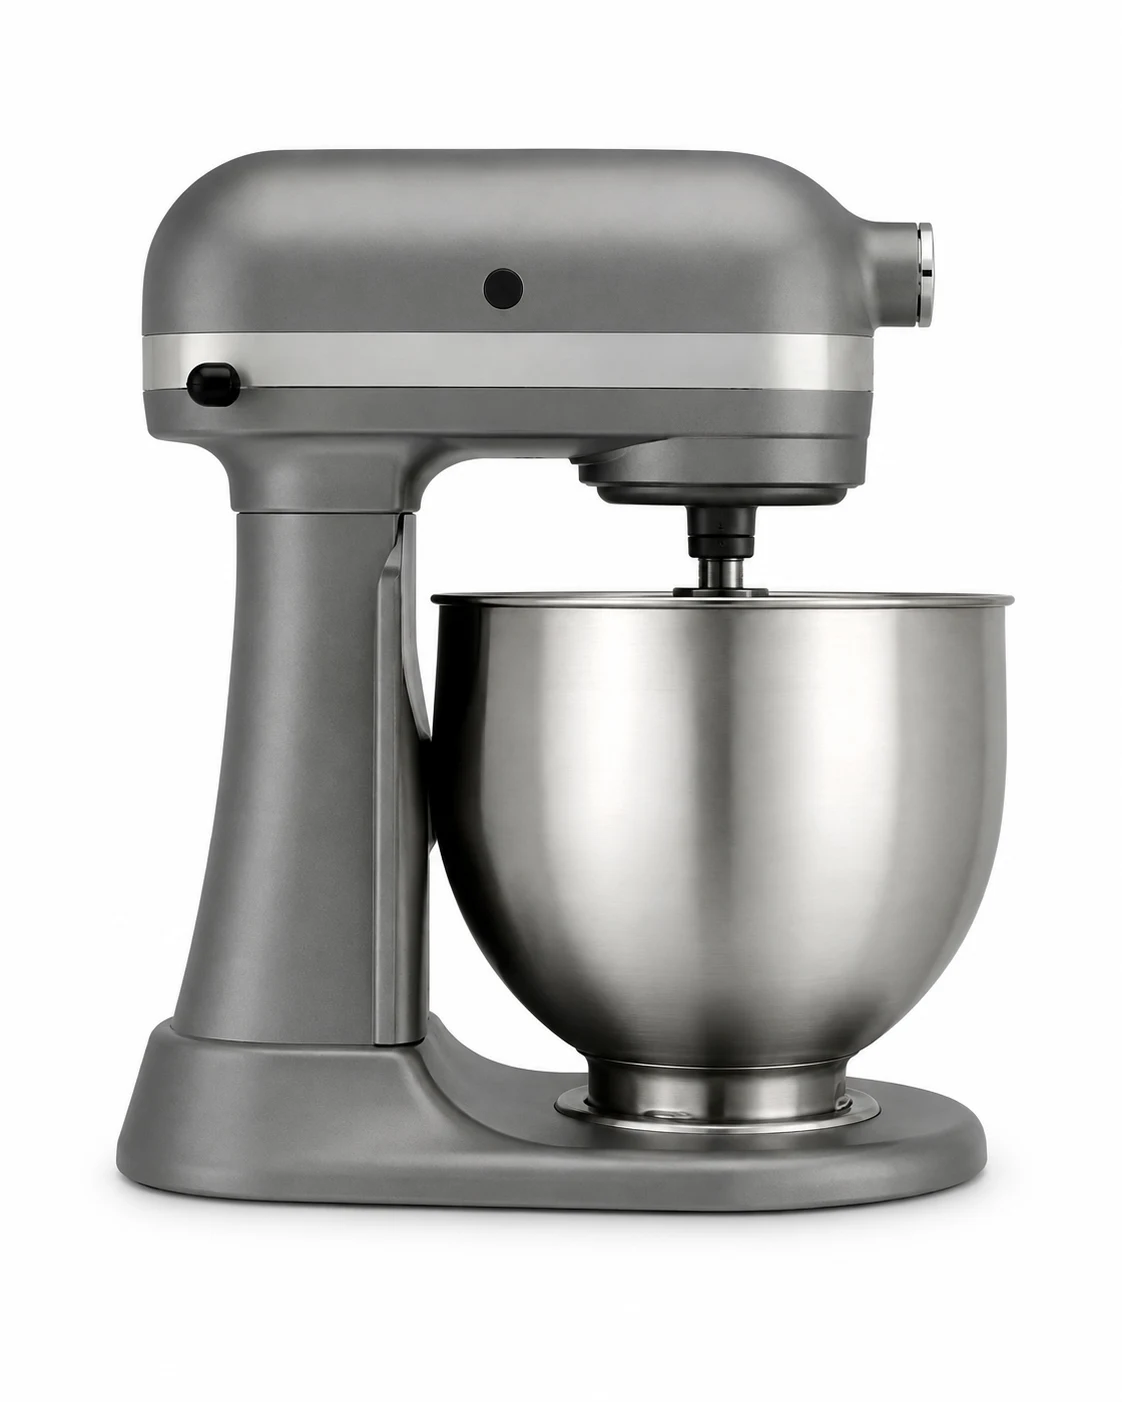
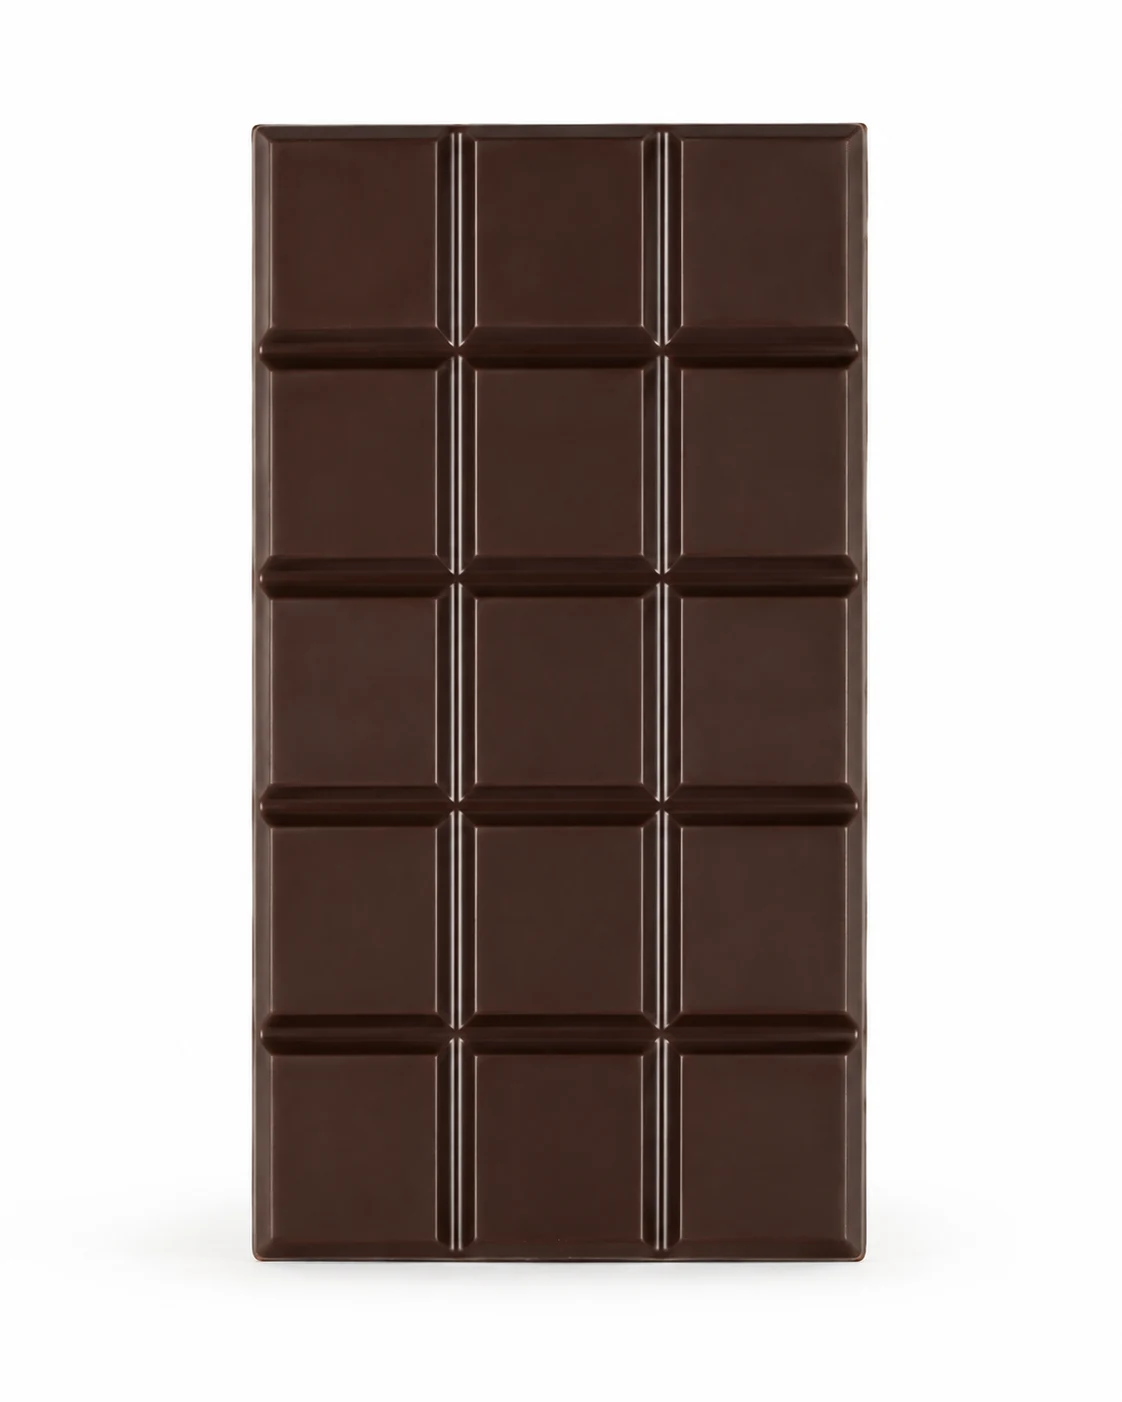
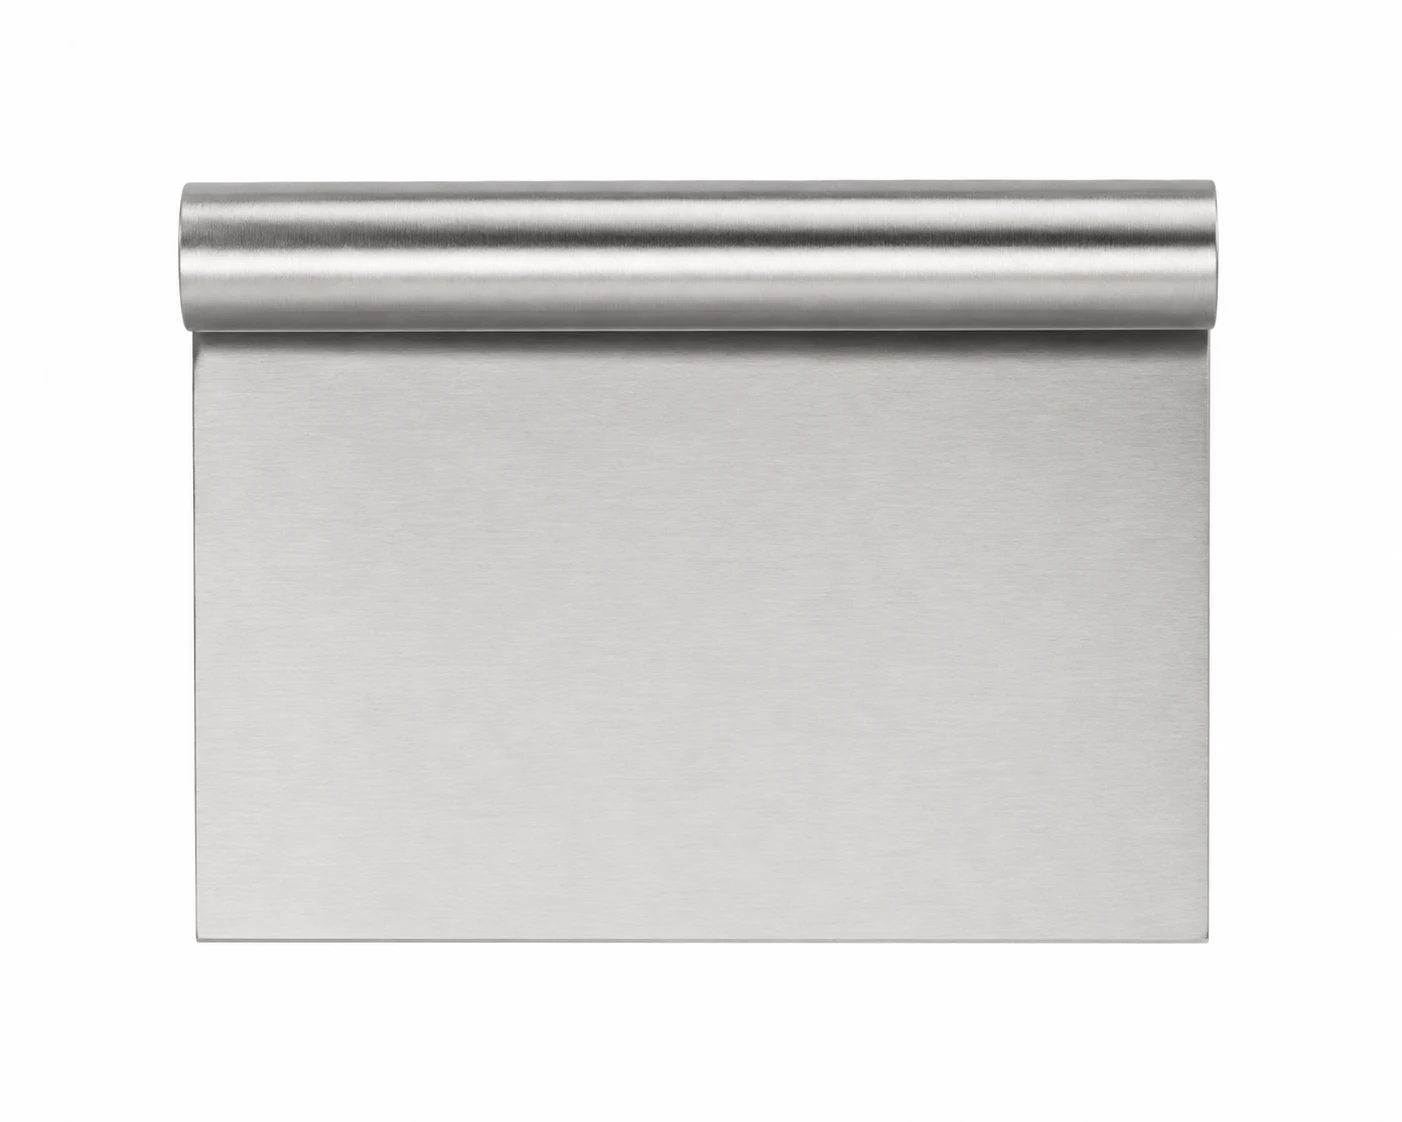
As an Amazon Associate I earn from qualifying purchases.
Make It Tonight!
This triple chocolate ombre cake combines three chocolate flavors with a striking finish that looks far more complicated than it really is. Every slice reveals distinct layers, creamy frosting, and plenty of chocolate without feeling overworked. Whether it’s for a birthday, holiday, or an ordinary Saturday that deserves better dessert, this cake delivers the kind of reve
🍽️ Recipes You Can Try
Loved this one? Here are a few more worth your time.

Triple chocolate ombre cake
Soft, fluffy, and ready in 45 min — this triple chocolate ombre cake recipe is easy to make with simple ingredients and delivers reliable results every time.
💛 Why You’ll Love This Recipe
- ✓2 1/4 cups (280g) all-purpose flour — the foundation, so don’t freestyle it.
- ✓3/4 cup (65g) unsweetened cocoa powder — deep chocolate flavor without drama.
- ✓2 tsp baking powder — your cake’s personal trainer.
- ✓1 1/2 tsp baking soda — teamwork makes fluffy cakes.
- ✓1 tsp fine salt — chocolate loves a little balance.
- ✓2 cups (400g) granulated sugar — sweetness with structure.
- ✓2 large eggs, room temperature — cold eggs act stubborn.
- ✓1/2 cup (120ml) vegetable oil — keeps everything soft for days.
- ✓1 cup (240ml) buttermilk, room temperature — the secret to a tender crumb.
- ✓1 cup (240ml) hot coffee — boosts chocolate flavor without tasting like coffee.
- ✓2 tsp vanilla extract — because plain is boring.
- ✓4 oz (115g) melted dark chocolate — rich bottom layer.
- ✓4 oz (115g) melted milk chocolate — smooth middle layer.
- ✓4 oz (115g) melted white chocolate — creamy top layer.
- ✓2 cups (454g) unsalted butter, softened — silky frosting starts here.
- ✓6 cups (720g) powdered sugar — fluffy magic dust.
- ✓3 tbsp heavy cream — adjust until spreadable.
- ✓2 tsp vanilla extract — flavor insurance.
- ✓Pinch of salt — keeps sweetness under control.
- ✓2 tbsp cocoa powder — for the darkest frosting shade.
- ✓2 oz (55g) melted milk chocolate — creates the middle shade naturally.
- ✓Chocolate curls — instant bakery vibes.
- ✓Chocolate shavings — because moderation stayed home.
- ✓Mini chocolate truffles — if you’re feeling extra.
- ▢Mixing bowls
- ▢Whisk
- ▢Baking pan or muffin tin
- ▢Cooling rack
- ▢Measuring cups/spoons
- 1Preheat the oven to 350°F (175°C) and grease three 8-inch cake pans. Line the bottoms with parchment so your cakes leave the pans willingly instead of staging a protest.
- 2Whisk the flour, cocoa powder, baking powder, baking soda, and salt until evenly mixed. Mix the sugar, eggs, oil, buttermilk, vanilla, and hot coffee separately before combining everything into a smooth batter.
- 3Divide the batter evenly into three bowls. Stir dark chocolate into one bowl, milk chocolate into another, and white chocolate into the last so each layer develops its own flavor and color.
- 4Bake for 25–30 minutes until a toothpick comes out with a few moist crumbs. I discovered the hard way that overbaking by just four minutes turned one layer slightly dry, so start checking early.
- 5Cool the cakes in their pans for 10 minutes, then transfer them to a wire rack. Chill the layers for 30 minutes before frosting because cold cakes behave far better.
- 6Beat the butter until pale, then gradually add powdered sugar, cream, vanilla, and salt. Divide the buttercream into three bowls, leaving one white, tinting one with melted milk chocolate, and mixing cocoa into the last for a dark finish.
- 7Stack the cakes with buttercream between each layer, then apply a thin crumb coat. Refrigerate for 20 minutes until the frosting feels firm to the touch.
- 8Frost the bottom third with dark buttercream, the middle with milk chocolate buttercream, and the top with white buttercream. Smooth gently with a bench scraper until the colors blend into a soft gradient without overmixing. The triple chocolate ombre cake should show three distinct shades instead of one blended color.
- 9Decorate with chocolate curls, shavings, or truffles. The frosting should smell buttery and lightly chocolaty, and the ombre should remain visible after smoothing—that’s your cue to stop fussing.
💡 Tips for Perfect Results
- ✔️Bring butter and eggs to room temperature before mixing for a smoother batter.
- ✔️Don’t overmix the batter — stop as soon as it’s combined to keep it tender.
- ✔️Let baked goods cool completely before cutting or frosting.
🧊 Storage
Store in an airtight container at room temperature for up to 3 days, refrigerate for up to a week, or freeze for up to 3 months.
Nutrition Information
(per serving)* Estimated values based on typical ingredients — actual nutrition may vary. % Daily Values based on a 2,000 calorie diet.
❓ Frequently Asked Questions
Can I make triple chocolate ombre cake a day ahead?
Yes. Bake the cake layers a day in advance, wrap them tightly, and keep them at room temperature. Assemble and frost the next day for the freshest finish.
How should I store triple chocolate ombre cake?
Store the cake covered in the refrigerator for up to 4 days. Let slices sit at room temperature for about 30 minutes before serving so the buttercream softens.
Can I freeze the cake?
Yes. Freeze unfrosted layers for up to 2 months, wrapped well in plastic wrap and foil. Thaw overnight in the refrigerator before decorating.
Why did my ombre frosting blend into one color?
The frosting became too soft or you scraped too many times. Chill the cake for 10 to 15 minutes between smoothing passes, then make only a few gentle strokes to preserve the gradient.
