


By Jamie Cook — Home cook sharing tested recipes from a real kitchen.
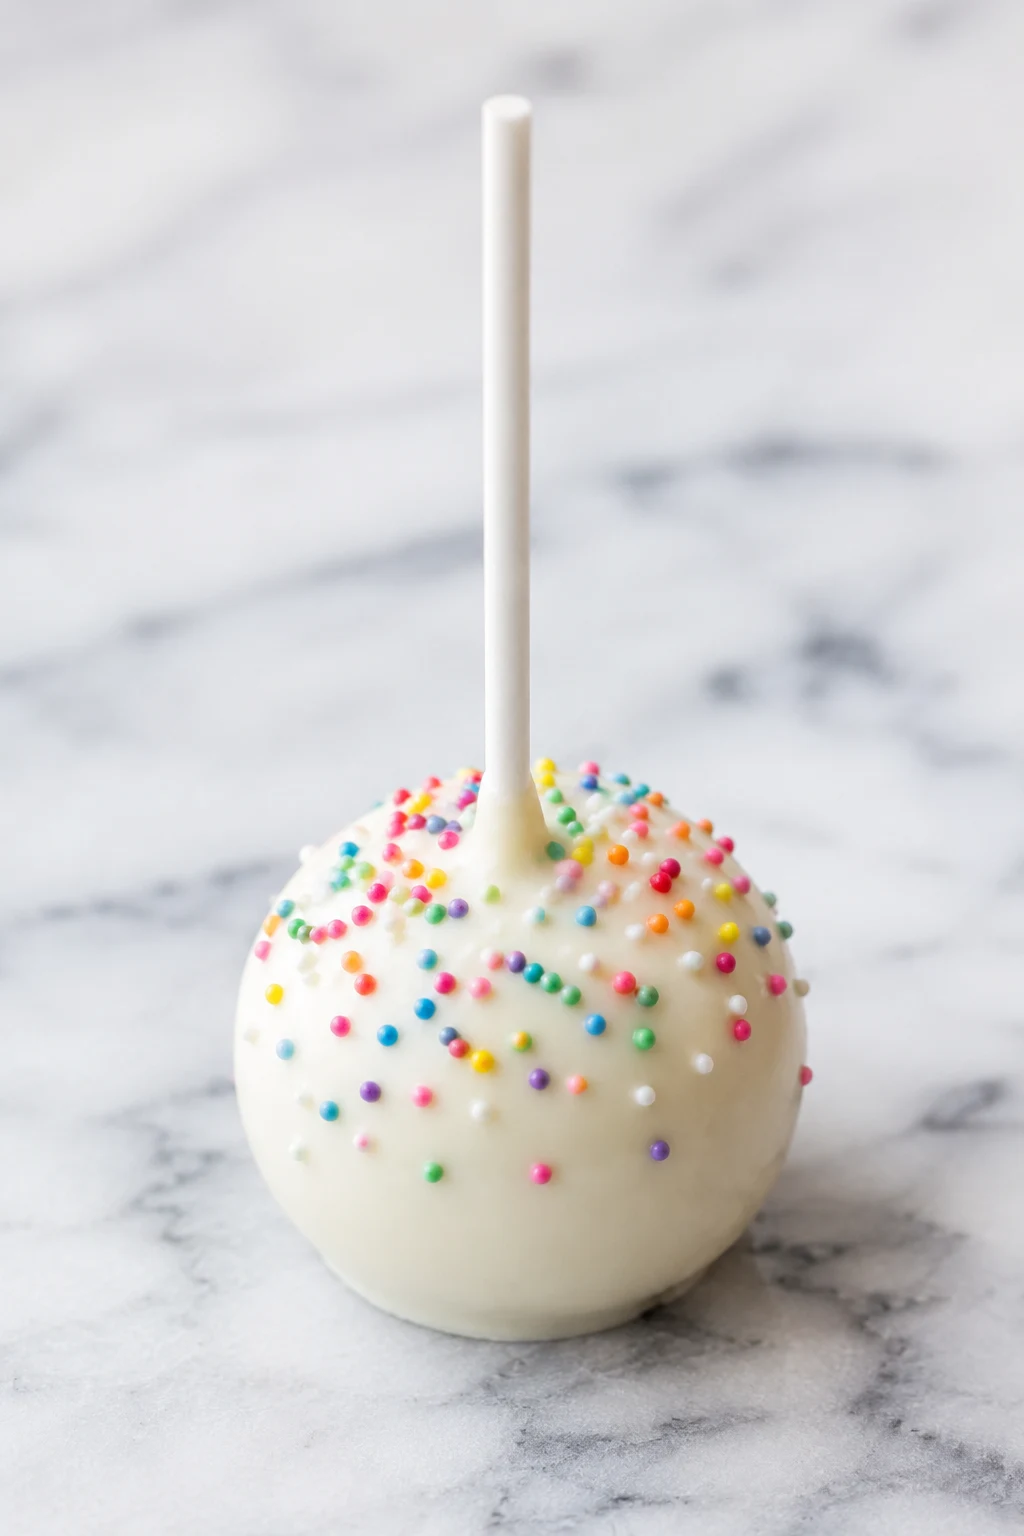
how to make cake pops recipe magic starts with a baked cake, a little frosting, and enough melted coating to make your kitchen look like a tiny candy shop. These bite-sized treats turn a simple cake into something party-ready without requiring professional decorating skills or a degree in pastry engineering. You’ll bake a cake, crumble it, mix in frosting, roll the mixture into balls, add sticks, chill everything, and dip the pops in melted candy coating. The trickiest part is keeping the cake balls firmly attached to the sticks and getting the coating thin enough to dip smoothly. Once you know those two tricks, you’re golden.
Why This Recipe is Awesome
This how to make cake pops recipe is awesome because it turns ordinary boxed cake into ridiculously cute treats with surprisingly little fuss. You don’t need a special cake-pop machine, fancy molds, or seventeen mysterious decorating tools. The freezer and refrigerator do most of the heavy lifting while you stand nearby pretending you’re supervising. You can also change the cake, frosting, coating, and sprinkles to match practically any birthday, holiday, or random Tuesday craving.
Ingredients You’ll Need
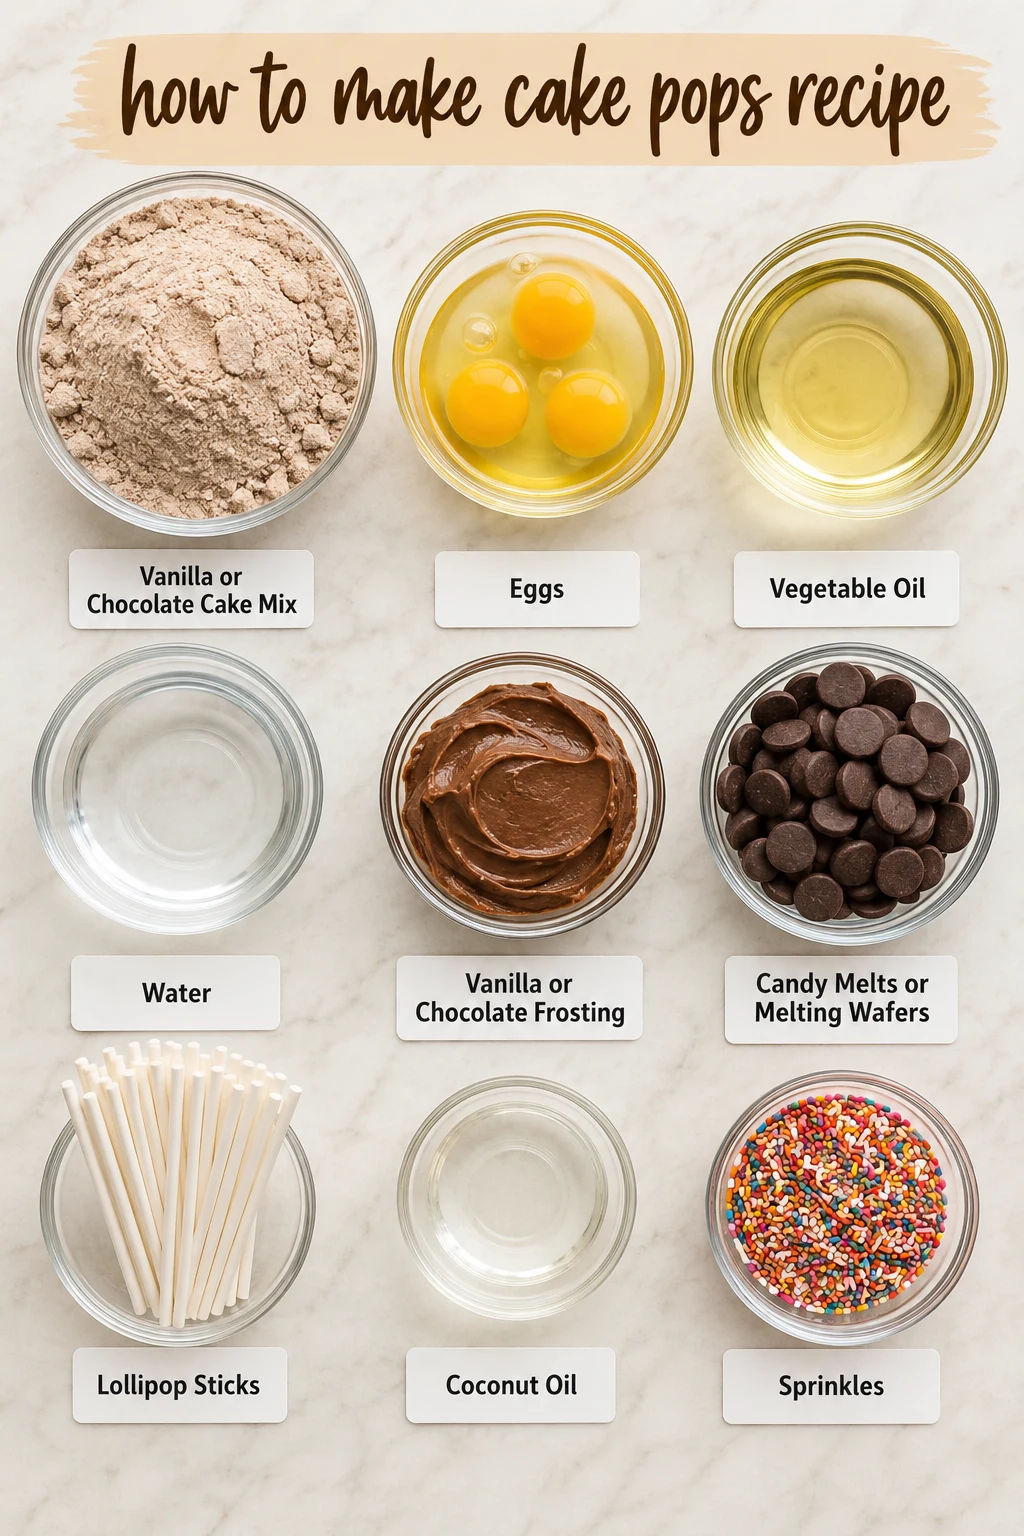
- 1 box (15.25 ounces) vanilla or chocolate cake mix — the shortcut that saves you from baking an entire layer cake from scratch.
- 3 large eggs — because cake still needs structure, even when it plans to become a ball.
- 1/2 cup vegetable oil — keeps the cake soft enough to crumble and reshape.
- 1 cup water — hydration for the cake, because dry cake balls are nobody’s dream.
- 1/2 cup vanilla or chocolate frosting — the edible glue that holds everything together.
- 12 ounces candy melts or melting wafers — your cake pops need a protective little chocolatey jacket.
- 24 lollipop sticks — because cake balls apparently become more exciting when attached to sticks.
- 1 teaspoon coconut oil, optional — helps loosen thick coating without turning it into soup.
- 1/3 cup sprinkles, optional — because plain cake pops are perfectly fine, but sprinkles know how to make an entrance.
Step-by-Step Instructions
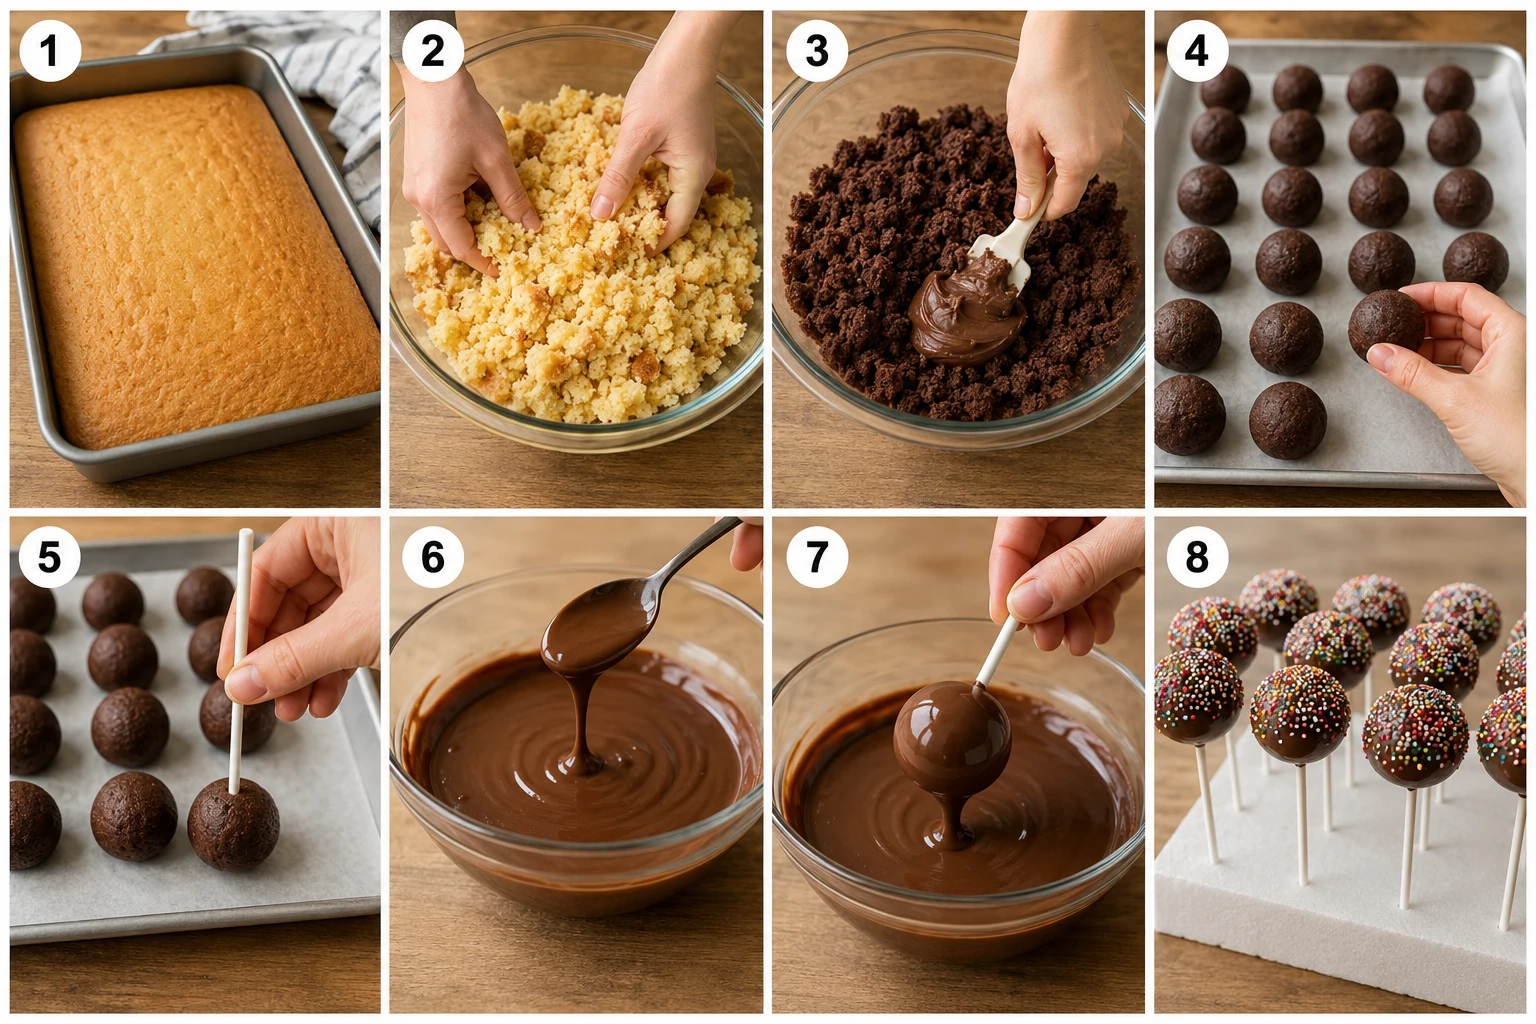
- Bake the cake at 350°F (175°C) until the center springs back and a toothpick comes out clean. Prepare the cake mix according to the package directions using the eggs, oil, and water listed above, then spread the batter into a 9-by-13-inch pan. Bake according to the package timing, usually about 25–30 minutes, and let the cake cool completely before crumbling it.
- Crumble the cooled cake into very fine, even crumbs. Break the cake into a large bowl with your hands and remove any hard browned edges or unusually dry pieces. I learned this the annoying way: one stubborn chunk of crust can leave a lump in an otherwise perfectly smooth cake ball.
- Mix in the frosting gradually until the crumbs hold together like soft cookie dough. Start with about 1/3 cup frosting and mix thoroughly before adding more, working up to roughly 1/2 cup if needed. The mixture should feel moist and moldable without becoming greasy or sticky.
- Roll the mixture into 24 evenly sized balls. Use about 1 tablespoon of mixture for each pop, then roll it gently between your palms until smooth. Place the balls on a parchment-lined baking sheet and refrigerate them for about 30–60 minutes, until firm but not frozen solid.
- Melt a small amount of candy coating and secure the sticks before dipping. Melt about 1/4 cup of the candy melts in the microwave in 20–30-second intervals, stirring after each interval until smooth. Dip about 1/2 inch of each lollipop stick into the melted coating, then push it halfway into a chilled cake ball.
- Chill the cake pops again for about 15 minutes so the sticks stay firmly anchored. Keep the cake balls cold while you prepare the remaining coating, but don’t freeze them rock-hard. For this how to make cake pops recipe, refrigerator-cold cake balls give you a sturdier center without creating the temperature shock that can make coating crack.
- Melt the remaining coating until completely smooth and fluid. Heat the candy melts in short intervals, stirring thoroughly between each one. If the coating looks too thick for dipping, stir in about 1 teaspoon of coconut oil and add a tiny amount more only if necessary.
- Dip each chilled cake pop straight down into the melted coating and gently tap off the excess. Avoid aggressively swirling the pop, because too much movement can loosen the cake ball from the stick. Hold the pop over the bowl and gently tap your wrist or the stick until the coating forms a smooth, even shell.
- Decorate the cake pops immediately before the coating sets. Add sprinkles while the surface still looks wet, then place each finished pop upright in a cake-pop stand, sturdy cardboard box, or piece of styrofoam. Let the coating harden at room temperature for about 15 minutes, or refrigerate for another 15 minutes if you need to speed things up.
Common Mistakes to Avoid
- Adding too much frosting — Your cake mixture should hold together, not resemble chocolate pudding. Add frosting gradually.
- Making enormous cake balls — Bigger isn’t better here. Keep them around 1 tablespoon each so the sticks can support them.
- Skipping the stick-dipping step — Dip the stick in melted coating first. It creates an edible anchor inside the cake ball.
- Dipping frozen cake balls into hot coating — The temperature difference can encourage cracks. Chill them, but don’t turn them into cake-ball ice cubes.
- Using thick coating — If the candy coating refuses to slide smoothly over the cake, thin it slightly with coconut oil rather than fighting it with a spoon.
Alternatives & Substitutions
This how to make cake pops recipe works with almost any cake-and-frosting combination, so feel free to raid the pantry before buying anything special. Use chocolate cake with chocolate frosting for a rich version, red velvet with cream cheese-style frosting for a tangy twist, or funfetti cake with vanilla frosting when subtlety has left the building.
For a dairy-free batch, choose a dairy-free cake mix, dairy-free frosting, and dairy-free candy coating. For a gluten-free version, use a gluten-free cake mix and verify that the frosting and coating also meet your requirements.
You can also replace candy melts with melting wafers or suitable baking chocolate, although chocolate may need tempering if you want a firm, glossy finish at room temperature. And if you don’t have lollipop sticks, skip them entirely and make cake truffles. Serve the coated balls in mini cupcake liners instead.
For another easy party dessert, try these easy chocolate cupcakes or make a batch of homemade sugar cookies for the same dessert table.
Frequently Asked Questions
How do you store homemade cake pops?
Store fully coated cake pops in an airtight container in the refrigerator for up to 3 days for the best texture. If you refrigerate them, let them sit briefly before serving so the coating isn’t unpleasantly cold.
Can you make cake pops ahead of time?
Yes, you can make cake pops ahead of time and refrigerate the finished pops for up to 3 days. You can also prepare and chill the cake balls ahead of time, then dip and decorate them closer to serving for the freshest-looking coating.
Why are my cake pops falling off the sticks?
Cake pops usually fall from their sticks when the cake mixture is too soft, the balls are too large, or the stick wasn’t anchored with melted coating. Chill the shaped balls until firm and always dip the end of the stick in melted coating before inserting it.
Why is my cake pop coating cracking?
Cake pop coating can crack when a very cold cake ball meets warm coating, causing the center and shell to change temperature at different rates. Refrigerate the balls until firm rather than freezing them solid, and allow freshly melted coating to cool slightly before dipping.
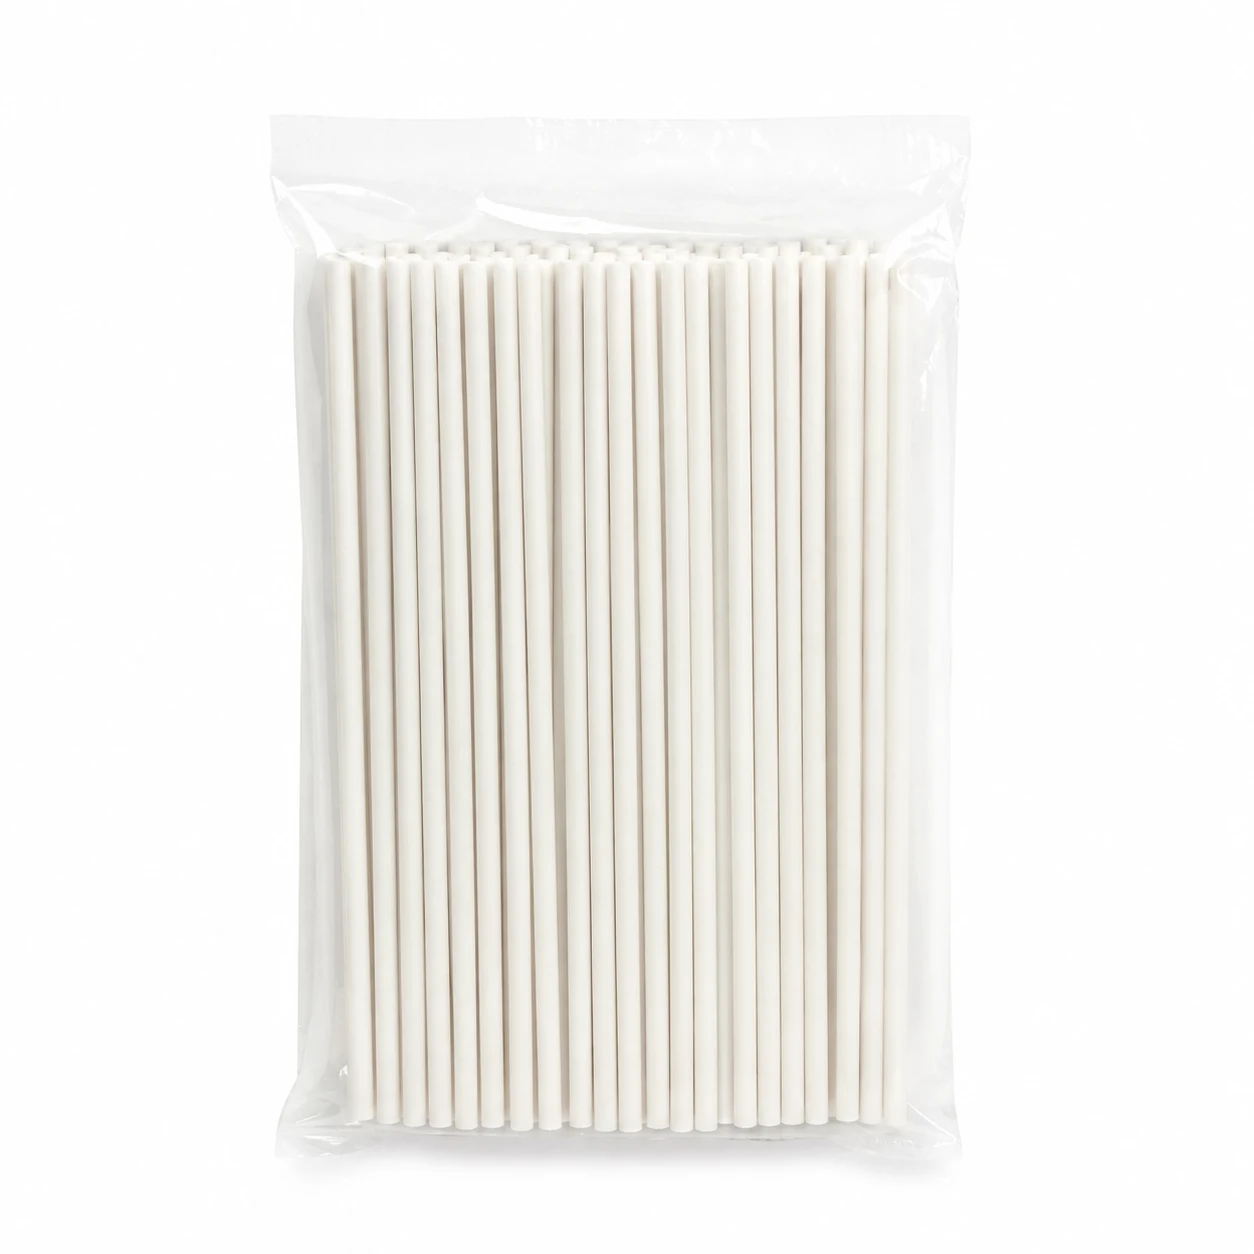
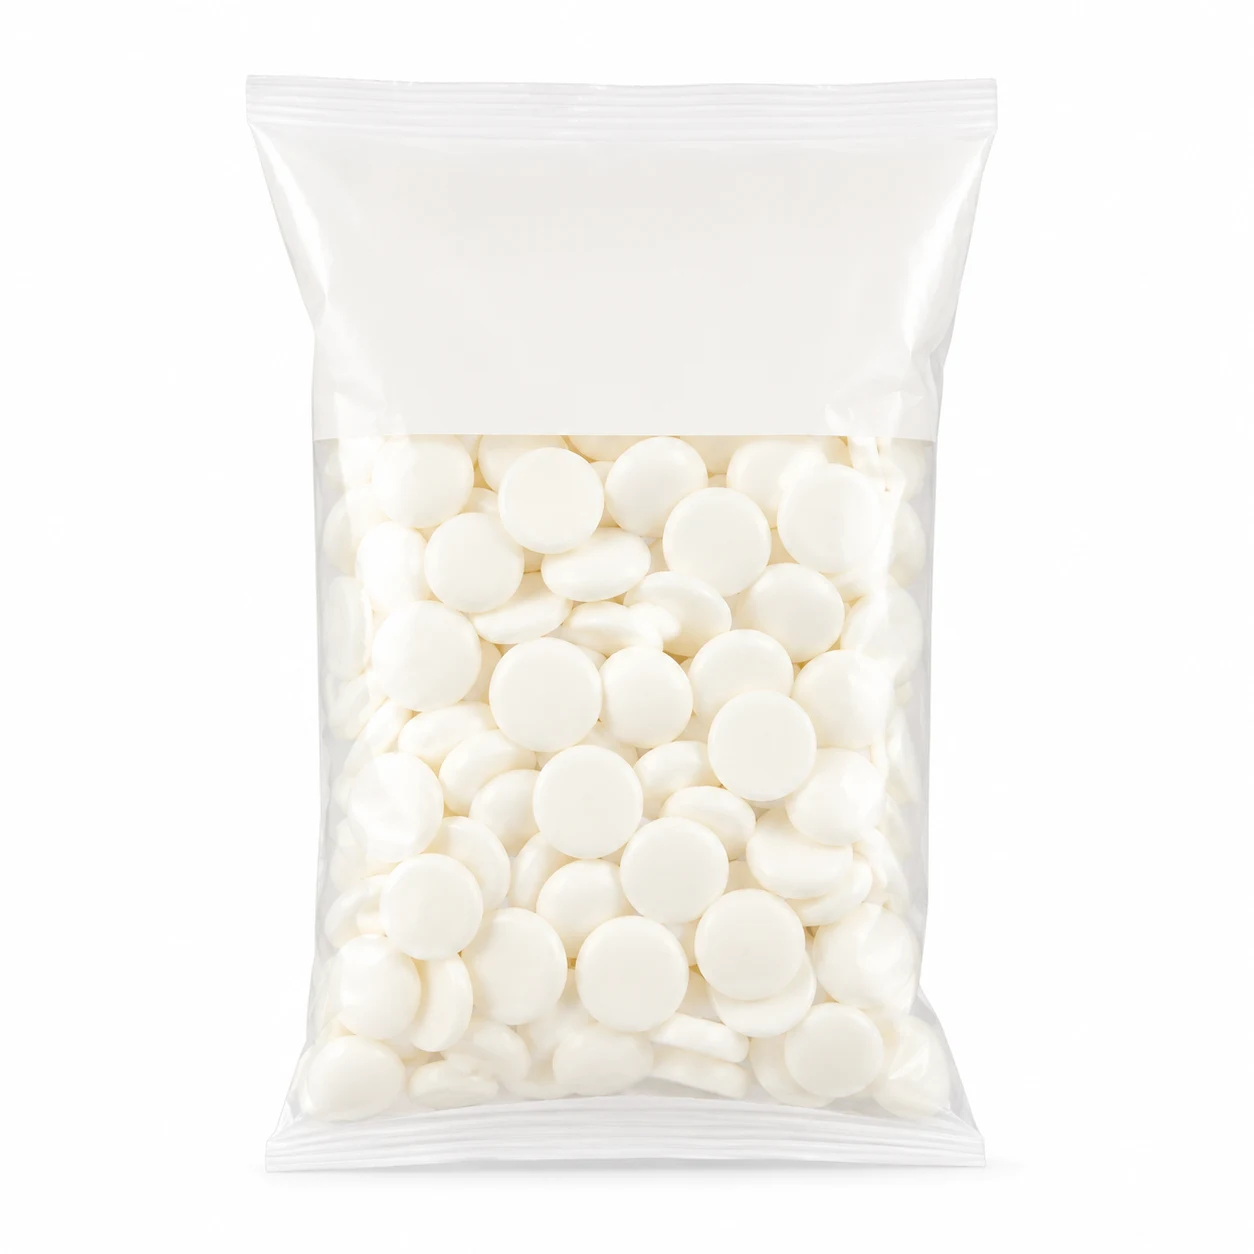
🛒 Wilton White 6-Inch Lollipop Sticks, 35-Count Pack & Wilton Candy Melts Candy, Bright White, 12 oz
Everything you need to make this dish perfectly:
As an Amazon Associate I earn from qualifying purchases.
Make It Tonight!
Cake pops look like they require professional-level patience, but this how to make cake pops recipe keeps the process completely manageable with a cake mix, frosting, sticks, and melted coating. Make them for a birthday, package them as edible gifts, or simply turn leftover cake into something far more exciting. Don’t worry if the first few aren’t perfectly round—the sprinkles are excellent at covering evidence. Roll it, dip it, sprinkle it, and call it dessert.
🍽️ Recipes You Can Try
Loved this one? Here are a few more worth your time.
How to make cake pops recipe
Soft, fluffy, and ready in 45 min — this how to make cake pops recipe recipe is easy to make with simple ingredients and delivers reliable results every time.
💛 Why You’ll Love This Recipe
- ✓1 box (15.25 ounces) vanilla or chocolate cake mix — the shortcut that saves you from baking an entire layer cake from scratch.
- ✓3 large eggs — because cake still needs structure, even when it plans to become a ball.
- ✓1/2 cup vegetable oil — keeps the cake soft enough to crumble and reshape.
- ✓1 cup water — hydration for the cake, because dry cake balls are nobody’s dream.
- ✓1/2 cup vanilla or chocolate frosting — the edible glue that holds everything together.
- ✓12 ounces candy melts or melting wafers — your cake pops need a protective little chocolatey jacket.
- ✓24 lollipop sticks — because cake balls apparently become more exciting when attached to sticks.
- ✓1 teaspoon coconut oil, optional — helps loosen thick coating without turning it into soup.
- ✓1/3 cup sprinkles, optional — because plain cake pops are perfectly fine, but sprinkles know how to make an entrance.
- ▢Mixing bowls
- ▢Whisk
- ▢Baking pan or muffin tin
- ▢Cooling rack
- ▢Measuring cups/spoons
- 1Bake the cake at 350°F (175°C) until the center springs back and a toothpick comes out clean. Prepare the cake mix according to the package directions using the eggs, oil, and water listed above, then spread the batter into a 9-by-13-inch pan. Bake according to the package timing, usually about 25–30 minutes, and let the cake cool completely before crumbling it.
- 2Crumble the cooled cake into very fine, even crumbs. Break the cake into a large bowl with your hands and remove any hard browned edges or unusually dry pieces. I learned this the annoying way: one stubborn chunk of crust can leave a lump in an otherwise perfectly smooth cake ball.
- 3Mix in the frosting gradually until the crumbs hold together like soft cookie dough. Start with about 1/3 cup frosting and mix thoroughly before adding more, working up to roughly 1/2 cup if needed. The mixture should feel moist and moldable without becoming greasy or sticky.
- 4Roll the mixture into 24 evenly sized balls. Use about 1 tablespoon of mixture for each pop, then roll it gently between your palms until smooth. Place the balls on a parchment-lined baking sheet and refrigerate them for about 30–60 minutes, until firm but not frozen solid.
- 5Melt a small amount of candy coating and secure the sticks before dipping. Melt about 1/4 cup of the candy melts in the microwave in 20–30-second intervals, stirring after each interval until smooth. Dip about 1/2 inch of each lollipop stick into the melted coating, then push it halfway into a chilled cake ball.
- 6Chill the cake pops again for about 15 minutes so the sticks stay firmly anchored. Keep the cake balls cold while you prepare the remaining coating, but don’t freeze them rock-hard. For this how to make cake pops recipe, refrigerator-cold cake balls give you a sturdier center without creating the temperature shock that can make coating crack.
- 7Melt the remaining coating until completely smooth and fluid. Heat the candy melts in short intervals, stirring thoroughly between each one. If the coating looks too thick for dipping, stir in about 1 teaspoon of coconut oil and add a tiny amount more only if necessary.
- 8Dip each chilled cake pop straight down into the melted coating and gently tap off the excess. Avoid aggressively swirling the pop, because too much movement can loosen the cake ball from the stick. Hold the pop over the bowl and gently tap your wrist or the stick until the coating forms a smooth, even shell.
- 9Decorate the cake pops immediately before the coating sets. Add sprinkles while the surface still looks wet, then place each finished pop upright in a cake-pop stand, sturdy cardboard box, or piece of styrofoam. Let the coating harden at room temperature for about 15 minutes, or refrigerate for another 15 minutes if you need to speed things up.
💡 Tips for Perfect Results
- ✔️Bring butter and eggs to room temperature before mixing for a smoother batter.
- ✔️Don’t overmix the batter — stop as soon as it’s combined to keep it tender.
- ✔️Let baked goods cool completely before cutting or frosting.
🧊 Storage
Store in an airtight container at room temperature for up to 3 days, refrigerate for up to a week, or freeze for up to 3 months.
Nutrition Information
(per serving)* Estimated values based on typical ingredients — actual nutrition may vary. % Daily Values based on a 2,000 calorie diet.
❓ Frequently Asked Questions
How do you store homemade cake pops?
Store fully coated cake pops in an airtight container in the refrigerator for up to 3 days for the best texture. If you refrigerate them, let them sit briefly before serving so the coating isn’t unpleasantly cold.
Can you make cake pops ahead of time?
Yes, you can make cake pops ahead of time and refrigerate the finished pops for up to 3 days. You can also prepare and chill the cake balls ahead of time, then dip and decorate them closer to serving for the freshest-looking coating.
Why are my cake pops falling off the sticks?
Cake pops usually fall from their sticks when the cake mixture is too soft, the balls are too large, or the stick wasn’t anchored with melted coating. Chill the shaped balls until firm and always dip the end of the stick in melted coating before inserting it.
Why is my cake pop coating cracking?
Cake pop coating can crack when a very cold cake ball meets warm coating, causing the center and shell to change temperature at different rates. Refrigerate the balls until firm rather than freezing them solid, and allow freshly melted coating to cool slightly before dipping.
