


By Jamie Cook — Home cook sharing tested recipes from a real kitchen.
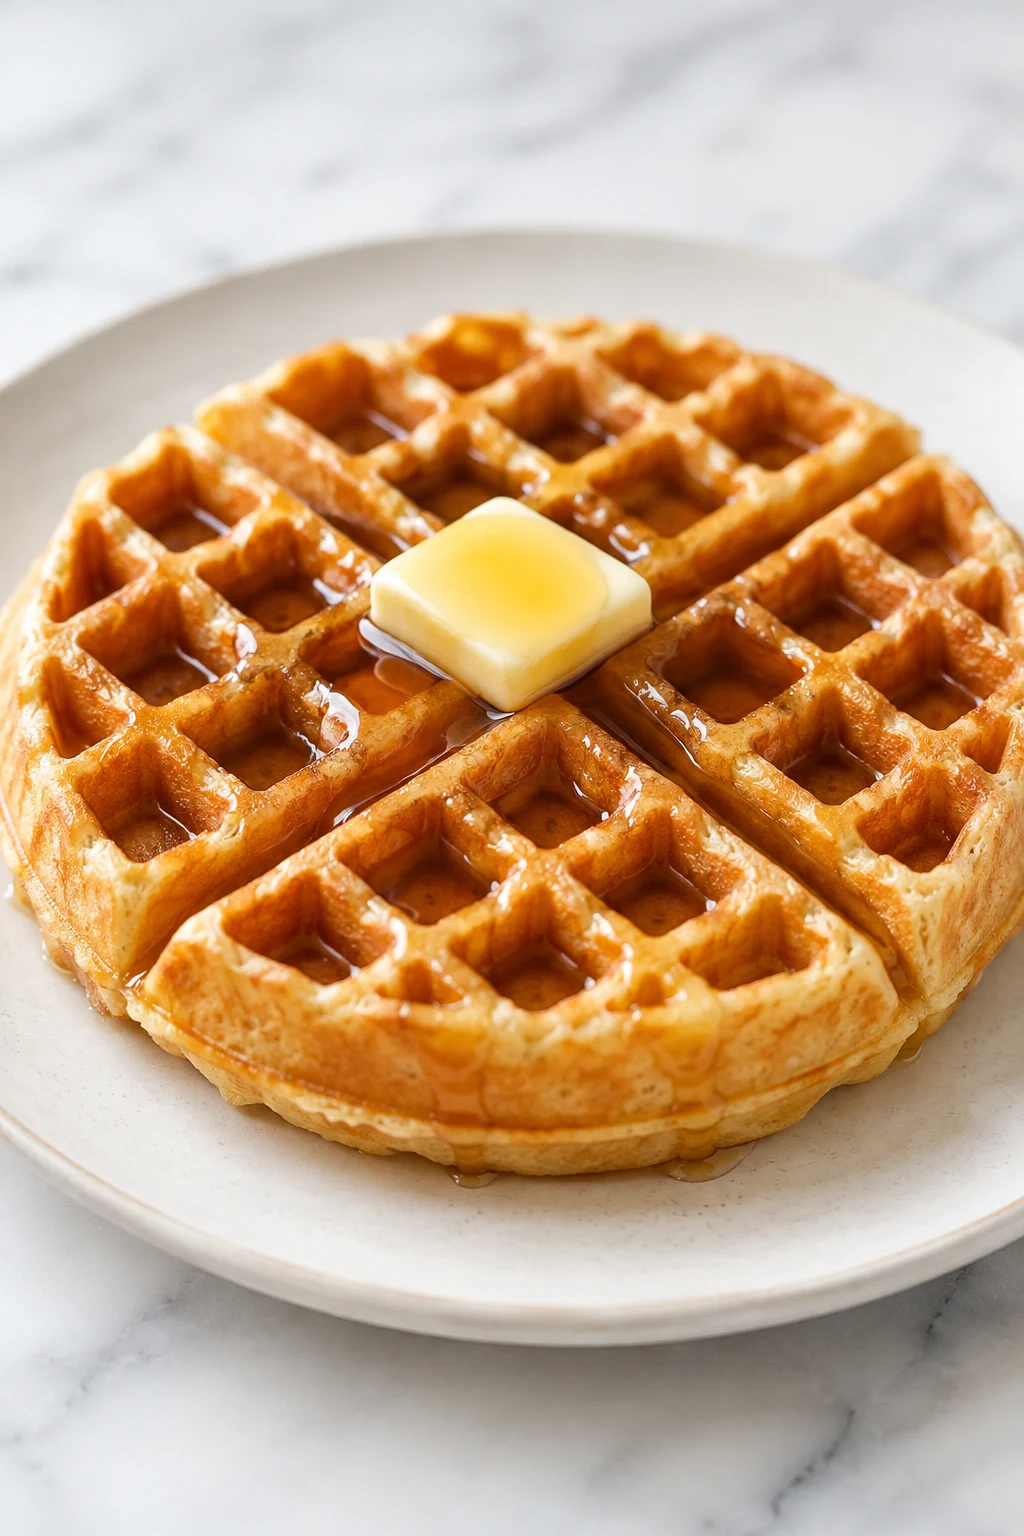
homemade waffle recipe days are the best kind of breakfast days because nobody has to pretend cereal is exciting. This easy from-scratch version makes waffles with crisp golden edges, a fluffy center, and deep little pockets ready to catch butter and maple syrup. The batter uses everyday ingredients, comes together quickly, and skips fussy techniques like whipping egg whites. You can use regular milk or buttermilk, and you can freeze extras for another morning when cooking feels suspiciously ambitious. Give the waffle iron enough time to heat before the first pour, and watch for a deep golden surface rather than relying only on the timer.
Why This Recipe is Awesome
This homemade waffle recipe gives you the crispy-fluffy contrast that makes waffles worth dirtying an extra bowl for. A little cornstarch keeps the texture light and crisp, while melted butter brings the flavor without turning your waffle maker into a greasy crime scene. The batter takes about 10 minutes to mix, and the waffles cook in roughly 3–5 minutes each, depending on your machine. No yeast, no overnight batter, no breakfast engineering degree required.
Ingredients You’ll Need
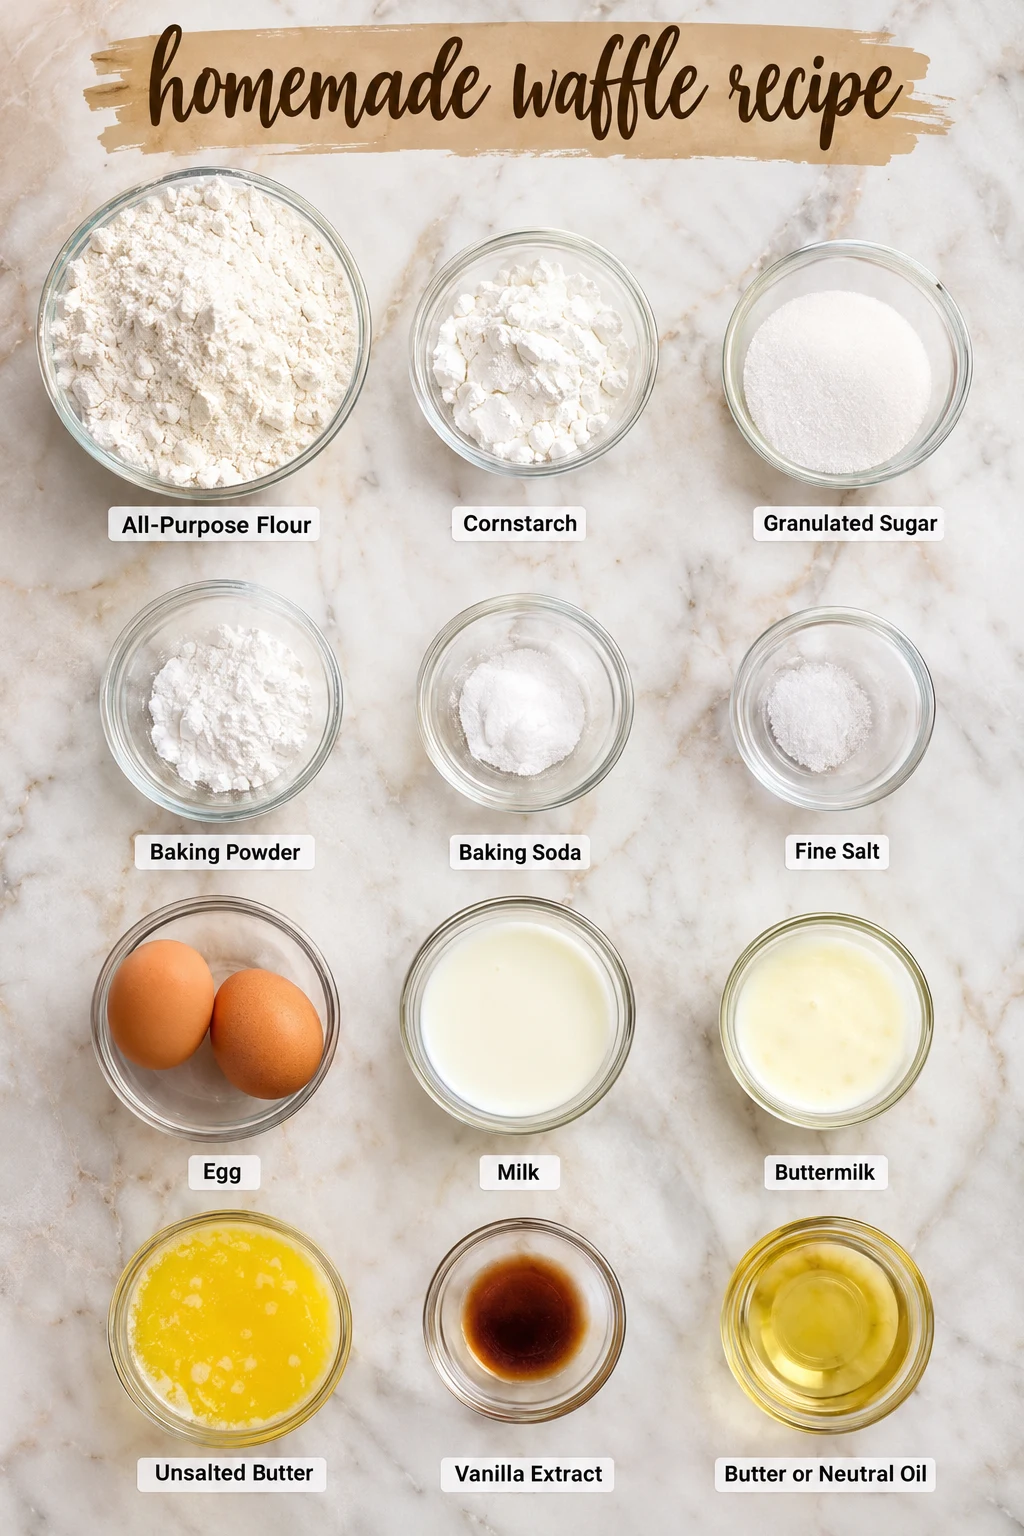
- 2 cups (250 g) all-purpose flour — the backbone of the waffle, so actually measure it instead of scooping a mountain and hoping for the best.
- 1/4 cup (30 g) cornstarch — the little trick that helps create crisp edges and a lighter interior.
- 2 tablespoons granulated sugar — enough sweetness for breakfast without turning these into cake.
- 2 teaspoons baking powder — the lift crew.
- 1/2 teaspoon baking soda — especially useful if you use buttermilk.
- 1/2 teaspoon fine salt — because bland waffles are basically edible cardboard.
- 2 large eggs — they provide structure and richness.
- 1 1/2 cups (360 ml) milk — regular whole or 2% milk works well.
- 1/2 cup (120 ml) buttermilk — adds tang and works with the baking soda for extra lift.
- 6 tablespoons (85 g) unsalted butter, melted and slightly cooled — buttery flavor without scorching the eggs.
- 1 teaspoon vanilla extract — optional, but highly recommended for a sweeter breakfast aroma.
- Butter or neutral oil for the waffle iron — use a light coating, not a swimming pool.
Step-by-Step Instructions
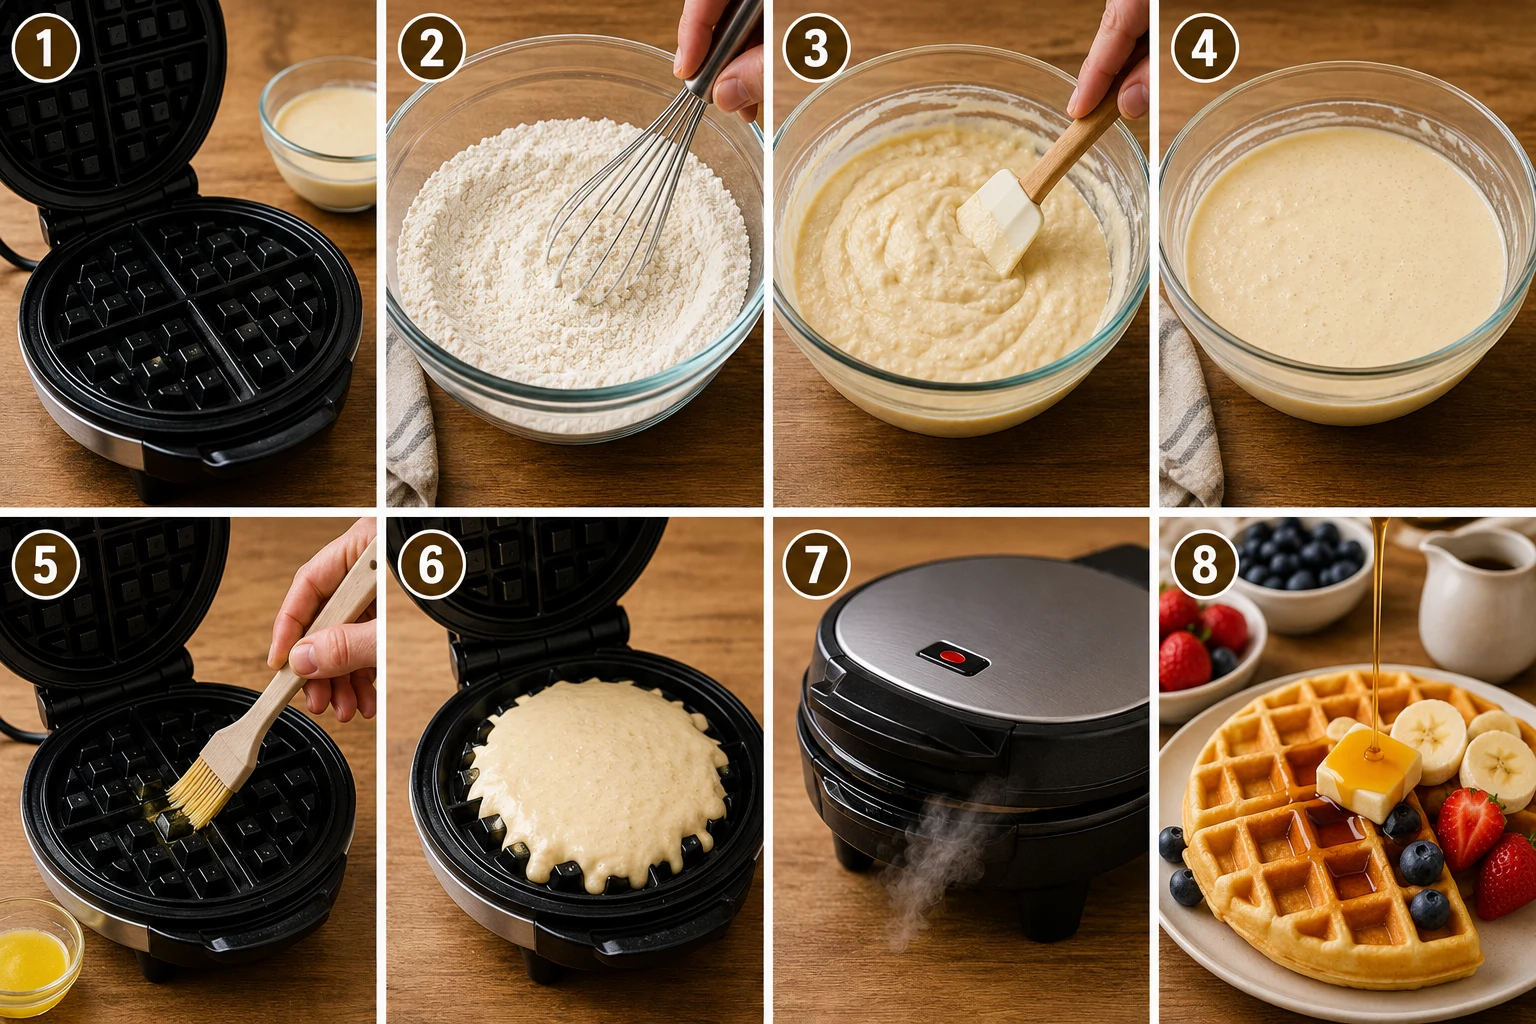
- Preheat the waffle maker to medium-high heat, around 375–400°F (190–205°C) if your machine provides a temperature setting. Let it heat fully before mixing the batter so the first waffle gets the same treatment as the last one. A properly heated iron should make a small drop of batter sizzle immediately when it hits the plate.
- Whisk the flour, cornstarch, sugar, baking powder, baking soda, and salt together in a large bowl. Break up any obvious lumps, but don’t spend five minutes trying to create laboratory-grade flour perfection.
- Whisk the eggs, milk, buttermilk, melted butter, and vanilla in a second bowl. Make sure the melted butter has cooled slightly; very hot butter can cook little bits of egg before they ever reach the waffle iron.
- Pour the wet mixture into the dry ingredients and stir just until combined. A few small lumps are completely fine; overmixing develops gluten and can turn fluffy waffles into chewy breakfast frisbees.
- Let the batter rest for 5–10 minutes while the waffle maker finishes heating. The batter should look thick but pourable, similar to a loose cake batter rather than pancake soup.
- Lightly grease the hot waffle plates with butter or neutral oil. Add enough batter to cover most of the lower grid without reaching the edges, because the batter expands as it cooks and nobody enjoys scraping escaped waffle batter off the counter.
- Close the waffle maker and cook for about 3–5 minutes, following your machine’s indicator if it has one. Resist the urge to peek early; steam escaping from the sides usually means the waffle still needs time, while a deep golden-brown surface and noticeably reduced steam signal that it’s close.
- Remove the waffle carefully and place it directly on a wire rack instead of stacking it on a plate. Keeping the waffle exposed to air preserves the crisp surface; stacking hot waffles traps steam and softens the edges.
- Repeat with the remaining batter, lightly greasing the plates again only when needed. This homemade waffle recipe should produce approximately 6–8 standard waffles, although the exact number depends on the size and depth of your waffle maker.
- Serve immediately with butter, maple syrup, berries, sliced bananas, whipped cream, or your favorite toppings. For a fun breakfast spread, pair the waffles with easy cinnamon pancakes or add a savory side such as crispy breakfast potatoes.
Common Mistakes to Avoid
- Opening the waffle maker too early: If the waffle tears when you lift the lid, it probably wasn’t finished. Give it another minute or two.
- Overmixing the batter: Stop stirring once the flour disappears. Tiny lumps are far less offensive than tough waffles.
- Using a cold waffle iron: The first waffle will often turn pale and soft if the plates haven’t fully preheated.
- Overfilling the plates: Start with less batter than you think you need. You can always add more next round; cleaning batter from the countertop is considerably less fun.
- Stacking finished waffles: Steam is the enemy of crispness. Keep cooked waffles on a wire rack until you’re ready to serve.
Alternatives & Substitutions
This homemade waffle recipe works well with several simple swaps, so you don’t need a perfectly stocked kitchen to make breakfast happen.
For buttermilk-free waffles, replace the 1/2 cup buttermilk with another 1/2 cup milk and add 1 teaspoon lemon juice or white vinegar to the milk. Let it stand for about 5 minutes before using it.
For whole-wheat waffles, replace up to 1 cup of the all-purpose flour with whole-wheat flour. Expect a slightly denser waffle with a more pronounced wheat flavor; adding more whole-wheat flour can make the texture noticeably heavier.
For dairy-free waffles, use unsweetened oat or almond milk and replace the melted butter with the same amount of melted dairy-free butter or a neutral oil. Choose unsweetened milk so you don’t accidentally turn breakfast into dessert.
For a sweeter waffle, add another tablespoon of sugar or a little extra vanilla. For savory waffles, reduce the sugar to 1 teaspoon, skip the vanilla, and add shredded cheese, chopped herbs, or cooked crumbled bacon.
If you want extra-crispy waffles, don’t stack them after cooking and avoid covering them while they’re hot. A few minutes on a wire rack makes a surprisingly noticeable difference.
Frequently Asked Questions
How do you store homemade waffles?
Cooked waffles keep in an airtight container in the refrigerator for up to 3 days. For longer storage, freeze them in a single layer until firm, then transfer them to a freezer-safe bag or container.
Can you make waffle batter ahead of time?
You can prepare the dry and wet mixtures separately several hours ahead and refrigerate them, then combine them shortly before cooking. For the best lift and texture, avoid leaving fully mixed batter sitting for a long time because the chemical leaveners begin working once the wet ingredients meet the dry ingredients.
Why are my homemade waffles not crispy?
Waffles usually lose crispness when the iron isn’t hot enough, the waffles don’t cook long enough, or finished waffles sit stacked while they are still steaming. Cook until deeply golden and place each finished waffle on a wire rack rather than directly on a plate.
Can you freeze homemade waffles?
Yes, homemade waffles freeze very well for about 2–3 months when wrapped tightly and stored in a freezer-safe container or bag. Reheat them directly from frozen in a toaster or toaster oven until hot and crisp instead of microwaving them, which tends to soften the surface.
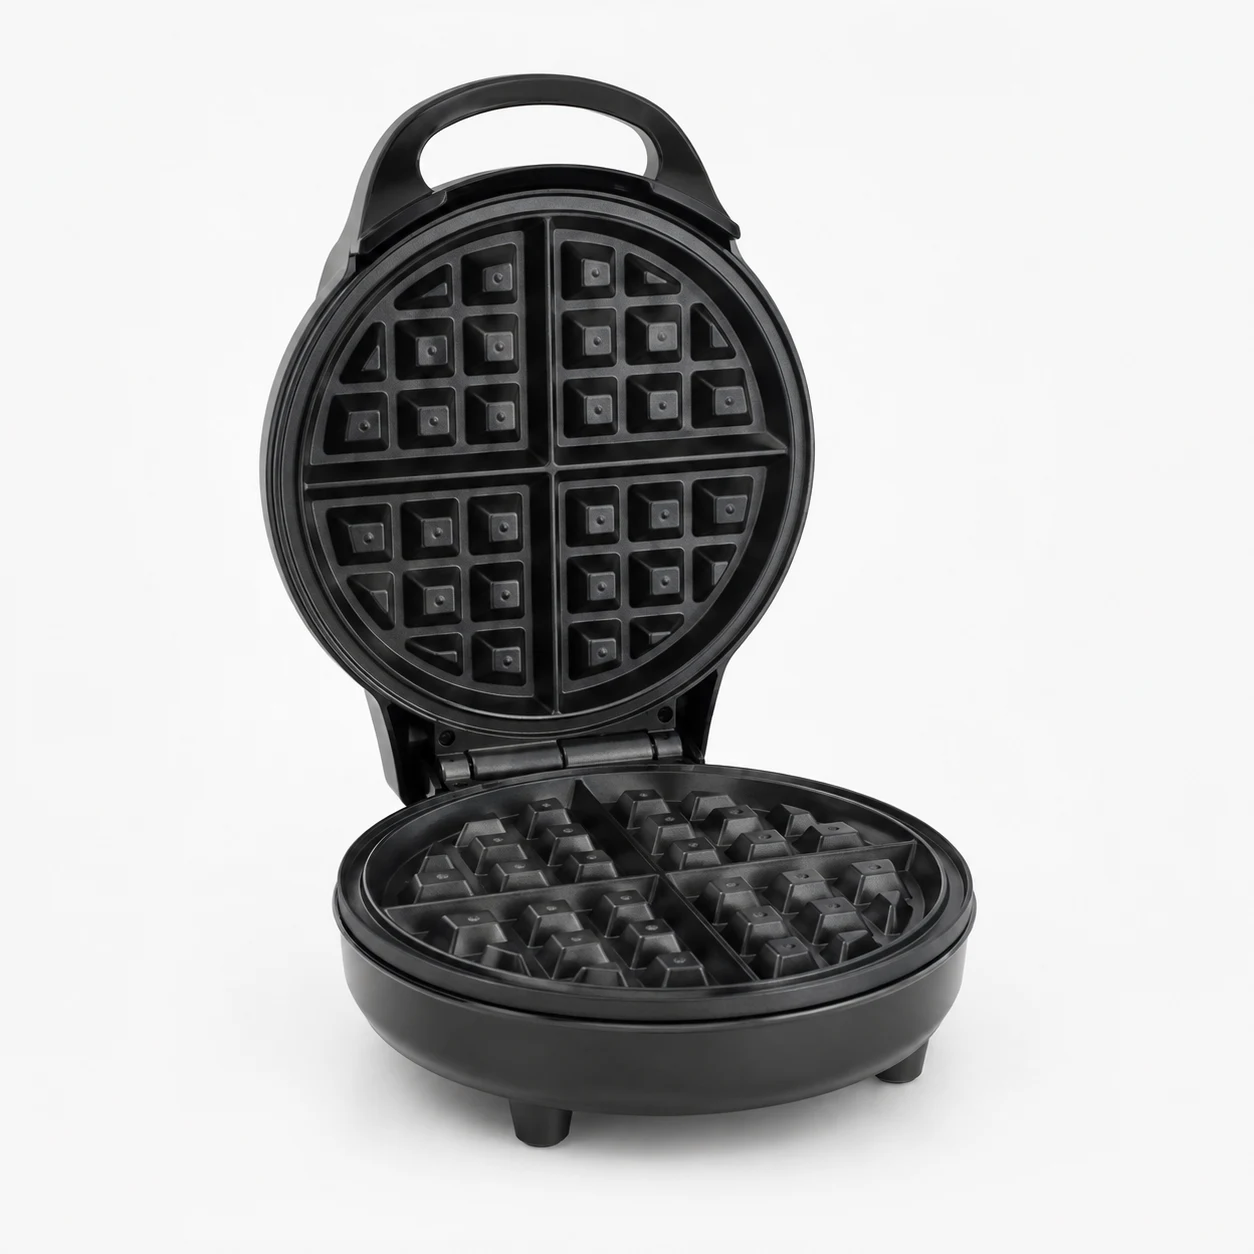
🛒 Cuisinart WAF-F10 Belgian Waffle Maker & King Arthur Baking Company Unbleached All-Purpose Flour
Everything you need to make this dish perfectly:
As an Amazon Associate I earn from qualifying purchases.
Make It Tonight!
A good homemade waffle recipe doesn’t need complicated ingredients or a Sunday-morning commitment worthy of a restaurant kitchen. Make the batter, heat that waffle iron properly, and let the steam tell you when the waffles are ready. Keep a few extras in the freezer because future-you deserves breakfast without doing much work. Make the waffles, grab the syrup, and let breakfast be the easiest decision you make today.
🍽️ Recipes You Can Try
Loved this one? Here are a few more worth your time.

Homemade waffle recipe
Soft, fluffy, and ready in 45 min — this homemade waffle recipe recipe is easy to make with simple ingredients and delivers reliable results every time.
💛 Why You’ll Love This Recipe
- ✓2 cups (250 g) all-purpose flour — the backbone of the waffle, so actually measure it instead of scooping a mountain and hoping for the best.
- ✓1/4 cup (30 g) cornstarch — the little trick that helps create crisp edges and a lighter interior.
- ✓2 tablespoons granulated sugar — enough sweetness for breakfast without turning these into cake.
- ✓2 teaspoons baking powder — the lift crew.
- ✓1/2 teaspoon baking soda — especially useful if you use buttermilk.
- ✓1/2 teaspoon fine salt — because bland waffles are basically edible cardboard.
- ✓2 large eggs — they provide structure and richness.
- ✓1 1/2 cups (360 ml) milk — regular whole or 2% milk works well.
- ✓1/2 cup (120 ml) buttermilk — adds tang and works with the baking soda for extra lift.
- ✓6 tablespoons (85 g) unsalted butter, melted and slightly cooled — buttery flavor without scorching the eggs.
- ✓1 teaspoon vanilla extract — optional, but highly recommended for a sweeter breakfast aroma.
- ✓Butter or neutral oil for the waffle iron — use a light coating, not a swimming pool.
- ▢Mixing bowl
- ▢Measuring cups/spoons
- ▢Whisk or spatula
- 1Preheat the waffle maker to medium-high heat, around 375–400°F (190–205°C) if your machine provides a temperature setting. Let it heat fully before mixing the batter so the first waffle gets the same treatment as the last one. A properly heated iron should make a small drop of batter sizzle immediately when it hits the plate.
- 2Whisk the flour, cornstarch, sugar, baking powder, baking soda, and salt together in a large bowl. Break up any obvious lumps, but don’t spend five minutes trying to create laboratory-grade flour perfection.
- 3Whisk the eggs, milk, buttermilk, melted butter, and vanilla in a second bowl. Make sure the melted butter has cooled slightly; very hot butter can cook little bits of egg before they ever reach the waffle iron.
- 4Pour the wet mixture into the dry ingredients and stir just until combined. A few small lumps are completely fine; overmixing develops gluten and can turn fluffy waffles into chewy breakfast frisbees.
- 5Let the batter rest for 5–10 minutes while the waffle maker finishes heating. The batter should look thick but pourable, similar to a loose cake batter rather than pancake soup.
- 6Lightly grease the hot waffle plates with butter or neutral oil. Add enough batter to cover most of the lower grid without reaching the edges, because the batter expands as it cooks and nobody enjoys scraping escaped waffle batter off the counter.
- 7Close the waffle maker and cook for about 3–5 minutes, following your machine’s indicator if it has one. Resist the urge to peek early; steam escaping from the sides usually means the waffle still needs time, while a deep golden-brown surface and noticeably reduced steam signal that it’s close.
- 8Remove the waffle carefully and place it directly on a wire rack instead of stacking it on a plate. Keeping the waffle exposed to air preserves the crisp surface; stacking hot waffles traps steam and softens the edges.
- 9Repeat with the remaining batter, lightly greasing the plates again only when needed. This homemade waffle recipe should produce approximately 6–8 standard waffles, although the exact number depends on the size and depth of your waffle maker.
- 10Serve immediately with butter, maple syrup, berries, sliced bananas, whipped cream, or your favorite toppings. For a fun breakfast spread, pair the waffles with easy cinnamon pancakes or add a savory side such as crispy breakfast potatoes.
💡 Tips for Perfect Results
- ✔️Read the full recipe before starting so nothing surprises you mid-cook.
- ✔️Prep and measure all ingredients before you begin (mise en place).
- ✔️Taste as you go and adjust seasoning gradually rather than all at once.
🧊 Storage
Store in an airtight container at room temperature for up to 3 days, refrigerate for up to a week, or freeze for up to 3 months.
Nutrition Information
(per serving)* Estimated values based on typical ingredients — actual nutrition may vary. % Daily Values based on a 2,000 calorie diet.
❓ Frequently Asked Questions
How do you store homemade waffles?
Cooked waffles keep in an airtight container in the refrigerator for up to 3 days. For longer storage, freeze them in a single layer until firm, then transfer them to a freezer-safe bag or container.
Can you make waffle batter ahead of time?
You can prepare the dry and wet mixtures separately several hours ahead and refrigerate them, then combine them shortly before cooking. For the best lift and texture, avoid leaving fully mixed batter sitting for a long time because the chemical leaveners begin working once the wet ingredients meet the dry ingredients.
Why are my homemade waffles not crispy?
Waffles usually lose crispness when the iron isn’t hot enough, the waffles don’t cook long enough, or finished waffles sit stacked while they are still steaming. Cook until deeply golden and place each finished waffle on a wire rack rather than directly on a plate.
Can you freeze homemade waffles?
Yes, homemade waffles freeze very well for about 2–3 months when wrapped tightly and stored in a freezer-safe container or bag. Reheat them directly from frozen in a toaster or toaster oven until hot and crisp instead of microwaving them, which tends to soften the surface.
