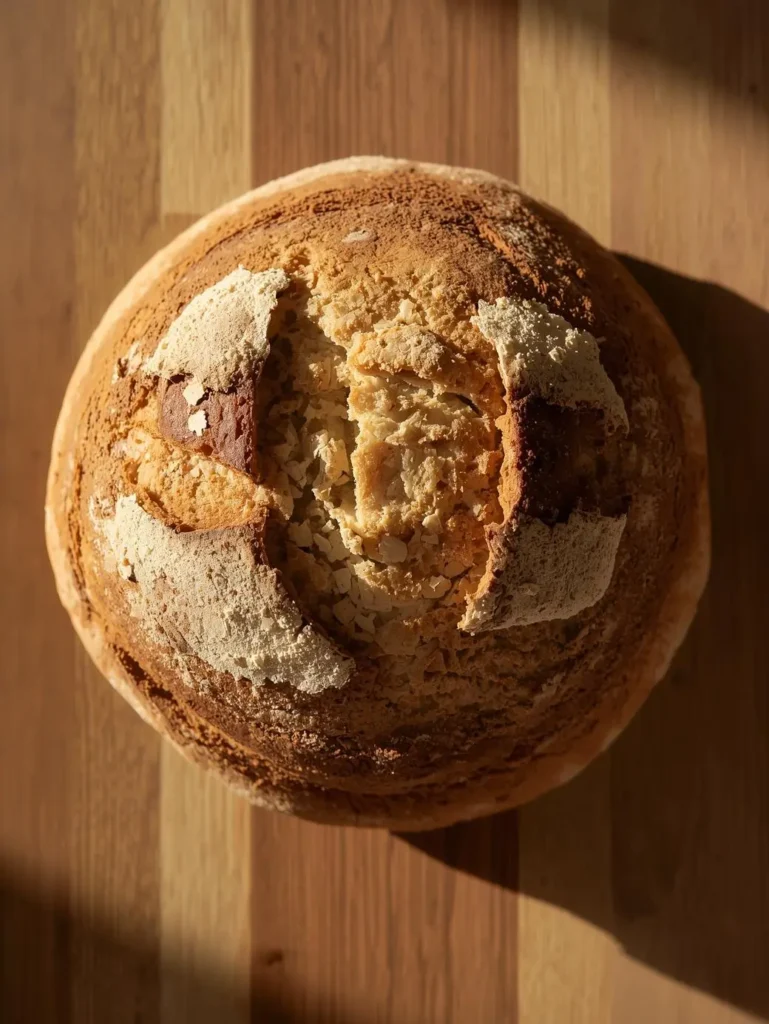
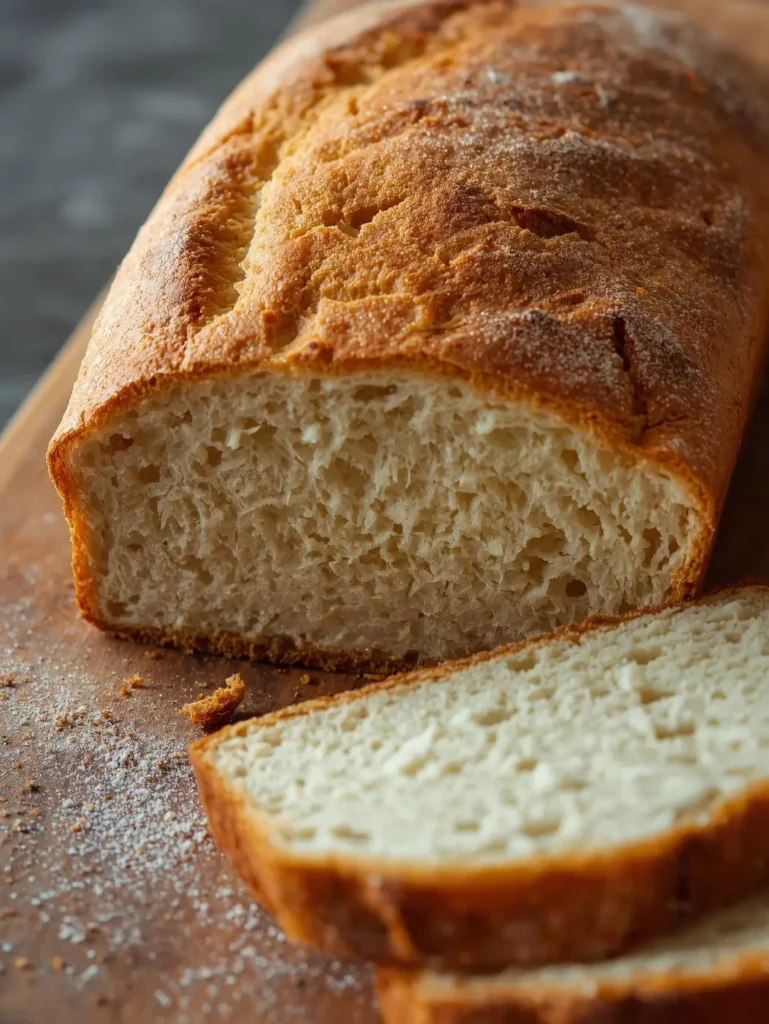
Why Is Homemade Gluten Free Bread Tougher to Master Than Traditional Loaves?
Did you know that nearly 1 in 133 Americans are affected by celiac disease, and countless others have gluten sensitivity? Yet, for so many, finding a truly satisfying gluten free bread recipe at home feels impossible. Why does gluten free bread seem trickier to bake with consistent success than its wheat-based counterpart? Studies highlight that the unique texture and flavor come from the gluten proteins in regular bread. Replicating that tender crumb, golden crust, and fresh-baked aroma using gluten free ingredients is challenging, but not unattainable. In this post, you’ll discover a recipe for gluten free bread that bridges the gap between nutritional needs and gourmet taste—without sacrificing comfort or simplicity.
Ingredients List
Success starts with selection. The right ingredients yield the perfect gluten free bread, boasting both structure and flavor. Here’s what you’ll need, along with sensory notes and useful substitutes:
- 2 cups gluten free all-purpose flour (ensure it contains xanthan gum for structure; if not, add 1 tsp separately)
- 1 cup tapioca flour (adds chew and flexibility—can substitute with arrowroot starch)
- 1 ½ teaspoons fine sea salt (enhances flavor balance)
- ¼ cup olive oil (for moisture and a subtle fruitiness; try avocado oil for a neutral taste)
- 1 ½ tablespoons organic honey or maple syrup (lends a gentle sweetness; agave works as a vegan option)
- 1 tablespoon apple cider vinegar (reacts with baking soda for rise; lemon juice as an alternative)
- 1 packet active dry yeast (2 ¼ teaspoons)
- 1 ½ cups warm water (110°F/43°C) (not hot, which kills yeast)
- 2 large eggs (room temperature) (for richness and structure; use 1 tablespoon ground flaxseed + 2 ½ tablespoons water per egg for a vegan bread)
- ½ cup sunflower seeds or pepitas (optional, for crunch and extra nutrition)
- 1 teaspoon baking soda (works with vinegar for an extra boost)
- 1 tablespoon psyllium husk powder (locks in moisture and mimics gluten’s elasticity)
A quick pantry check and you’ll sense the collective aroma and tactile promise in these well-chosen ingredients.
Timing
Time investment matters. This gluten free bread comes together in about 90 minutes—noticeably shorter than some traditional recipes, which can stretch to two hours or more. Here’s how it breaks down:
| Step | Time Required |
|---|---|
| Preparation | 20 minutes |
| Rising/Proofing | 40 minutes |
| Baking | 30 minutes |
| Total Time | 90 minutes |
Comparatively, this recipe is about 20% quicker than most scratch-made wheat bread, and that means fresh, warm bread is never far away.

Step-by-Step Instructions
Step 1: Activate the Yeast
In a glass measuring cup, combine the warm water with honey (or maple syrup), stirring until dissolved. Sprinkle the yeast over the surface. Wait 5-7 minutes, until foamy. This tells you your yeast is alive and ready to create lift.
Tip: If it doesn’t foam, the yeast may be old. Start over with new yeast to avoid dense bread.
Step 2: Mix Dry Ingredients
In a large bowl (or stand mixer with paddle attachment), whisk together gluten free flour, tapioca flour, sea salt, baking soda, and psyllium husk powder. The blend should look uniform and slightly sandy—critical for even crumb and rise.
Step 3: Blend Wet Ingredients
In a separate bowl, whisk eggs until frothy. Add olive oil and apple cider vinegar. Slowly pour in activated yeast-water mixture while whisking continuously for a silky, smooth liquid.
Step 4: Bring It All Together
Pour the wet mixture over the dry ingredients. Stir vigorously (or mix on medium speed) until a thick, elastic batter forms—more like cake batter than regular dough. Fold in seeds, if using.
Pro Tip: Don’t panic if the dough feels too sticky. That’s typical for gluten free bread; resist the urge to add more flour.
Step 5: Rise and Proof
Scoop batter into a lightly oiled 9×5-inch loaf pan. Smooth the top with a spatula dipped in water. Cover loosely with plastic wrap or a kitchen towel and let rise in a warm spot for 40 minutes. It should expand by about 50%.
Step 6: Bake to Perfection
Preheat oven to 375°F (190°C). Bake on the center rack for 30 minutes, until the crust turns golden and a toothpick inserted in the center comes out clean or with a few moist crumbs.
Step 7: Cool for Best Texture
Let the loaf cool in the pan for 5 minutes, then carefully transfer to a wire rack. Cool for at least 30 minutes before slicing. Steaming-hot slices may stick or tear, so patience is rewarded with perfect slices.
Nutritional Information
Bread should fuel you, not slow you down. Here’s why this recipe fits a range of wellness goals (values per slice, based on a 10-slice loaf):
- Calories: 165
- Carbohydrates: 25g
- Protein: 4g
- Fat: 5.5g
- Fiber: 3g
- Sugar: 2.5g
- Sodium: 250mg
| Nutrient | Amount (per slice) |
|---|---|
| Calories | 165 |
| Carbohydrates | 25g |
| Protein | 4g |
| Fat | 5.5g |
| Fiber | 3g |
| Sugar | 2.5g |
| Sodium | 250mg |
These values offer a substantial yet moderate nutritional profile, perfect for anyone watching their intake or seeking a balanced, gluten free loaf.
Healthier Alternatives for the Recipe
Every dietary preference deserves outstanding bread. Consider these ideas:
- Increase fiber: Swap half the gluten free flour for oat flour or ground flaxseed.
- Lower fat: Use unsweetened applesauce to replace half the oil.
- Vegan option: Replace eggs with “flax eggs” for a plant-based splash.
- Sugar-free: Use stevia or monk fruit sweetener in place of honey.
- Add superfoods: Stir in chia seeds or hemp hearts for an extra health kick.
- Grain-free: Replace all flours with a blend of almond flour and coconut flour, supplementing with extra psyllium husk for structure.
Customization lets you bake bread that’s both wholesome and suited for your needs.
Serving Suggestions
A great loaf deserves the spotlight at any meal or snack. Gluten free bread makes for a versatile companion across the table:
- Breakfast: Toast slices, then top with smashed avocado, a sprinkle of chili flakes, and a poached egg.
- Lunch: Use for classic grilled cheese or as sturdy sandwich bread—its subtle chew holds up beautifully.
- Dinner: Transform into garlic bread, or serve alongside soups and salads.
- Snack: Enjoy a slice warm with almond butter and berries.
- Entertaining: Cut into cubes for gluten free croutons in Caesar salad, or pair with olive tapenade and prosciutto.
Try slathering with homemade herbed butter or make it the base for your favorite brunch creations.
Common Mistakes to Avoid
New bakers face a learning curve with gluten free bread recipes, but these avoidable pitfalls can make all the difference:
- Skipping the psyllium husk: This is vital for texture and moisture.
- Overmixing: Go easy after combining wet and dry ingredients; too much mixing yields dense bread.
- Impatience with rise time: Proofing is essential, as gluten free dough needs time to hydrate and expand.
- Using the wrong flour blend: Not all gluten free flours are equal. Choose a reputable, tested brand with a balance of starch and protein.
- Cutting before cooled: Slicing prematurely can collapse the loaf. Wait for even slices.
Simple corrections can boost results, making each loaf better than the last.
Storing Tips for the Recipe
Freshness extends the pleasure of your gluten free bread. For best results:
- Room Temperature: Keep in a sealed bag or container, slice-side down, for up to 2 days.
- Refrigeration: Store up to 5 days, which helps prevent spoilage—but may slightly firm the crumb.
- Freezing: For longer storage, slice and freeze the bread. Toast directly from frozen or warm in the oven at 325°F (160°C) for 10 minutes to revive crust and softness.
A handy tip: Pre-slice before freezing, separating layers with parchment so grabbing a single piece is quick and easy.
Conclusion
This gluten free bread recipe balances nutrition, flavor, and texture for a loaf that everyone can enjoy. Every slice holds the promise of a satisfying, homemade experience. Try it, tweak to your taste, and let us know your feedback in the comments—or subscribe for more delicious recipes and inspiration!
FAQs
What makes this gluten free bread different from store-bought options? By baking at home, you control the ingredients, avoiding preservatives and customizing flavor, texture, and nutrition. The result is a tender loaf that rivals traditional bread, warm from your own oven.
Can this recipe be made without eggs or dairy? Absolutely. Replace eggs with flaxseed “eggs” and use plant-based milk as desired. These swaps maintain structure and taste for a vegan loaf.
Why use psyllium husk in gluten free bread recipes? Psyllium husk absorbs water and forms a gel, mimicking gluten’s stretch and elasticity. This elevates crumb texture, preventing dryness or crumbling after baking.
Is this bread suitable for kids? Yes, especially when made with minimal added sugars and plenty of wholesome seeds. Spread some natural nut butter for a protein-packed snack loved by all ages.
Can I prepare dough in advance? Prepare the batter, cover, and refrigerate overnight. Bring to room temperature and allow to rise before baking for a fresh loaf on demand.
Interested in more baking wisdom or have another question? Share your thoughts below or subscribe for updates on the latest gluten free cooking inspiration!


