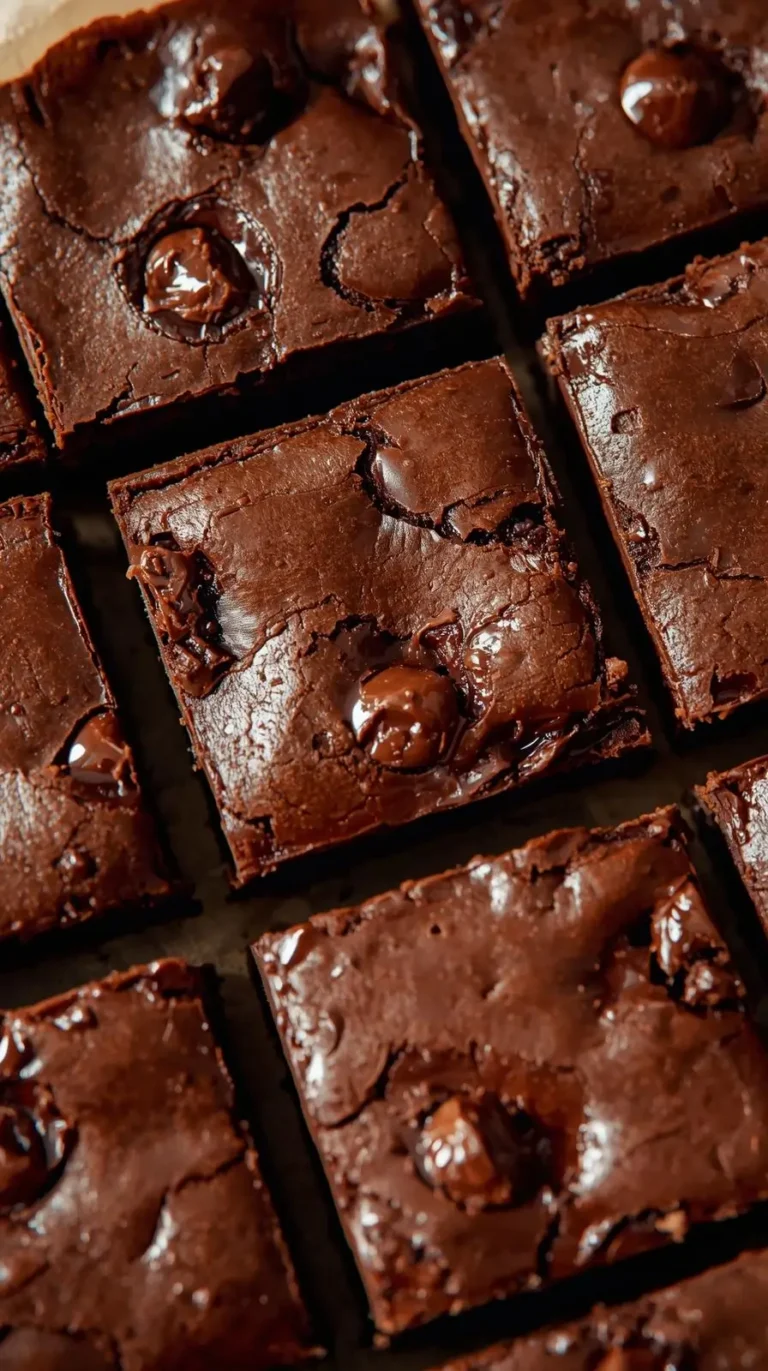
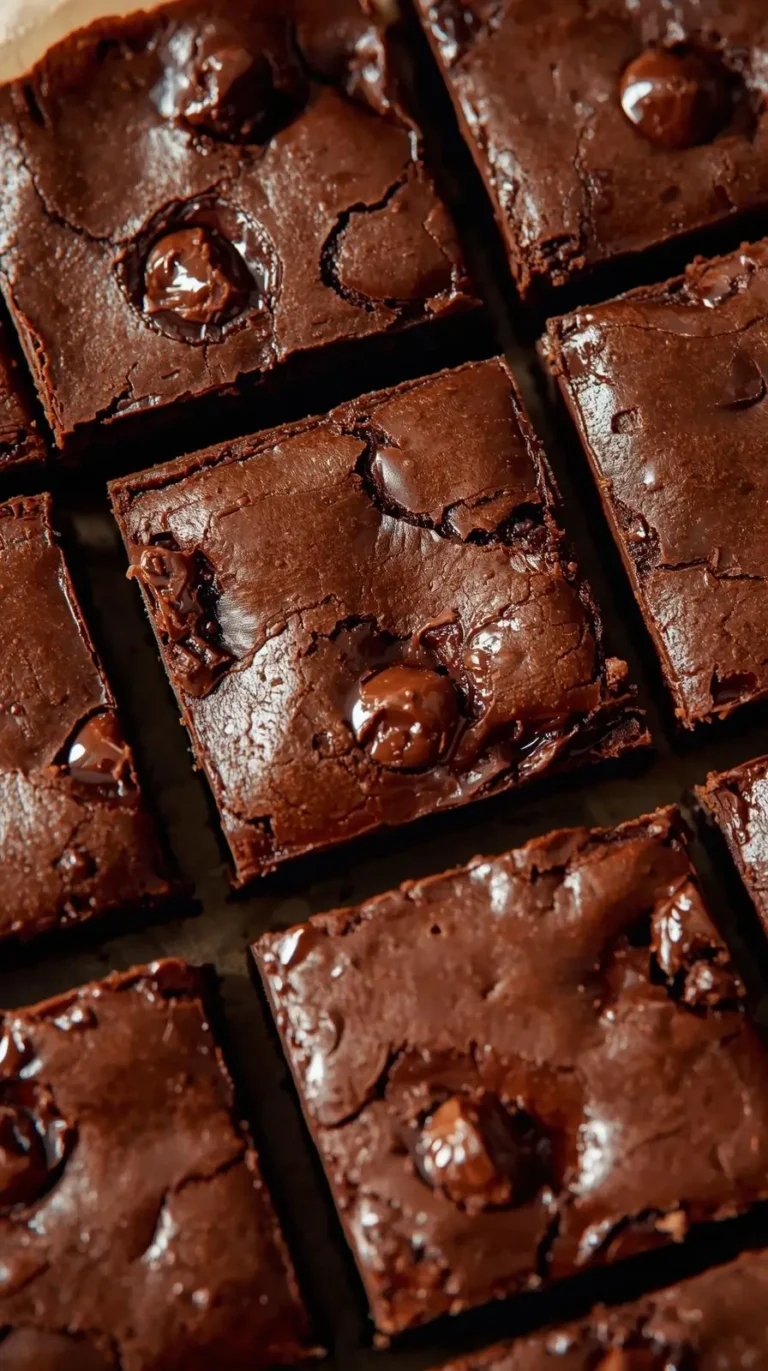
Chocolate cravings don’t always wait for a full pantry or a dozen eggs. These rich, fudgy brownies rely on everyday staples and a smart egg replacement, so you can bake a crowd-pleaser in a rental kitchen, dorm, or at home on a quiet weeknight. The method is forgiving, the ingredients are flexible, and the result is everything you want from a brownie: glossy top, gooey middle, and chewy edges.
At TravelPulsey we love recipes that work in real life. That means clear steps, sensible substitutions, and a budget snapshot so you can plan with confidence. Let’s bake.
Why go egg free and still get a fudgy bite
Eggless baking isn’t just for allergies or vegan diets. It’s practical when eggs are expensive, out of stock, or you’re cooking abroad and ingredients feel unfamiliar. An eggless brownie can be every bit as intense and chocolatey as the classic. Texture comes down to fat, sugar, and a touch of leavening to keep things from tasting dense.
Yogurt, condensed milk, aquafaba, or applesauce can replace eggs. Each changes moisture, structure, and flavor slightly. The recipe below leans on yogurt for a clean chocolate profile and a balance of fudgy center with a thin, shiny crust.
The base recipe that gets it right
This is a small pan bake that fits an 8-inch square tin. It scales well to a 9-by-13 if you double everything and add a few minutes to the bake time.
Ingredients
- 1 cup (200 g) granulated sugar
- 1/2 cup (60 g) unsweetened cocoa powder
- 1/2 teaspoon fine salt
- 1/2 cup (120 ml) neutral oil
- 1/2 cup (120 g) plain yogurt, dairy or plant based
- 1 teaspoon vanilla extract
- 2 tablespoons strong coffee or water, optional
- 1 cup (125 g) all-purpose flour
- 1/4 teaspoon baking powder
- 1/2 cup (90 g) chocolate chips or chopped chocolate
Yield: 16 small squares or 9 generous ones.
Step-by-step directions
- Prep the pan Heat oven to 350°F (175°C). Line an 8-inch square pan with parchment so two sides overhang. Lightly grease the remaining sides.
- Build the chocolate base In a medium bowl, whisk sugar, cocoa, and salt to remove any lumps. Add oil, yogurt, vanilla, and coffee. Whisk until glossy and smooth. It should look like a thick chocolate sauce.
- Add dry ingredients Sift flour and baking powder directly into the bowl. Switch to a spatula and fold until the flour disappears. Mix only until combined. Stir in the chocolate chips.
- Bake Spread batter evenly in the pan. Bake 22 to 28 minutes. The center should look set with a thin, shiny top and the edges should be slightly pulled away. A toothpick should emerge with a few moist crumbs, not wet batter.
- Cool and slice Cool in the pan on a rack for at least 30 minutes. Lift out with parchment and let cool another 15 minutes before slicing. Clean the knife between cuts for sharp edges.
Short on time? Chill the baked pan for 20 minutes to speed up the set and get neater squares.
What replaces the egg and why it works
Eggs add structure and moisture. In eggless brownies we rely on sugar for a shiny crust, fat for tenderness, and a small amount of leavening to avoid gumminess. Yogurt brings acidity that reacts with baking powder for a slight lift, and its proteins set gently as the brownies cool.
If yogurt isn’t handy, pick from the options below. Choose based on your pantry, flavor goals, and whether you want a vegan bake.
| Substitute | Amount per 1 egg | Taste effect | Texture effect | Best use case |
|---|---|---|---|---|
| Plain yogurt (dairy or plant) | 1/4 cup (60 g) | Neutral to tangy | Fudgy, slightly chewy edges | Everyday pan, reliable crust |
| Sweetened condensed milk | 3 tbsp (60 g) | Milk caramel notes | Very fudgy, glossy top | Extra indulgent, not vegan |
| Applesauce, unsweetened | 1/4 cup (60 g) | Mild apple | Moist, softer crumb | Kid friendly, lower fat |
| Aquafaba (chickpea liquid) | 3 tbsp (45 ml) | Neutral | Light lift, crackly top | Vegan with classic crust |
| Silken tofu, blended | 1/4 cup (60 g) | Neutral | Dense, ultra fudge | High-protein snack |
For this recipe, yogurt equals one egg. The formula intentionally uses no more than 1/4 teaspoon baking powder to keep the texture fudgy rather than cakey.
Tools that travel well
If you’re baking in a rental kitchen or dorm, keep it simple. A bowl, a spoon, and a pan can take you far.
- Mixing bowl
- Whisk or fork
- 8-inch square pan
- Parchment paper
- Measuring cups or a travel-friendly scale
- Rubber spatula
Flavor upgrades that don’t complicate things
Small tweaks can shift the entire profile. Keep add-ins modest so the batter sets properly.
- Toasted walnuts or pecans
- Espresso powder for deeper cocoa notes
- Orange zest and a pinch of cardamom
- Chili flakes and flaky salt
- Peppermint extract and crushed candies
Make it vegan, gluten free, or high altitude
Plant-based is straightforward. Use plant yogurt, plant milk chocolate, and neutral oil. The rest of the steps stay the same.
Gluten free needs a cup-for-cup blend that includes xanthan gum. The batter will look slightly thicker and may need an extra tablespoon of coffee or water. Bake time tends to run one or two minutes longer.
Baking in the mountains? Drop the baking temperature to 340°F (170°C), add 1 tablespoon extra liquid, and pull the brownies a minute earlier. Sugar and fat carry the texture; the minor liquid adjustment helps prevent a dry edge.
Cost snapshot you can plan around
Prices vary by store and region, but this pan is very budget friendly. Here’s a typical U.S. grocery estimate:
- Sugar, 1 cup: about $0.25
- Cocoa, 1/2 cup: about $0.60
- Oil, 1/2 cup: about $0.35
- Yogurt, 1/2 cup: about $0.50
- Flour, 1 cup: about $0.10
- Chocolate chips, 1/2 cup: about $0.70
- Vanilla, salt, leavening: about $0.20
Total: roughly $2.70 to $3.10 for 16 pieces, or under $0.20 per square. Great for group trips or a cabin weekend.
Texture control: fudgy, chewy, or cakier
The base version lands squarely on the fudgy side, with a thin crust. Here’s how to steer it:
- For ultra fudgy, reduce flour to 3/4 cup (95 g) and bake closer to 22 minutes. Chill before slicing.
- For more chew, swap 2 tablespoons of oil for melted butter.
- For cakier, increase baking powder to 1/2 teaspoon and bake to the high end of the range.
Sugar is not just sweetness. It helps form that papery top. If you reduce sugar, the crust will be dull. Keep at least 3/4 cup.
Troubleshooting common hiccups
Things happen in unfamiliar kitchens or with unfamiliar ovens. These fixes keep your pan on track.
- Dry edges: Reduce bake time by 2 to 3 minutes next round, or tent the pan loosely with foil at minute 18.
- Greasy top: Cocoa wasn’t fully mixed with oil and sugar. Whisk until the base looks glossy before adding flour.
- No shiny crust: Sugar underdissolved or overmixed after flour. Whisk sugar well with wet ingredients; fold flour only until just combined.
- Sunken center: Overmixing after flour or too much leavening. Stick to 1/4 teaspoon baking powder and a gentle fold.
- Bitter taste: Cocoa packed or heaped. Level the measure and use Dutch-process if your cocoa tastes sharp.
- Too gooey to slice: Needs more cooling time. Chill 20 minutes or freeze 10 minutes, then cut with a hot, wiped knife.
Packing tips for baking away from home
If you’re heading to a rental house or campsite with an oven, pre-pack a dry mix. It saves time and guarantees consistency when the kitchen situation is unknown.
Combine sugar, cocoa, flour, salt, and baking powder in a zip bag. Label the bag with the wet add-ins you’ll need: “Add 1/2 cup oil, 1/2 cup yogurt, 1 tsp vanilla, 2 tbsp coffee or water.” Pack parchment squares with the bag. One bowl, one pan, dessert done.
Storage that keeps flavor and texture
Brownies improve overnight. The center sets, the cocoa blooms, and the cut edges stay neat.
- Room temperature: airtight container, 3 to 4 days
- Refrigerator: up to 1 week, bring to room temp for best texture
- Freezer: up to 2 months, wrap tightly and thaw in the fridge
Rewarm a square in the microwave for 10 to 12 seconds for a just-baked feel.
Swaps for different kitchens and markets
Travel often means different brands and ingredient labels. A few smart substitutions keep you on track.
- Use sunflower, grapeseed, or light olive oil for neutral flavor.
- If your cocoa is very dark and the batter tastes intense, add 1 tablespoon milk or water for balance.
- No vanilla? A teaspoon of instant coffee dissolved in the wet ingredients adds depth.
- If the only yogurt option is sweetened, skip 1 tablespoon of sugar.
If chocolate chips are costly where you are, chop a bar or skip them entirely. The base still bakes up rich.
Quick add-on ideas for serving
A simple finish makes brownies feel special without extra work.
- Powdered sugar dusting
- A swirl of tahini on top before baking
- A spoon of jam warmed and drizzled after slicing
- Fresh berries and a dollop of yogurt
Recipe card you can screenshot
Pan: 8-inch square Heat: 350°F (175°C) Wet base: 1 cup sugar, 1/2 cup cocoa, 1/2 tsp salt, 1/2 cup oil, 1/2 cup yogurt, 1 tsp vanilla, 2 tbsp coffee or water Dry: 1 cup flour, 1/4 tsp baking powder Add-ins: 1/2 cup chocolate chips Method: Whisk dry and sugar, add wet to gloss, fold in flour and leavening, bake 22 to 28 minutes, cool, slice.
That’s all you need for a reliable pan of eggless brownies that tastes like a bakery treat yet fits a traveler’s pantry and schedule. With a small bowl, a few staples, and a smart egg swap, you’ll have slices that pack well for road trips, picnics, or late-night tea on a balcony in a new city.
Print
Easy Eggless Brownies Recipe for Beginners
Rich, fudgy, and moist eggless brownies made with simple pantry ingredients. Perfect for anyone avoiding eggs without sacrificing taste.
- Total Time: 35
- Yield: 9 brownies
Ingredients
- 1 cup (200 g) granulated sugar
- 1/2 cup (60 g) unsweetened cocoa powder
- 1/2 teaspoon fine salt
- 1/2 cup (120 ml) neutral oil
- 1/2 cup (120 g) plain yogurt, dairy or plant based
- 1 teaspoon vanilla extract
- 2 tablespoons strong coffee or water, optional
- 1 cup (125 g) all-purpose flour
- 1/4 teaspoon baking powder
- 1/2 cup (90 g) chocolate chips or chopped chocolate
Instructions
- Prep the pan Heat oven to 350°F (175°C). Line an 8-inch square pan with parchment so two sides overhang. Lightly grease the remaining sides.
- Build the chocolate base In a medium bowl, whisk sugar, cocoa, and salt to remove any lumps. Add oil, yogurt, vanilla, and coffee. Whisk until glossy and smooth. It should look like a thick chocolate sauce.
- Add dry ingredients Sift flour and baking powder directly into the bowl. Switch to a spatula and fold until the flour disappears. Mix only until combined. Stir in the chocolate chips.
- Bake Spread batter evenly in the pan. Bake 22 to 28 minutes. The center should look set with a thin, shiny top and the edges should be slightly pulled away. A toothpick should emerge with a few moist crumbs, not wet batter.
- Cool and slice Cool in the pan on a rack for at least 30 minutes. Lift out with parchment and let cool another 15 minutes before slicing. Clean the knife between cuts for sharp edges.
Notes
- For extra fudgy brownies, remove from oven when slightly underbaked.
- Add walnuts or more chocolate chips for texture.
- Use plant milk and oil for a vegan version.
- Prep Time: 10
- Cook Time: 25
- Category: Dessert
- Method: Mix → Bake
- Cuisine: American


