


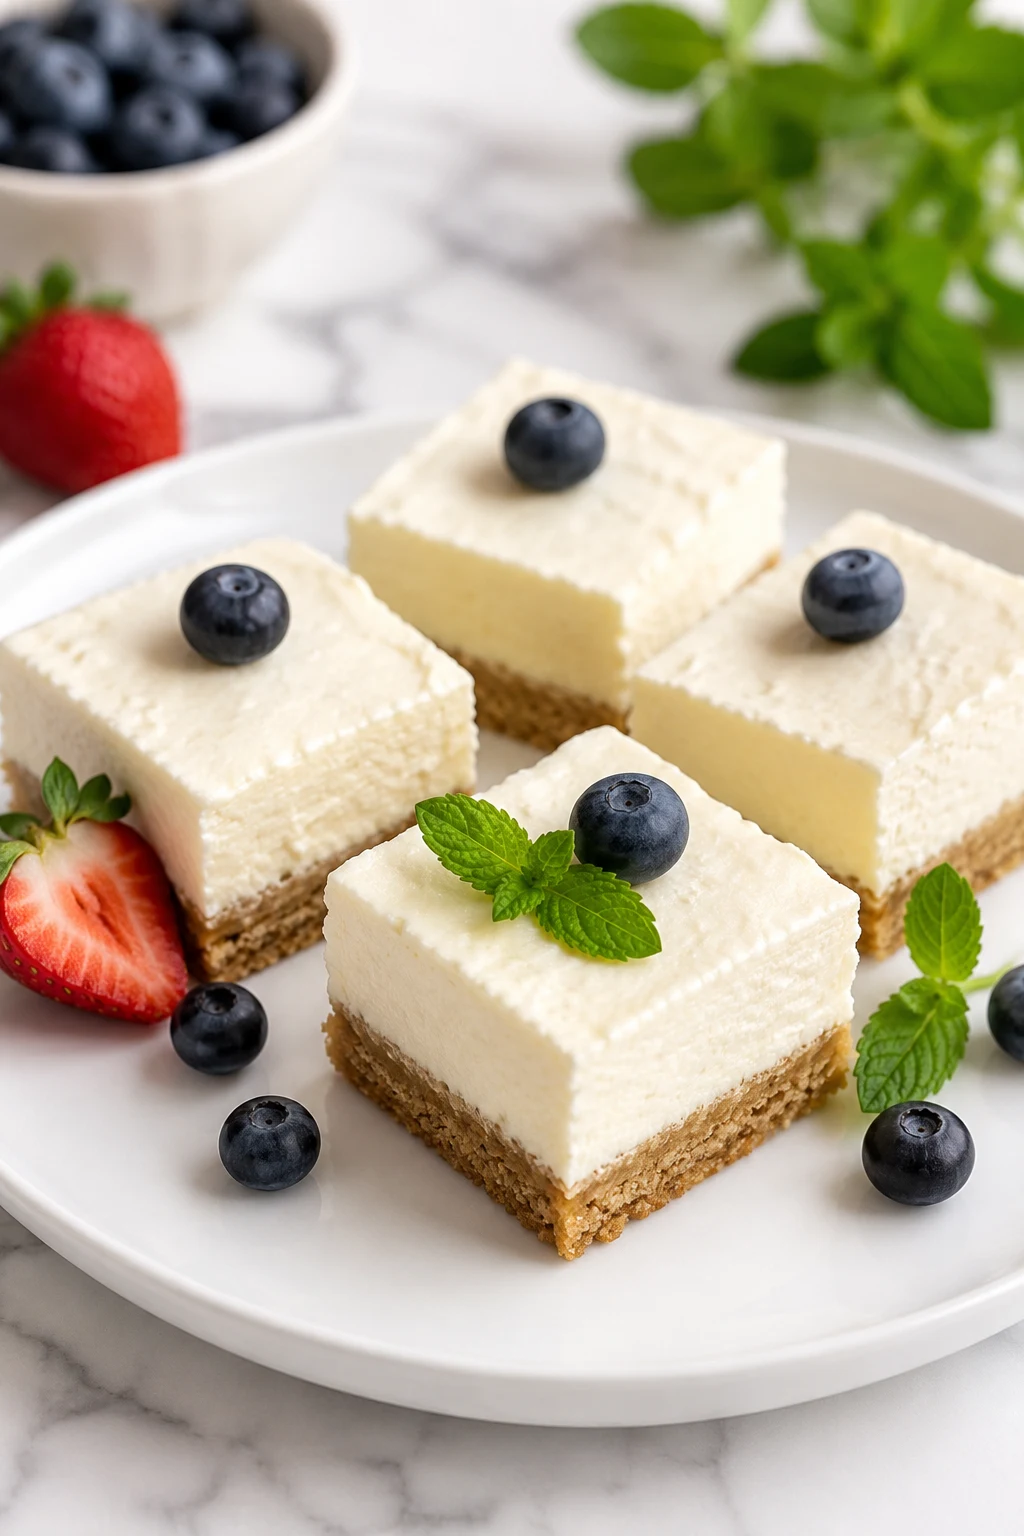
no bake cheesecake bars are the dessert you make when you want everyone to think you spent hours in the kitchen, even though your oven never got invited to the party. They deliver a buttery graham cracker crust, a rich and fluffy cream cheese filling, and clean slices that look bakery-worthy with surprisingly little effort. Whether you’re making them for a summer barbecue, birthday, holiday tray, or a random Tuesday because life is hard, these chilled bars always disappear first. If you love easy desserts that can be made ahead, you’re about to meet your new favorite recipe—and yes, your refrigerator does almost all the work.
Why This Recipe is Awesome
These no bake cheesecake bars are ridiculously easy, which means you get maximum bragging rights with minimum effort. No worrying about cracked cheesecake tops, water baths, or mysterious baking disasters that make you question your life choices.
They’re creamy, sturdy enough to slice beautifully after chilling, endlessly customizable, and even better the next day. Honestly, the hardest part is pretending you’ll only eat one square.
Ingredients You’ll Need
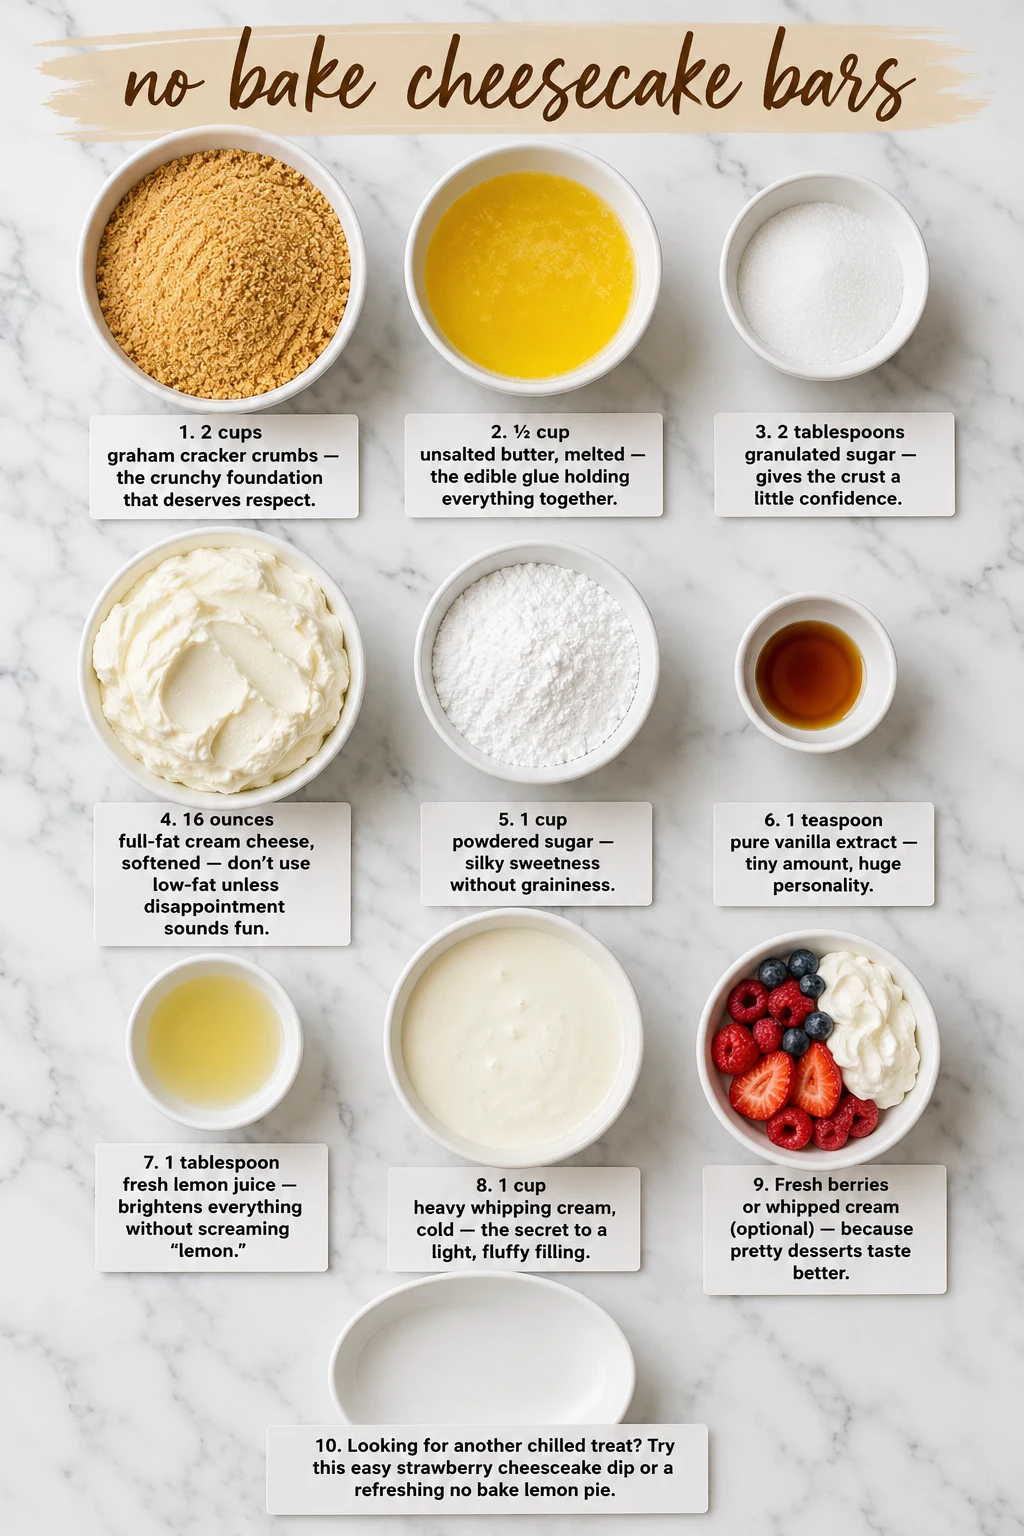
- 2 cups graham cracker crumbs — the crunchy foundation that deserves respect.
- ½ cup unsalted butter, melted — the edible glue holding everything together.
- 2 tablespoons granulated sugar — gives the crust a little confidence.
- 16 ounces full-fat cream cheese, softened — don’t use low-fat unless disappointment sounds fun.
- 1 cup powdered sugar — silky sweetness without graininess.
- 1 teaspoon pure vanilla extract — tiny amount, huge personality.
- 1 tablespoon fresh lemon juice — brightens everything without screaming “lemon.”
- 1 cup heavy whipping cream, cold — the secret to a light, fluffy filling.
- Fresh berries or whipped cream (optional) — because pretty desserts taste better.
Looking for another chilled treat? Try this easy strawberry cheesecake dip or a refreshing no bake lemon pie.
Step-by-Step Instructions
- Line an 8×8-inch baking pan with parchment paper, leaving extra paper hanging over the sides for easy lifting later. Mix the graham cracker crumbs, melted butter, and sugar until every crumb looks evenly coated.
- Press the crust firmly into the pan using the bottom of a measuring cup. Chill it for 20 minutes until it feels firm instead of crumbly.
- Beat the softened cream cheese for about 2 minutes until completely smooth with no lumps hiding in the corners. Add the powdered sugar, vanilla, and lemon juice, then mix until silky.
- In a separate bowl, whip the cold heavy cream until stiff peaks form. The cream should hold its shape when you lift the beaters without collapsing.
- Fold the whipped cream gently into the cream cheese mixture using a spatula. Stop mixing as soon as everything looks smooth and fluffy to keep lots of air in the filling.
- Spread the filling evenly over the chilled crust and smooth the top with an offset spatula. Cover and refrigerate the no bake cheesecake bars for at least 6 hours, but overnight delivers the cleanest slices.
- Lift the chilled dessert out using the parchment paper. Slice with a sharp knife dipped in hot water and wiped dry between every cut for crisp bakery-style edges.
- Add berries, whipped cream, chocolate drizzle, or crushed cookies just before serving. Keep leftovers refrigerated until you’re ready for another square…or three.
Common Mistakes to Avoid
- Using cold cream cheese. Lumps don’t magically disappear because you wish really hard.
- Skipping the chill time. Six hours feels long until your cheesecake turns into pudding.
- Overmixing after folding in the whipped cream. Goodbye fluffy texture.
- Not pressing the crust firmly enough. Crumbs belong in your mouth, not all over your plate.
- Cutting with a dry knife. Warm, clean blades make Instagram-worthy slices.
Alternatives & Substitutions
Full-fat cream cheese creates the richest texture, but reduced-fat works if that’s what you have. Swap graham crackers for crushed digestive biscuits, vanilla wafers, Biscoff cookies, or Oreo crumbs for a fun twist.
Need a gluten-free version? Use gluten-free graham-style cookies. For extra flavor, fold mini chocolate chips, chopped strawberries, lemon zest, or cookie pieces into the filling. These no bake cheesecake bars also freeze beautifully, making them perfect for planning ahead.
Frequently Asked Questions
How long do no bake cheesecake bars need to chill?
No bake cheesecake bars need at least 6 hours in the refrigerator, but overnight chilling gives the firmest texture and the cleanest slices.
Can I freeze no bake cheesecake bars?
Yes. Wrap individual bars tightly and freeze for up to 2 months. Thaw them overnight in the refrigerator before serving for the best texture.
Why are my cheesecake bars too soft?
Soft cheesecake bars usually need more chilling time or were made with warm whipped cream or low-fat cream cheese. Always use cold heavy cream and full-fat cream cheese for the most stable filling.
How should I store leftover no bake cheesecake bars?
Store them in an airtight container in the refrigerator for up to 5 days. Keep toppings like fresh fruit or whipped cream separate until serving for the freshest results.
🛒 KitchenAid 9-Speed Digital Hand Mixer & Pyrex Easy Grab 8-Inch Square Glass Baking Dish
Everything you need to make this dish perfectly:
As an Amazon Associate I earn from qualifying purchases.
Make It Tonight!
Life’s too short to wait for an oven when dessert can be this easy. These no bake cheesecake bars deliver creamy layers, a buttery crust, and enough flexibility to match whatever toppings you love most. Make them the night before, slice them cold, and watch them disappear faster than anyone admits. Dessert wins every time when you keep it simple.
🍽️ Recipes You Can Try
Loved this one? Here are a few more worth your time.
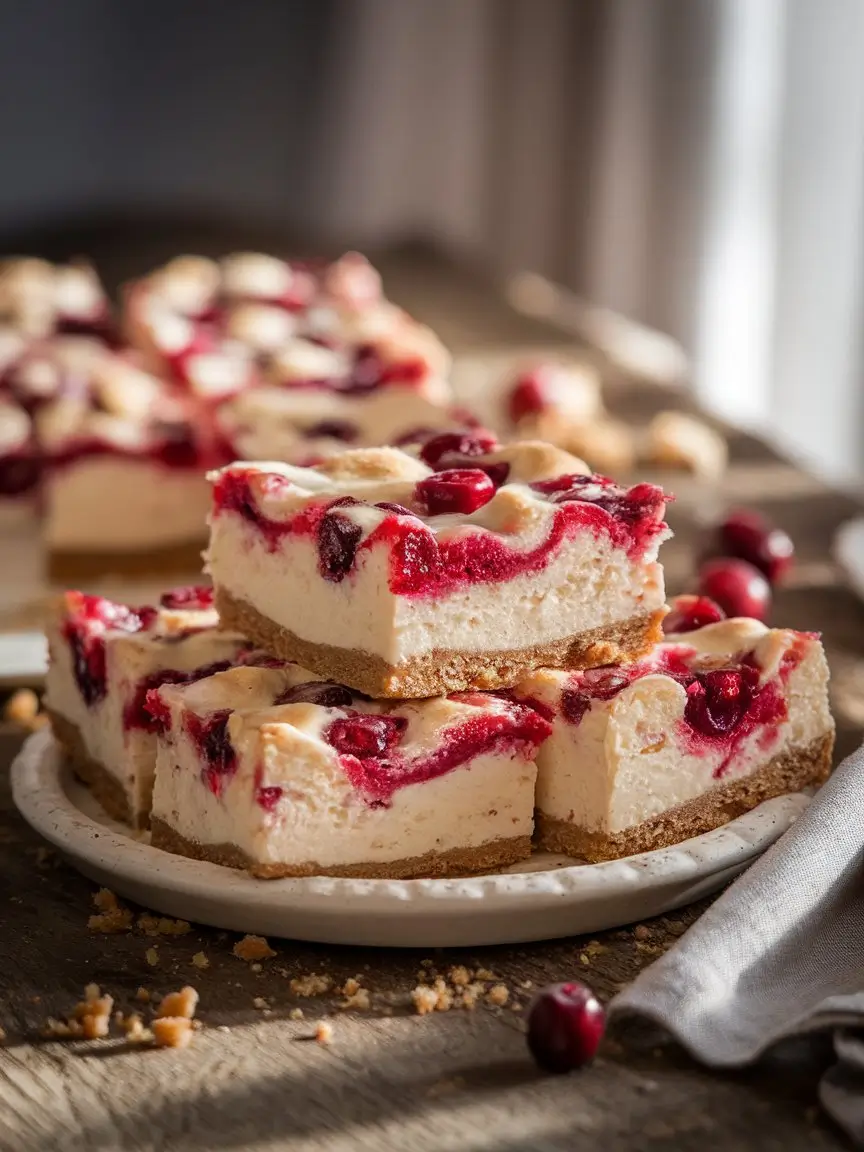

No bake cheesecake bars
- ✓2 cups graham cracker crumbs — the crunchy foundation that deserves respect.
- ✓½ cup unsalted butter, melted — the edible glue holding everything together.
- ✓2 tablespoons granulated sugar — gives the crust a little confidence.
- ✓16 ounces full-fat cream cheese, softened — don’t use low-fat unless disappointment sounds fun.
- ✓1 cup powdered sugar — silky sweetness without graininess.
- ✓1 teaspoon pure vanilla extract — tiny amount, huge personality.
- ✓1 tablespoon fresh lemon juice — brightens everything without screaming "lemon."
- ✓1 cup heavy whipping cream, cold — the secret to a light, fluffy filling.
- ✓Fresh berries or whipped cream (optional) — because pretty desserts taste better.
- ✓Looking for another chilled treat? Try this easy strawberry cheesecake dip or a refreshing no bake lemon pie.
- 1Line an 8×8-inch baking pan with parchment paper, leaving extra paper hanging over the sides for easy lifting later. Mix the graham cracker crumbs, melted butter, and sugar until every crumb looks evenly coated.
- 2Press the crust firmly into the pan using the bottom of a measuring cup. Chill it for 20 minutes until it feels firm instead of crumbly.
- 3Beat the softened cream cheese for about 2 minutes until completely smooth with no lumps hiding in the corners. Add the powdered sugar, vanilla, and lemon juice, then mix until silky.
- 4In a separate bowl, whip the cold heavy cream until stiff peaks form. The cream should hold its shape when you lift the beaters without collapsing.
- 5Fold the whipped cream gently into the cream cheese mixture using a spatula. Stop mixing as soon as everything looks smooth and fluffy to keep lots of air in the filling.
- 6Spread the filling evenly over the chilled crust and smooth the top with an offset spatula. Cover and refrigerate the no bake cheesecake bars for at least 6 hours, but overnight delivers the cleanest slices.
- 7Lift the chilled dessert out using the parchment paper. Slice with a sharp knife dipped in hot water and wiped dry between every cut for crisp bakery-style edges.
- 8Add berries, whipped cream, chocolate drizzle, or crushed cookies just before serving. Keep leftovers refrigerated until you’re ready for another square…or three.
📝 Chef’s Notes
Store leftovers in an airtight container in the refrigerator for best freshness. Let come to room temperature before serving for the best texture and flavor.
Nutrition Information
(per serving)* Estimated values based on typical ingredients — actual nutrition may vary. % Daily Values based on a 2,000 calorie diet.
