


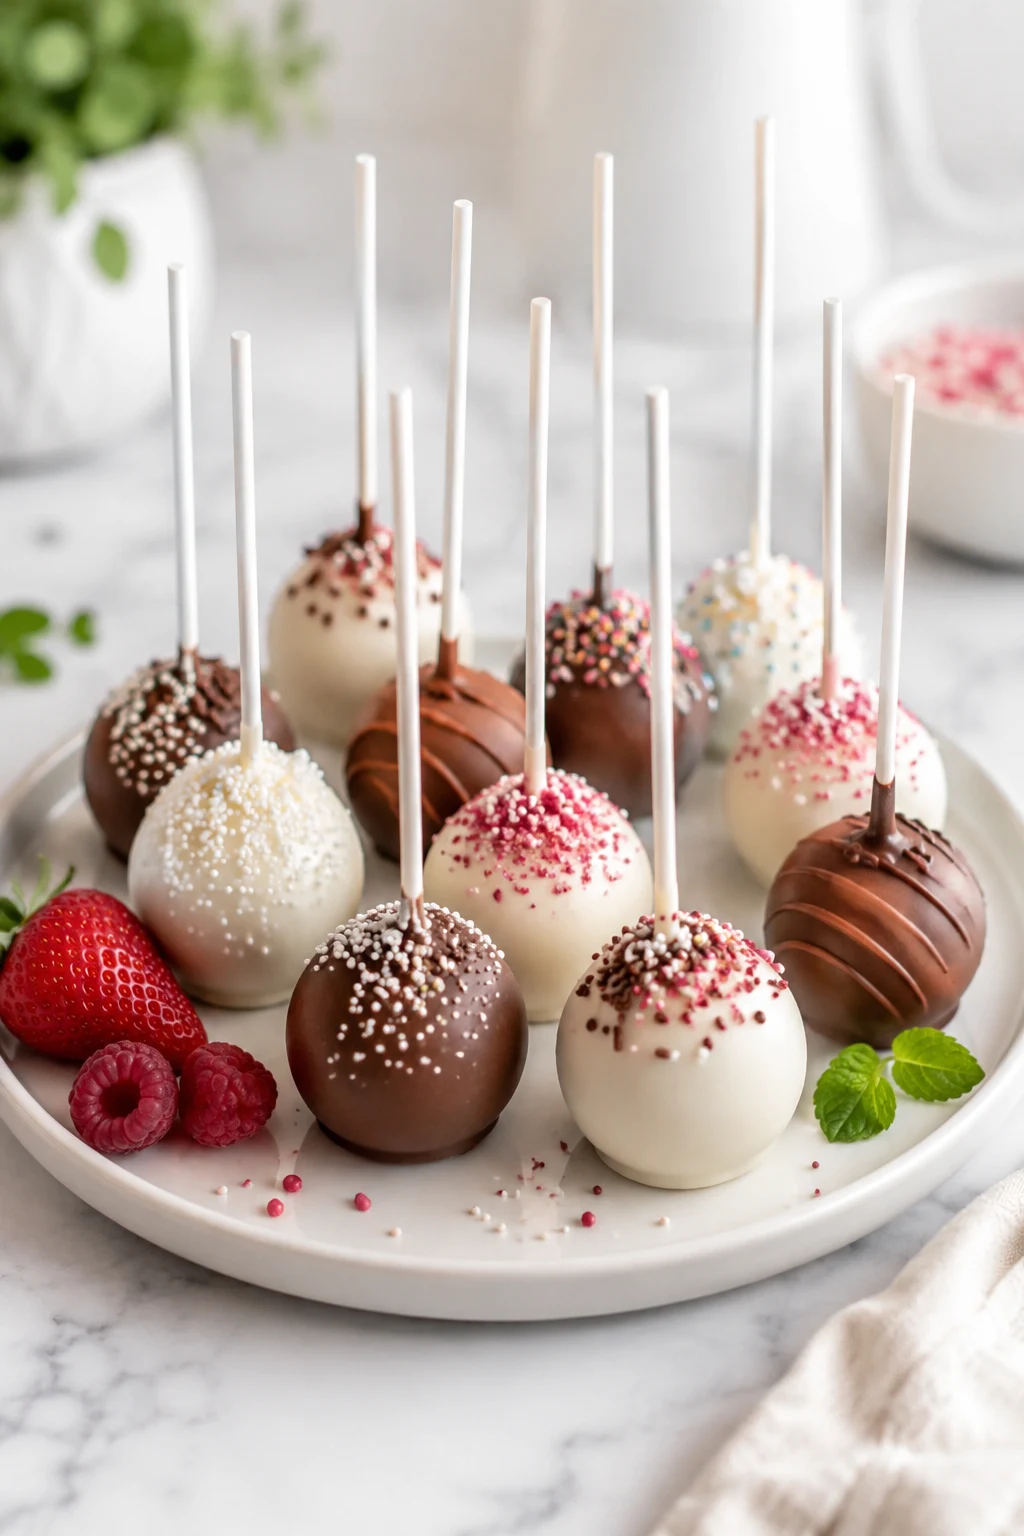
no bake cake pops are proof that you don’t need to turn on the oven to make a party-worthy dessert that disappears faster than your willpower around chocolate. They come together with simple ingredients, chill instead of bake, and leave you with adorable little treats that look like you spent all day making them. The best part? You can customize them with different coatings, sprinkles, and flavors without creating a mountain of dirty dishes. If you’re after an easy dessert for birthdays, holidays, or random Tuesday snack attacks, these no-fuss bites have your back.
Need more easy treats? Try these no bake cheesecake bites or whip up a batch of oreo truffles for another crowd favorite.
Why This Recipe is Awesome
No bake cake pops give you all the fun of classic cake pops without the baking marathon. Instead of making an entire cake from scratch, you use ready-made cake and frosting to create perfectly soft centers that stay together beautifully.
Honestly, life’s too short to spend hours baking when you can chill, dip, decorate, and start eating. These little treats freeze well, travel well, and somehow convince everyone you secretly attended pastry school.
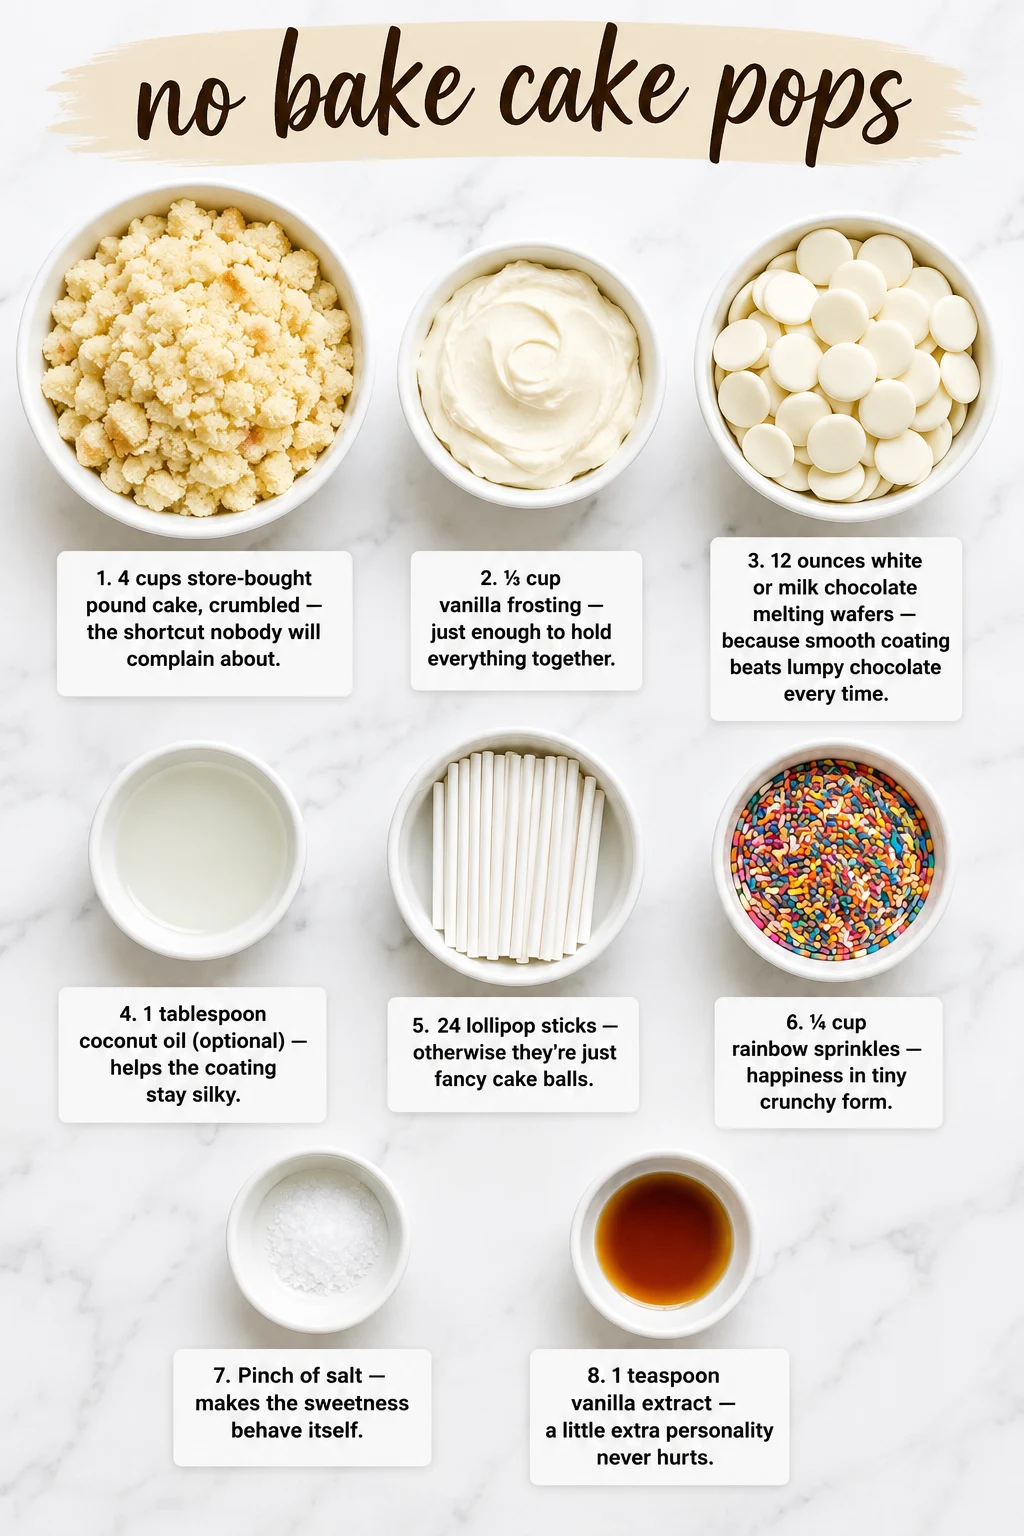
Ingredients You’ll Need
- 4 cups store-bought pound cake, crumbled — the shortcut nobody will complain about.
- ⅓ cup vanilla frosting — just enough to hold everything together.
- 12 ounces white or milk chocolate melting wafers — because smooth coating beats lumpy chocolate every time.
- 1 tablespoon coconut oil (optional) — helps the coating stay silky.
- 24 lollipop sticks — otherwise they’re just fancy cake balls.
- ¼ cup rainbow sprinkles — happiness in tiny crunchy form.
- Pinch of salt — makes the sweetness behave itself.
- 1 teaspoon vanilla extract — a little extra personality never hurts.
Step-by-Step Instructions
- Crumble the pound cake into very fine crumbs using your hands or a food processor. Add the frosting, vanilla, and salt, then mix until the mixture feels like soft cookie dough that holds together when squeezed.
- Scoop about 1 tablespoon of mixture and roll into smooth balls. Place them on a parchment-lined tray and refrigerate for 30 minutes or freeze for 15 minutes until firm.
- Melt the chocolate wafers in the microwave using 20-second bursts, stirring after each round until completely smooth. If the coating looks thick, stir in the coconut oil.
- Dip the end of each lollipop stick into melted chocolate before inserting it halfway into each chilled ball. Chill again for about 10 minutes so the chocolate “glue” hardens and helps keep the no bake cake pops from sliding off.
- Dip each pop completely into the melted coating, gently tap off the excess, and immediately decorate with sprinkles before the coating sets. Rotate the pop slowly for a few seconds until the chocolate stops dripping.
- Stand the finished pops upright in a foam block or cake pop stand. Let them set at cool room temperature for 20 to 30 minutes or refrigerate for about 10 minutes until the coating feels firm and shiny.
Common Mistakes to Avoid
- Using too much frosting. Your cake pops turn into sticky little bowling balls.
- Skipping the chilling step. Warm cake balls love jumping off sticks.
- Overheating the chocolate. Burnt chocolate has the personality of wet cardboard.
- Rolling uneven sizes. Tiny pops finish first while giant ones become dessert planets.
- Waiting too long to add sprinkles. Once the coating sets, those sprinkles aren’t sticking to anything.
Alternatives & Substitutions
You can easily customize no bake cake pops with whatever you already have in the pantry. Swap pound cake for vanilla sandwich cookies, chocolate cake, brownies, or even sweet rolls. Use cream cheese frosting for extra tang, dairy-free frosting for a vegan-friendly variation, or dark chocolate instead of white chocolate if you prefer a richer coating. Crushed cookies, chopped nuts, toasted coconut, or freeze-dried fruit all make excellent toppings without making the recipe complicated.
Frequently Asked Questions
How long do no bake cake pops last?
No bake cake pops stay fresh for about 5 days in an airtight container in the refrigerator. For the best texture, let them sit at room temperature for 10 to 15 minutes before serving.
Can I make no bake cake pops ahead of time?
Yes. You can prepare and coat them up to 3 days before serving, or freeze them for up to 2 months in a freezer-safe container.
Why do my cake pops fall off the sticks?
The most common reason is that the cake mixture is too soft or wasn’t chilled long enough. Dipping the stick in melted chocolate before inserting it also helps lock everything in place.
Can I use regular chocolate instead of candy melts?
Yes, but add a little coconut oil or vegetable shortening to thin it slightly. Candy melts generally harden faster and create a smoother shell, while regular chocolate has a softer finish.
🛒 Wilton Candy Melts Melting Pot & Wilton Cake Pop Stand
Everything you need to make this dish perfectly:
As an Amazon Associate I earn from qualifying purchases.
Make It Tonight!
Desserts don’t need complicated techniques to impress people, and these no bake cake pops prove it every single time. They’re fun to decorate, easy to customize, and perfect for parties, gifts, or sneaking one straight from the fridge when nobody’s watching. Grab your favorite sprinkles, crank up your playlist, and enjoy every chocolate-covered bite. Great desserts start with simple ingredients and a little confidence.
🍽️ Recipes You Can Try
Loved this one? Here are a few more worth your time.


No bake cake pops
- ✓4 cups store-bought pound cake, crumbled — the shortcut nobody will complain about.
- ✓⅓ cup vanilla frosting — just enough to hold everything together.
- ✓12 ounces white or milk chocolate melting wafers — because smooth coating beats lumpy chocolate every time.
- ✓1 tablespoon coconut oil (optional) — helps the coating stay silky.
- ✓24 lollipop sticks — otherwise they’re just fancy cake balls.
- ✓¼ cup rainbow sprinkles — happiness in tiny crunchy form.
- ✓Pinch of salt — makes the sweetness behave itself.
- ✓1 teaspoon vanilla extract — a little extra personality never hurts.
- 1Crumble the pound cake into very fine crumbs using your hands or a food processor. Add the frosting, vanilla, and salt, then mix until the mixture feels like soft cookie dough that holds together when squeezed.
- 2Scoop about 1 tablespoon of mixture and roll into smooth balls. Place them on a parchment-lined tray and refrigerate for 30 minutes or freeze for 15 minutes until firm.
- 3Melt the chocolate wafers in the microwave using 20-second bursts, stirring after each round until completely smooth. If the coating looks thick, stir in the coconut oil.
- 4Dip the end of each lollipop stick into melted chocolate before inserting it halfway into each chilled ball. Chill again for about 10 minutes so the chocolate "glue" hardens and helps keep the no bake cake pops from sliding off.
- 5Dip each pop completely into the melted coating, gently tap off the excess, and immediately decorate with sprinkles before the coating sets. Rotate the pop slowly for a few seconds until the chocolate stops dripping.
- 6Stand the finished pops upright in a foam block or cake pop stand. Let them set at cool room temperature for 20 to 30 minutes or refrigerate for about 10 minutes until the coating feels firm and shiny.
📝 Chef’s Notes
Store leftovers in an airtight container in the refrigerator for best freshness. Let come to room temperature before serving for the best texture and flavor.
Nutrition Information
(per serving)* Estimated values based on typical ingredients — actual nutrition may vary. % Daily Values based on a 2,000 calorie diet.
