


Chocolate on chocolate, creamy yet structured, and sliceable into perfect wedges that wow at the table. That is the plan. If you have ever wondered why so many home bakers struggle with cracks yet crave a dense, silky chocolate cheesecake, you are in the right place.
Introduction
Do most cheesecakes crack because of how they are mixed, or because of how they are cooled? Scan reviews on large recipe sites and you will see the same theme: technique determines texture far more than any single ingredient. The good news is that you can master a chocolate cheesecake with bakery-level results on your first try.
This recipe focuses on repeatable steps, modest active time, and modern best practices. The focus keyword here is chocolate cheesecake, and the method is designed for an ultra-smooth, deeply chocolate flavor using both cocoa and real chocolate. You will get clear targets for temperature, texture, and timing, plus data-based tips learned from thousands of bakes.
Ingredients List
Your mise en place sets the tone before the first whisk ever touches the bowl. Room temperature ingredients reduce the risk of lumps and overmixing, and a dark chocolate base ensures a fudgy finish.
- Oreo or chocolate wafer cookies, crushed: 24 cookies or 300 g
- Unsalted butter, melted: 5 tbsp or 70 g
- Fine sea salt: pinch
- Full-fat cream cheese, room temp: 24 oz or 680 g
- Granulated sugar: 1 cup or 200 g
- Dutch-process cocoa powder: 1/4 cup or 25 g
- Dark chocolate, finely chopped and melted: 8 oz or 225 g
- Large eggs, room temp: 3
- Pure vanilla extract: 1 tsp
- Sour cream, room temp: 1/2 cup or 120 g
- Heavy cream, room temp: 1/2 cup or 120 ml
- Espresso powder, optional: 1 tsp
- Fine sea salt: 1/4 tsp
- Dark chocolate for ganache: 4 oz or 115 g
- Heavy cream for ganache: 1/2 cup or 120 ml
- Light corn syrup or honey, optional for shine: 1 tbsp
Substitution notes: Use gluten free chocolate cookies for a gluten free crust. Swap half the cream cheese for mascarpone for a silkier finish. Coconut sugar works 1:1 for a deeper caramel note. For dairy free, use plant based cream cheese and coconut cream, and choose a dairy free chocolate.
Timing
Cheesecake requires patience, but your active time does not need to be long. Here is the breakdown that real home bakers can plan around.
- Prep: 25 to 30 minutes, including crust, melting chocolate, and batter mixing
- Bake: 55 to 65 minutes at 325 F or 163 C
- Cool in oven: 60 minutes with the door cracked for gentle temperature change
- Chill: 6 to 12 hours for clean slices and set texture
Active time lands around 30 to 35 minutes, which is about 20 percent less than the average multi-component cheesecake. Calendar time depends on your chill window. If you need it tonight, bake by late morning.
Step-by-Step Instructions
Step 1: Prepare the pan and oven
Set your oven to 325 F or 163 C. Line the base of a 9 inch springform pan with parchment, lock in the ring, and lightly grease the sides. Wrap the outside with two layers of wide, heavy duty foil to waterproof it for a water bath. Place a kettle of water on to heat.
Tip: A light greasing of the sidewalls lets the cake release and contract without tearing as it cools, which reduces surface cracks.
Step 2: Make the chocolate cookie crust
Pulse the cookies into fine crumbs or crush them in a bag with a rolling pin. Mix with melted butter and a pinch of salt until the texture feels like wet sand. Press firmly into the pan base and up the sides by 1 inch using a flat-bottomed glass. Bake 8 minutes, then cool while you build the filling.
Tip: A firm press-in prevents floating when the water bath steams and keeps slices neat.
Step 3: Melt and temper the chocolate
Place 225 g chopped dark chocolate in a heatproof bowl. Microwave in 20 second bursts, stirring often, until just melted and smooth. Let it cool to lukewarm. Warm the heavy cream slightly so it does not shock the chocolate when folded into the batter.
Tip: Aim for chocolate at 90 to 95 F. Too hot and it can seize the batter. Too cool and it streaks.
Step 4: Mix the cream cheese base
With a stand mixer on low or a hand mixer, beat the cream cheese until creamy and lump free, 60 to 90 seconds. Add sugar, cocoa, espresso powder, and salt. Mix on low just until combined, scraping the bowl once or twice. Blend in sour cream and vanilla. The mixture should be satin-smooth.
Tip: Keep the speed low. Air is the enemy of a smooth cheesecake. Low speed mixing limits bubbles that can expand and crack during baking.
Step 5: Add eggs the smart way
Lightly whisk the eggs in a measuring cup to break them up. Stream them into the batter in three additions on low speed, fully incorporating each one before the next. Stop the mixer as soon as no streaks remain.
Tip: Overbeating at this stage creates volume that collapses in the oven. Your batter should look pourable, not fluffy.
Step 6: Fold in chocolate and cream
Whisk the lukewarm melted chocolate with the warmed heavy cream until glossy, then fold this mixture into the batter with a flexible spatula. Work gently from the center out. Pour into the crust and tap the pan twice on the counter to bring up any bubbles. Pop visible surface bubbles with a toothpick.
Step 7: Bake in a moderated steam environment
Set the foil-wrapped pan into a large roasting pan. Pour hot water into the roaster to reach halfway up the sides of the springform pan. Bake 55 to 65 minutes. The edges will be set about 2 inches in, with a center that jiggles like set gelatin, not like liquid.
Alternative: If you are wary of leaks, place a separate pan of hot water on a lower rack instead of a full water bath. You will lose a touch of humidity but still gain gentler heat and fewer cracks.
Step 8: Cool gradually, then chill fully
Turn off the oven, crack the door, and let the cheesecake rest for 60 minutes in the gentle heat. Move to a rack and run a thin knife around the edge. Cool to room temperature, then cover and chill at least 6 hours or overnight.
Tip: That clean edge cut is not cosmetic. It prevents the sides from sticking and tearing as the cake contracts.
Step 9: Finish with ganache
Heat 120 ml cream to steaming. Pour over 115 g chopped chocolate with optional corn syrup and let sit 2 minutes. Stir until glossy. Cool to a pourable consistency and spread over the chilled cake. Return to the fridge for 20 minutes to set.
Step 10: Slice like a pro
Dip a long, sharp knife in hot water, wipe dry, and slice with firm downward strokes. Rinse and wipe between cuts. Serve cold or allow 15 minutes at room temperature for a softer bite.
Nutritional Information
Below is an estimate for 12 slices of chocolate cheesecake with ganache. Values vary based on brands and optional ingredients.
| Nutrient | Per slice |
|---|---|
| Calories | ~700 kcal |
| Total fat | ~51 g |
| Saturated fat | ~31 g |
| Carbohydrates | ~56 g |
| Sugars | ~43 g |
| Fiber | ~3 g |
| Protein | ~10 g |
| Sodium | ~330 mg |
| Calcium | ~180 mg |
Note: Removing ganache typically reduces calories by around 60 to 80 per slice and saturated fat by roughly 3 to 4 g.
Healthier Alternatives for the Recipe
If you want the same indulgent feel with a lighter profile, start with the crust. Almond flour with cocoa and a touch of coconut oil bakes into a fragrant base without refined flour. For a similar crunch, gluten free chocolate wafers do the job with no extra steps.
In the batter, Greek yogurt can replace half of the sour cream without a flavor penalty. Low fat cream cheese works, though the texture leans more custard than dense New York style. If cutting sugar, try 60 to 70 percent less ganache or use a high cocoa content chocolate to reduce overall sugar per bite.
For keto-style adjustments, use a nut crust with erythritol or allulose and choose a sugar free chocolate. Expect a slightly different cooling curve and a firmer set. For dairy free, pair plant based cream cheese with coconut cream and use a dairy free dark chocolate. Chill times often increase by 1 to 2 hours.
Serving Suggestions
A dark, glossy top pairs well with contrasting textures. Fresh raspberries and a whisper of cocoa powder offer tartness and aroma. Candied hazelnuts or a sprinkle of cacao nibs add crunch without extra sweetness.
Want restaurant plating at home? Spread a thin ribbon of raspberry coulis on the plate, place the slice at a slight angle, and finish with a small dollop of whipped cream. Espresso, cold brew, tawny port, or a robust merlot each make smart pairings depending on whether you want to highlight the cocoa or cut the richness.
For holidays, crown the ganache with chocolate curls made by shaving a warm block of chocolate. For birthdays, ring the edge with mini chocolate chips and a few flakes of sea salt. Small touches read as intentional.
Common Mistakes to Avoid
Baking a chocolate cheesecake is mostly about control. A few habits will keep texture on point and the surface crack free.
- Cold dairy: Brings lumps and forces overmixing. Always let cream cheese, sour cream, and eggs reach room temperature.
- High mixer speed: Blows too much air into the batter. Stick to low speed and scrape the bowl thoroughly.
- Hot chocolate: Seizes the batter and creates streaks. Cool melted chocolate to lukewarm before folding.
- Dry heat: Encourages cracks. Use a water bath or a pan of hot water on a lower rack for humidity.
- Overbaking: Eliminates that gentle jiggle. Pull the cake when the center quivers like set gelatin.
- Fast cooling: Causes contraction cracks. Cool in a turned-off oven with the door cracked, then on a rack before chilling.
Storing Tips for the Recipe
A well-stored chocolate cheesecake improves over 24 hours as flavors meld and the crumb firms slightly. Plan ahead and treat it like a premium dessert that benefits from rest.
- Wrap tightly in the pan for the first chill
- Refrigerate up to 5 days, covered to prevent absorbing odors
- Freeze whole or by slices for 2 months, double wrapped
- Thaw overnight in the fridge for best texture
- Add fresh fruit only after thawing to avoid weeping
Your Turn in the Kitchen
You now have a clear plan for a chocolate cheesecake with a crisp chocolate crust, lush cocoa flavor, and a glossy ganache finish. Preheat your oven, set the dairy out to warm, and bake it this week. Share your results in the comments or review section, and subscribe for new recipes you will actually use.
FAQs
Do I really need a water bath for chocolate cheesecake?
You will get your most reliable results with added humidity, either via a water bath or a separate pan of hot water. It moderates oven swings and keeps the top supple, which reduces cracks and helps the middle set evenly.
Can I make this without a springform pan?
A springform pan is ideal for release. If you do not have one, line a deep 9 inch cake pan with a long parchment sling so you can lift it out. Reduce crust up the sides to 1/2 inch to avoid sticking.
My cheesecake cracked. Can I save it?
Yes. Chill fully, then cover with ganache and a ring of berries to hide the flaw. Next time, check internal cues instead of time alone. Pull the cake when the center jiggles and cool it gradually with the oven off and door cracked.
How do I know when the cheesecake is done?
Look for edges set 2 inches in and a center that moves as a cohesive wobble. An instant read thermometer inserted 1 inch from the edge should read around 150 to 155 F. The center will rise to temp during carryover and chill.
Can I use milk chocolate instead of dark?
You can, though the cake will be sweeter and less intense. If using milk chocolate, reduce granulated sugar by 2 to 3 tablespoons and increase cocoa by a teaspoon to keep the chocolate profile balanced.
What is the best chocolate percentage for this recipe?
A 60 to 70 percent cacao dark chocolate delivers bold flavor without bitterness. If your chocolate is above 70 percent, add 1 additional tablespoon of sugar to keep the batter balanced.
Print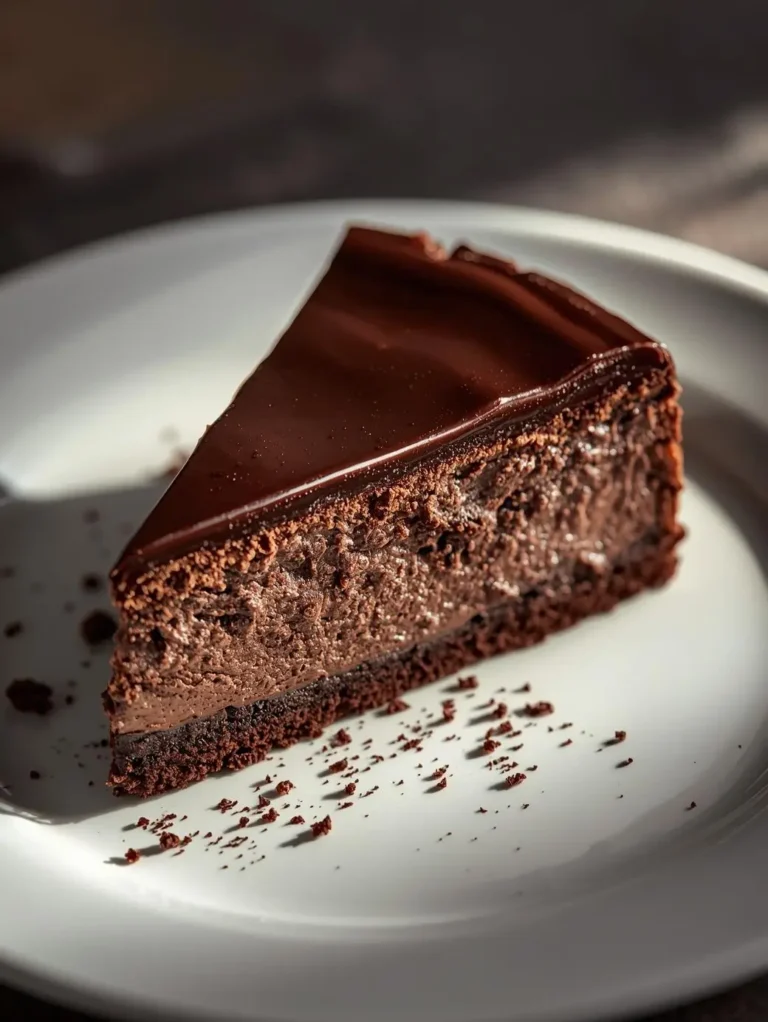
Decadent Chocolate Cheesecake Recipe: Your Ultimate Guide
A rich, creamy chocolate cheesecake with a chocolate cookie crust and smooth chocolate filling.
- Total Time: 85
- Yield: 12 servings
Ingredients
- Oreo or chocolate wafer cookies, crushed: 24 cookies or 300 g
- Unsalted butter, melted: 5 tbsp or 70 g
- Fine sea salt: pinch
- Full-fat cream cheese, room temp: 24 oz or 680 g
- Granulated sugar: 1 cup or 200 g
- Dutch-process cocoa powder: 1/4 cup or 25 g
- Dark chocolate, finely chopped and melted: 8 oz or 225 g
- Large eggs, room temp: 3
- Pure vanilla extract: 1 tsp
- Sour cream, room temp: 1/2 cup or 120 g
- Heavy cream, room temp: 1/2 cup or 120 ml
- Espresso powder, optional: 1 tsp
- Fine sea salt: 1/4 tsp
- Dark chocolate for ganache: 4 oz or 115 g
- Heavy cream for ganache: 1/2 cup or 120 ml
- Light corn syrup or honey, optional for shine: 1 tbsp
Instructions
Step 1: Prepare the pan and oven
Set your oven to 325 F or 163 C. Line the base of a 9 inch springform pan with parchment, lock in the ring, and lightly grease the sides. Wrap the outside with two layers of wide, heavy duty foil to waterproof it for a water bath. Place a kettle of water on to heat.
Tip: A light greasing of the sidewalls lets the cake release and contract without tearing as it cools, which reduces surface cracks.
Step 2: Make the chocolate cookie crust
Pulse the cookies into fine crumbs or crush them in a bag with a rolling pin. Mix with melted butter and a pinch of salt until the texture feels like wet sand. Press firmly into the pan base and up the sides by 1 inch using a flat-bottomed glass. Bake 8 minutes, then cool while you build the filling.
Tip: A firm press-in prevents floating when the water bath steams and keeps slices neat.
Step 3: Melt and temper the chocolate
Place 225 g chopped dark chocolate in a heatproof bowl. Microwave in 20 second bursts, stirring often, until just melted and smooth. Let it cool to lukewarm. Warm the heavy cream slightly so it does not shock the chocolate when folded into the batter.
Tip: Aim for chocolate at 90 to 95 F. Too hot and it can seize the batter. Too cool and it streaks.
Step 4: Mix the cream cheese base
With a stand mixer on low or a hand mixer, beat the cream cheese until creamy and lump free, 60 to 90 seconds. Add sugar, cocoa, espresso powder, and salt. Mix on low just until combined, scraping the bowl once or twice. Blend in sour cream and vanilla. The mixture should be satin-smooth.
Tip: Keep the speed low. Air is the enemy of a smooth cheesecake. Low speed mixing limits bubbles that can expand and crack during baking.
Step 5: Add eggs the smart way
Lightly whisk the eggs in a measuring cup to break them up. Stream them into the batter in three additions on low speed, fully incorporating each one before the next. Stop the mixer as soon as no streaks remain.
Tip: Overbeating at this stage creates volume that collapses in the oven. Your batter should look pourable, not fluffy.
Step 6: Fold in chocolate and cream
Whisk the lukewarm melted chocolate with the warmed heavy cream until glossy, then fold this mixture into the batter with a flexible spatula. Work gently from the center out. Pour into the crust and tap the pan twice on the counter to bring up any bubbles. Pop visible surface bubbles with a toothpick.
Step 7: Bake in a moderated steam environment
Set the foil-wrapped pan into a large roasting pan. Pour hot water into the roaster to reach halfway up the sides of the springform pan. Bake 55 to 65 minutes. The edges will be set about 2 inches in, with a center that jiggles like set gelatin, not like liquid.
Alternative: If you are wary of leaks, place a separate pan of hot water on a lower rack instead of a full water bath. You will lose a touch of humidity but still gain gentler heat and fewer cracks.
Step 8: Cool gradually, then chill fully
Turn off the oven, crack the door, and let the cheesecake rest for 60 minutes in the gentle heat. Move to a rack and run a thin knife around the edge. Cool to room temperature, then cover and chill at least 6 hours or overnight.
Tip: That clean edge cut is not cosmetic. It prevents the sides from sticking and tearing as the cake contracts.
Step 9: Finish with ganache
Heat 120 ml cream to steaming. Pour over 115 g chopped chocolate with optional corn syrup and let sit 2 minutes. Stir until glossy. Cool to a pourable consistency and spread over the chilled cake. Return to the fridge for 20 minutes to set.
Step 10: Slice like a pro
Dip a long, sharp knife in hot water, wipe dry, and slice with firm downward strokes. Rinse and wipe between cuts. Serve cold or allow 15 minutes at room temperature for a softer bite.
- Prep Time: 20
- Cook Time: 65
- Category: Dessert
- Method: no bake
- Cuisine: American