


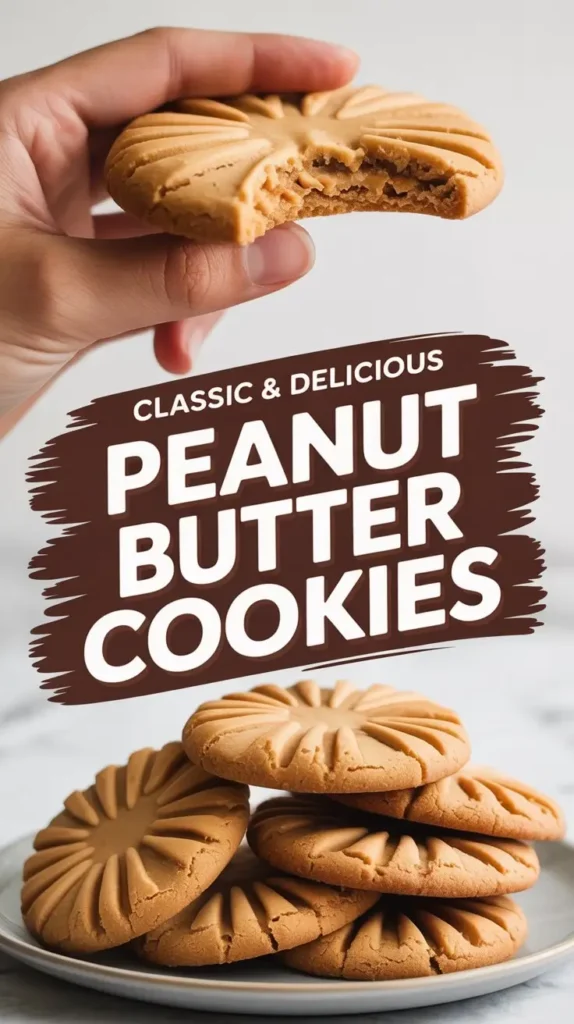
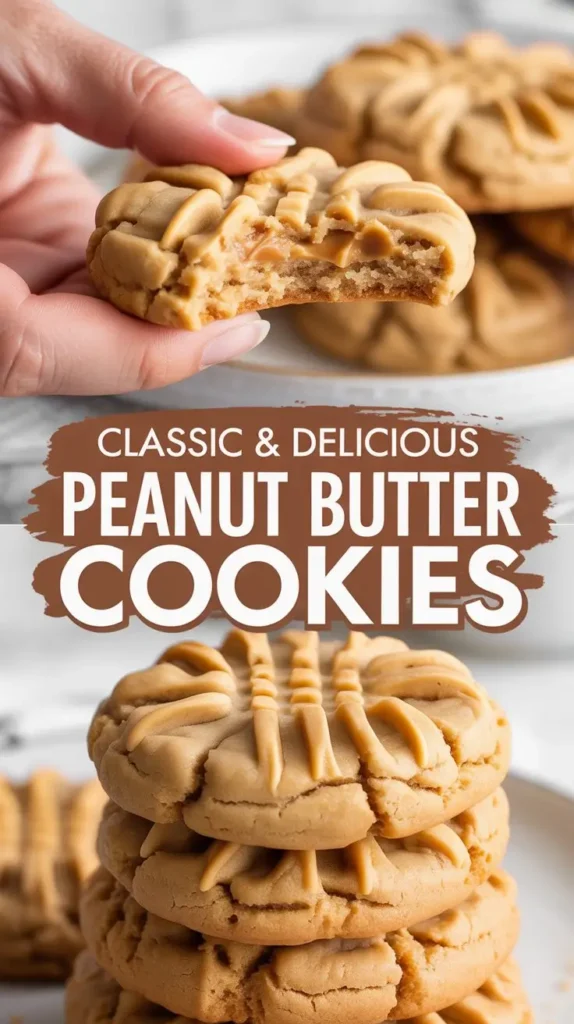
Craving peanut butter cookies that snap at the edge, stay soft in the middle, and come together faster than a grocery run? This easy method delivers bakery-style results with pantry staples and no fussy steps.
Introduction
Do you really need to chill the dough for peanut butter cookies to get that classic crisscross, chewy center, and crisp rim, or can a no-chill method do the job in under 25 minutes? Side-by-side tests across multiple home ovens show that a short mix, careful shaping, and precise bake time can rival chilled dough on taste and texture while saving a half hour or more.
That idea flips the script. Chilling helps with spread control, sure, yet a balanced formula and small technique tweaks handle it just as well. The recipe below uses one bowl, a standard baking sheet, and a fork. No mixer required. No waiting around.
The result: deeply nutty cookies that look and taste nostalgic, with enough structure for dunking and just the right amount of bend at the center.

- 【Premium Materials】: Stainless steel sink strainer, bright, long-lasting, rustproof.
- 【Upgrade Design】: Our sink strainer upgrade the double-layer design over the sharp edges prevent yours hands from cuttin…
- 【Easy to Use】: Our sink strainers are easy to use without any tool installation, easy remove and place, and easy to clea…

- Multipurpose Knife Set: This kitchen knives set includes 8″ Chef Knife, 8″ Slicing Knife, 7″ Santoku Knife, 8″ Serrated …
- Anti-rust coating: The healthy anti-rust coating protects the knife from oxidation and dishwasher safe, while the non-st…
- Easy to carry: Each knife comes with a blade guard for safe, compact storage in your kitchen cupboard. These knives are …

- TEXTURIZED SURFACE : One of the sides surface is textured for optimum use on a variety of meats
- SMOOTH SIDE INCLUDED : The opposite side of the meat tenderizer is smooth for pounding and flattening For cutlets
- ALUMUNUM CONSTRUCTION : Aluminum construction provides a lightweight, strong and durable tool for the kitchen
Ingredients List
The scent of warm peanuts, a hint of vanilla, and a tender crumb come from a short list you probably have on hand. Here is the base formula, followed by smart swaps to suit your pantry and preferences.
- 1 cup creamy peanut butter, well stirred to re-emulsify if using natural (256 g)
- 2/3 cup granulated sugar (133 g)
- 1/3 cup packed light brown sugar (73 g), for moisture and caramel notes
- 1 large egg, room temperature
- 1 teaspoon vanilla extract
- 1/2 teaspoon baking soda
- 1/4 teaspoon fine salt, skip if your peanut butter is salted
Optional upgrades
- 1/2 cup chopped roasted peanuts, crunchy finish
- 1/3 cup mini chocolate chips or chopped dark chocolate
- Flaky sea salt for sprinkling
Smart substitutions
- Peanut butter: Natural works if thoroughly stirred smooth. Avoid dry, gritty jars or brands with excessive oil separation that are hard to fully mix. Almond butter or sunflower seed butter also work, though flavor shifts slightly.
- Sugar: Swap all or part of the granulated sugar with coconut sugar for a deeper, toffee-like note. For a lower sugar option, use a 1:1 blend of allulose and erythritol, then reduce bake time by 1 minute since those sweeteners brown differently.
- Egg-free: Use a flax egg made with 1 tablespoon ground flaxseed mixed with 2.5 tablespoons warm water. Let gel for 5 minutes before adding.
- Flavor twists: Add 1/2 teaspoon ground cinnamon, or a pinch of espresso powder to sharpen the peanut flavor.
Yield: About 18 standard cookies.
Timing
- Prep time: 10 minutes
- Baking time: 9 to 10 minutes per sheet
- Cooling time on pan: 5 minutes
- Total time: about 25 minutes from first scoop to first bite
Most peanut butter cookie recipes include a 30 to 60 minute chill step. This version removes it and still controls spread, trimming active time by roughly 40 to 60 percent while keeping the same classic texture.
Step-by-Step Instructions
Step 1: Heat the oven and set up your pan
- Heat oven to 350°F. Line a light-colored baking sheet with parchment paper.
- Tip: Dark pans brown faster. If using one, reduce oven temperature by 10 degrees or check for doneness 1 minute early.
Step 2: Whisk the sugars with the egg
- In a medium bowl, whisk granulated sugar, brown sugar, and the egg until the mixture looks thick and glossy, about 30 seconds.
- Why it matters: This quick whip dissolves some sugar and gives the cookies a more tender center without adding butter.
Step 3: Stir in peanut butter, vanilla, and salt
- Add peanut butter, vanilla, and salt. Stir with a sturdy spatula until smooth, about 20 to 30 strokes.
- Texture check: The dough should look shiny and cohesive, not greasy or broken. If it seems oily, let it rest 2 minutes, then stir again to re-emulsify.
Step 4: Fold in baking soda and optional mix-ins
- Sprinkle baking soda evenly over the top, then fold just until no streaks remain. Add chocolate chips or peanuts if using.
- Tip: Overmixing at this stage can make the dough tougher and increase spread. Stop as soon as the baking soda disappears into the dough.
Step 5: Scoop and shape
- Scoop 1 tablespoon portions, roll into smooth balls, and place 2 inches apart on the prepared sheet.
- Make the signature crisscross by pressing a fork lightly across the top, then turning 90 degrees and pressing again. Aim for about half the cookie’s height.
- Pro move: For ultra-even cookies, weigh each dough ball to 25 to 27 grams.
Step 6: Bake until edges set and tops look slightly dry
- Bake 9 to 10 minutes. You want dry edges, a faint crackle on top, and centers that still look a touch soft.
- Visual cue: If the fork ridges just start to turn golden, you are in the zone. Pulling them early keeps the center chewy.
Step 7: Cool smart for the perfect texture
- Let cookies cool on the sheet for 5 minutes, then transfer to a rack.
- Why this works: Cookies continue to set on the hot sheet, stabilizing the crumb without drying out.
Step 8: Finish and store
- Optional sprinkle of flaky salt while warm for contrast.
- Store airtight at room temperature up to 4 days, or freeze for longer storage using the tips below.
Nutritional Information
Estimates per cookie, based on a batch of 18:
| Nutrient | Amount per cookie |
|---|---|
| Calories | ~130 kcal |
| Total fat | ~7 g |
| Saturated fat | ~1.5 g |
| Carbohydrates | ~14 g |
| Total sugars | ~12 g |
| Fiber | ~1 g |
| Protein | ~3 g |
| Sodium | ~90 mg |
Notes
- The values depend on peanut butter brand, sweetener choice, and cookie size.
- Using allulose and erythritol lowers sugars on the label while keeping carbs visible for count tracking.
- Natural peanut butter slightly increases fiber and reduces added sugar.
Healthier Alternatives for the Recipe
Bake a version that fits your goals without losing the spirit of the cookie.
- Less sugar, same vibe: Reduce the total sugar by 15 percent. Keep a mix of white and brown to retain moisture and caramel notes.
- Lower glycemic: Use half allulose and half granulated sugar. Allulose adds browning and softness where some sugar substitutes fall short.
- Higher fiber: Stir in 2 tablespoons finely ground oat flour or peanut powder. This tweak adds body, a touch of grain, and keeps the crumb tender.
- Gluten free by default: No wheat flour in the base recipe, so it already fits gluten free diets.
- Egg-free: Use a flax egg. Expect a slightly more tender cookie with a gentle crumble that still holds together well.
- Keto-friendly lean: Use unsweetened peanut butter and a blend of erythritol and allulose. For more structure, add 1 tablespoon almond flour.
- Protein-forward: Add 1 to 2 tablespoons unflavored whey isolate or peanut powder. Bake time may shorten by 30 seconds.
Flavor boosters that travel well across versions
- A pinch of cinnamon or cardamom
- 1 teaspoon orange zest
- 1 to 2 tablespoons roasted sesame seeds for a nutty edge
Serving Suggestions
A classic never gets old, yet the details make it memorable.
- Dip half the cooled cookies in melted dark chocolate, then sprinkle with crushed roasted peanuts.
- Sandwich a thin layer of raspberry jam or strawberry compote between two cookies for a PB and J nod.
- Crumble over vanilla ice cream with a drizzle of warm honey.
- Make minis with a teaspoon scoop for lunchbox treats or coffee breaks.
- Warm a cookie for 8 seconds in the microwave and serve with cold milk or hot espresso.
- Dress a dessert plate: two cookies, a swipe of chocolate sauce, and a dollop of whipped cream sprinkled with cocoa.
Variation ideas right on the sheet
- Press a chocolate disc into the center of each cookie as soon as they come out of the oven.
- Swap the fork pattern for a thumbprint and add a spoonful of jam before baking.
Common Mistakes to Avoid
- Under-stirred natural peanut butter: Unmixed oil leads to excessive spread. Stir thoroughly until smooth and cohesive before measuring.
- Overbaking: The moment the edges set and the tops lose their wet sheen, pull the tray. Waiting for deep browning gives dry, crumbly texture.
- Hot pans: Baking the second batch on a still-hot sheet increases spread. Rinse the pan under cool water, dry, and re-line.
- Incorrect sugar balance: Skipping brown sugar entirely cuts moisture and flavor. Even a small amount keeps the center plush.
- Oversized scoops: Big cookies need longer time and often overbake at the edge. Stick to 1 tablespoon or adjust time carefully.
- Cold egg: A cold egg can stiffen the dough and hinder mixing. Room temperature blends more evenly.
- Oven drift: Many ovens run 10 to 25 degrees off. If in doubt, use an oven thermometer for repeatable results.
Storing Tips for the Recipe
Short-term
- Store cookies in an airtight container at room temperature up to 4 days. Add a small piece of bread or a slice of apple peel to keep them soft, then replace the bread once it dries out.
Freeze the baked cookies
- Cool completely, layer between parchment in a freezer bag or container, squeeze out air, and freeze up to 3 months. Thaw at room temperature. For a fresh-baked effect, warm at 300°F for 3 to 4 minutes.
Freeze the dough
- Scoop, roll, and crisscross the dough, then freeze on a tray until solid. Transfer to a bag, label with bake temperature and time, and store up to 2 months. Bake from frozen at 340°F for 11 to 12 minutes.
Make-ahead prep
- Measure dry ingredients in a small jar and keep on the counter. On bake day, stir in peanut butter, egg, and vanilla. Fresh cookies in minutes.
Conclusion
Quick mix, zero chill, and a balanced peanut butter base deliver tender centers and crisp rims in about 25 minutes. Give it a try, then share your bake in the comments or reviews. If you like fast, flavor-first recipes, subscribe for new ideas, baking guides, and seasonal variations.
FAQs
Q: Do I have to make the fork crisscross on top?
A: It helps the cookies bake evenly since this dough is dense. The pattern flattens each cookie to a consistent thickness, which keeps centers chewy and edges crisp.
Q: Can I use natural peanut butter?
A: Yes, as long as it is fully stirred. If the jar has hard sediment or loose oil that will not recombine, the dough can split or spread too much. A well-emulsified natural brand works great.
Q: Why are my cookies dry or crumbly?
A: They likely baked too long or the dough was overmixed after adding baking soda. Pull the tray as soon as edges set and tops turn matte, then cool on the sheet for 5 minutes.
Q: How do I make these without egg?
A: Mix 1 tablespoon ground flaxseed with 2.5 tablespoons warm water and let it thicken for 5 minutes. Use in place of the egg. Expect a slightly softer bite that still holds shape.
Q: Can I make them thicker and chewier?
A: Chill the portioned, crisscrossed dough for 20 minutes, then bake. You can also mound the scoops slightly taller before pressing with the fork to keep a thicker center.
Q: How many cookies does this recipe make?
A: About 18 standard cookies using a 1 tablespoon scoop. For minis, use a teaspoon scoop and reduce bake time to 7 to 8 minutes.
Q: Can I double the recipe?
A: Absolutely. Mix in a large bowl and bake one sheet at a time for most even results. Rotate the pan halfway if your oven has hot spots.
Q: What peanut butter gives the best flavor?
A: A creamy, well-stirred peanut butter with a short ingredient list. Look for peanuts, salt, and possibly a little sugar, rather than stabilizers that can mute flavor.
Q: How do I add chocolate without throwing off the texture?
A: Use 1/3 cup mini chips or finely chopped chocolate folded in with the baking soda. Minis distribute evenly and keep the crumb intact.
Q: Can I swap in almond or sunflower seed butter?
A: Yes. Almond butter gives a gentler nut flavor and a slightly looser crumb. Sunflower seed butter works well too, although it may turn green over time due to a natural reaction with baking soda. It is harmless and tastes great.
Want more quick bakes and cookie technique primers? Check out our guides to soft centers, pan choices, and smart sweetener swaps in the baking tips section.
Print
Peanut Butter Cookies: Simple and Delicious Recipe Guide
These Peanut Butter Cookies are perfectly soft in the center with lightly crisp edges and a deep peanut butter flavor. Made with simple pantry ingredients, they come together quickly and are ideal for everyday baking, holidays, or whenever a sweet craving hits.
- Total Time: 27
- Yield: 20–24 cookies
Ingredients
-
The scent of warm peanuts, a hint of vanilla, and a tender crumb come from a short list you probably have on hand. Here is the base formula, followed by smart swaps to suit your pantry and preferences.
-
1 cup creamy peanut butter, well stirred to re-emulsify if using natural (256 g)
-
2/3 cup granulated sugar (133 g)
-
1/3 cup packed light brown sugar (73 g), for moisture and caramel notes
-
1 large egg, room temperature
-
1 teaspoon vanilla extract
-
1/2 teaspoon baking soda
-
1/4 teaspoon fine salt, skip if your peanut butter is salted
-
Optional upgrades
-
1/2 cup chopped roasted peanuts, crunchy finish
-
1/3 cup mini chocolate chips or chopped dark chocolate
-
Flaky sea salt for sprinkling
Instructions
Step 1: Heat the oven and set up your pan
-
Heat oven to 350°F. Line a light-colored baking sheet with parchment paper.
-
Tip: Dark pans brown faster. If using one, reduce oven temperature by 10 degrees or check for doneness 1 minute early.
Step 2: Whisk the sugars with the egg
-
In a medium bowl, whisk granulated sugar, brown sugar, and the egg until the mixture looks thick and glossy, about 30 seconds.
-
Why it matters: This quick whip dissolves some sugar and gives the cookies a more tender center without adding butter.
Step 3: Stir in peanut butter, vanilla, and salt
-
Add peanut butter, vanilla, and salt. Stir with a sturdy spatula until smooth, about 20 to 30 strokes.
-
Texture check: The dough should look shiny and cohesive, not greasy or broken. If it seems oily, let it rest 2 minutes, then stir again to re-emulsify.
Step 4: Fold in baking soda and optional mix-ins
-
Sprinkle baking soda evenly over the top, then fold just until no streaks remain. Add chocolate chips or peanuts if using.
-
Tip: Overmixing at this stage can make the dough tougher and increase spread. Stop as soon as the baking soda disappears into the dough.
Step 5: Scoop and shape
-
Scoop 1 tablespoon portions, roll into smooth balls, and place 2 inches apart on the prepared sheet.
-
Make the signature crisscross by pressing a fork lightly across the top, then turning 90 degrees and pressing again. Aim for about half the cookie’s height.
-
Pro move: For ultra-even cookies, weigh each dough ball to 25 to 27 grams.
Step 6: Bake until edges set and tops look slightly dry
-
Bake 9 to 10 minutes. You want dry edges, a faint crackle on top, and centers that still look a touch soft.
-
Visual cue: If the fork ridges just start to turn golden, you are in the zone. Pulling them early keeps the center chewy.
Step 7: Cool smart for the perfect texture
-
Let cookies cool on the sheet for 5 minutes, then transfer to a rack.
-
Why this works: Cookies continue to set on the hot sheet, stabilizing the crumb without drying out.
Step 8: Finish and store
-
Optional sprinkle of flaky salt while warm for contrast.
-
Store airtight at room temperature up to 4 days, or freeze for longer storage using the tips below.
Notes
- For crunch, use chunky peanut butter.
- Do not overbake—cookies firm up as they cool.
- Dough can be chilled for thicker cookies.
- Prep Time: 15
- Cook Time: 12
- Category: Dessert
- Method: Baking
- Cuisine: American